Build faster with Okta’s authentication and user management API. Register today for the free forever Developer Edition!
React has quickly become one of the most favored front-end web frameworks, and is second only to plain old HTML5, according to JAXenter. So it’s no surprise that developers are learning it, and employers are asking for it.
In this tutorial, you’ll start with a very simple React app with a couple of pages and some routing built in, and add authentication using Okta’s Sign-In Widget. The Sign-In Widget is an embeddable Javascript widget that allows developers to use Okta’s secure, scalable architecture with a minimum of effort from within React applications. Let’s get started!
Get the Simple React Seed Project
Start by cloning the simple React seed project.
git clone https://github.com/leebrandt/simple-react-seed.git okta-react-widget-sample
cd okta-react-widget-sample
npm install
npm start
When you open http://localhost:3000, you should see something like this:
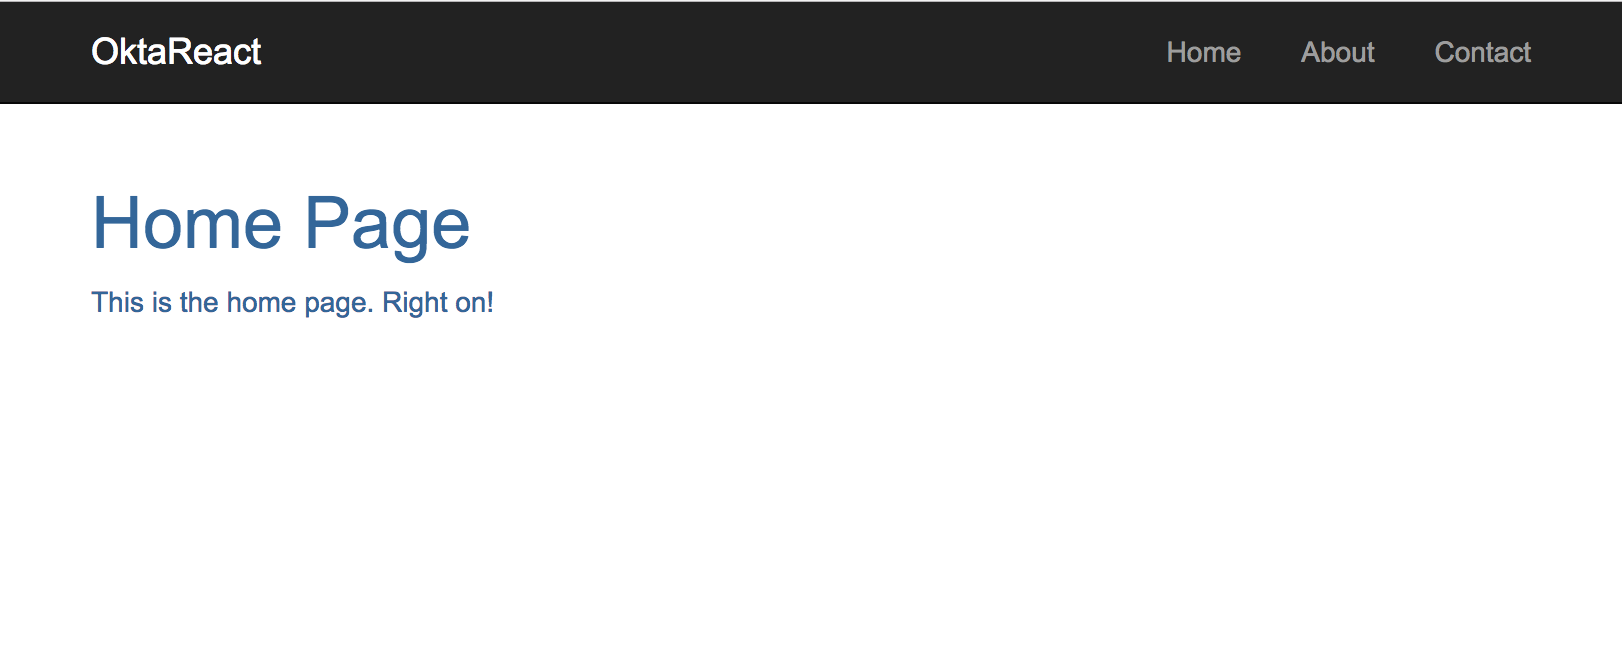
When you click on the navigation links, you should see page placeholders for those links.
Add the Okta Sign-In Widget
Install the Okta Sign-In Widget using NPM. We’ll be using version 1.9.0 of the Sign-In Widget, which is the most recent version at the time of this writing. Note that using Yarn won’t work.
npm install @okta/okta-signin-widget@1.9.0 --save
This will add the Okta Sign-In Widget code to your node_modules folder.

Then add the styles for the widget in your index.html file from the Okta CDN:
<link
     href="https://ok1static.oktacdn.com/assets/js/sdk/okta-signin-widget/1.9.0/css/okta-sign-in.min.css"
      type="text/css"
      rel="stylesheet"/>

    <!-- Theme file: Customize or replace this file if you want to override our default styles -->
    <link
      href="https://ok1static.oktacdn.com/assets/js/sdk/okta-signin-widget/1.9.0/css/okta-theme.css"
      type="text/css"
      rel="stylesheet"/>
The LoginPage Component
First, create a folder called auth in the ./src/components folder, then create a file called LoginPage.js where the LoginPage component will go.
Start with the most basic of components
import React from 'react';

export default class LoginPage extends React.Component{
  render(){
    return(
      <div>Login Page</div>
    );
  }
}
This little component doesn’t do much but at least you now have a handle to add the LoginPage to your routing. So in your ./src/app.js file, you’ll import the component with:
import LoginPage from './components/auth/LoginPage';
and then add the route inside the main route (the one with the path of “/”)
<Route path="/login" component={LoginPage}/>Add the OpenID Connect Application in Okta
In order to use Okta as your OpenID Connect provider for authentication, you’ll need to set up an application in the Okta developer portal.
So log in to your Okta account, [or create one](http://developer.okta.com] if you haven’t yet. Navigate to Admin > Add Applications and click on the Create New App button. Select Single Page App (SPA) for Platform and OpenID Connect for the sign on method. Click the Create button and give your application a name. On the next screen, add http://localhost:3000 as a Redirect URI and click Finish. You should see settings like the following.
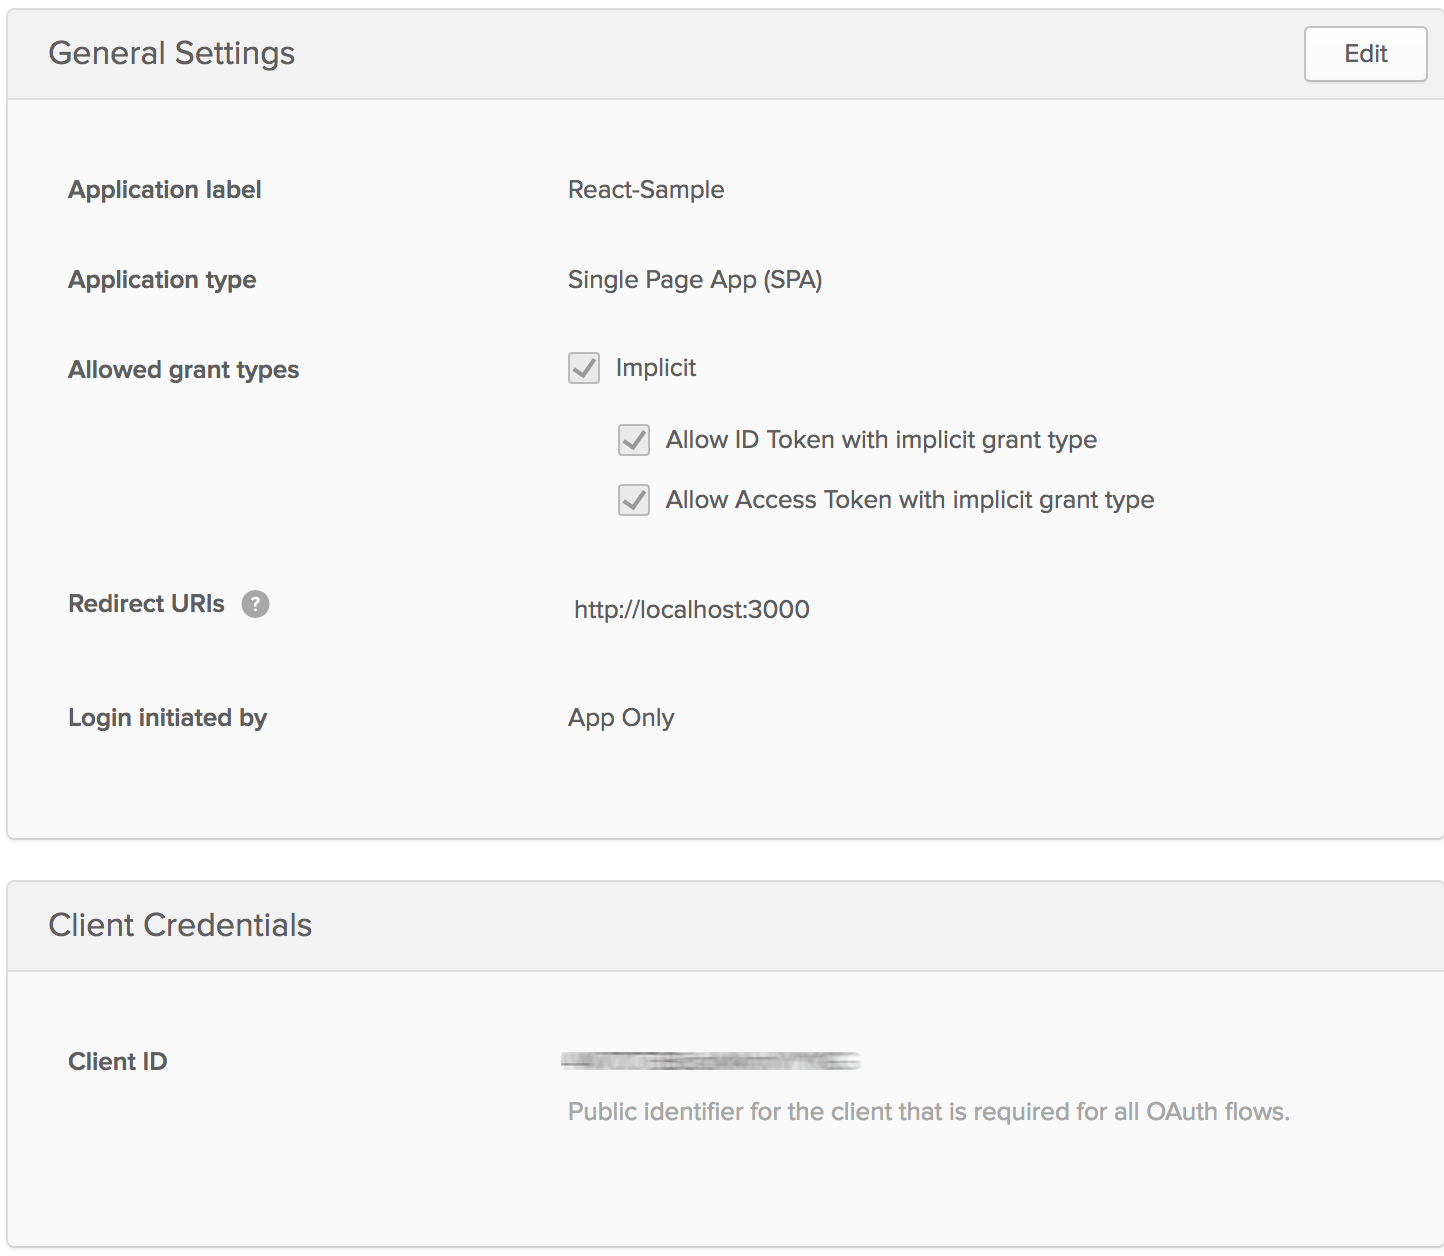
Make note of the Client ID (yours shouldn’t be blurred out) and make note of your Dev ID (it’s the number part of your subdomain of the URL) So if you are at https://dev-1234-admin.oktapreview.com/… your Dev ID is 1234.
Now that you have that, you can set up the widget to talk to your new app!
Add the Widget to Your Component
import React from 'react';
import OktaSignIn from '@okta/okta-signin-widget';

export default class LoginPage extends React.Component{
  constructor(){
    super();
    this.widget = new OktaSignIn({
      baseUrl: 'https://dev-[dev id].oktapreview.com',
      clientId: '[client id]',
      redirectUri: 'http://localhost:3000'
    });
  }

  render(){
    return(
      <div>Login Page</div>
    );
  }
}
Thus far you’ve imported the OktaSignIn function from the Okta Sign-In Widget npm module you installed earlier. Next, in the constructor of the component, you initialized an instance of OktaSignIn with the configuration for the application. This way, the application code will be able to talk to Okta and Okta will recognize that this is the app you just created.
Show The Login Widget
Next, you’ll create the code to actually render the Sign-In Widget to the page! You’ll need to change your render method to create an HTML element you can render the widget into. Make sure to get a reference to the element that will be rendered. Then, add a componentDidMount function to make sure you don’t try to render the widget before the HTML element is on the page.
import React from 'react';
import OktaSignIn from '@okta/okta-signin-widget';

export default class LoginPage extends React.Component{
  constructor(){
    super();
    this.state = {user:null};
    this.widget = new OktaSignIn({
      baseUrl: 'https://dev-[dev id].oktapreview.com',
      clientId: '[client id]',
      redirectUri: 'http://localhost:3000',
      authParams: {
        responseType: 'id_token'
      }
    });
  }

  componentDidMount(){
    this.widget.renderEl({el:this.loginContainer},
      (response) => {
        this.setState({user: response.claims.email});
      },
      (err) => {
        console.log(err);
      }
    );
  }

  render(){
    return(
     <div ref={(div) => {this.loginContainer = div; }} />
    );
  }
}
You also added state to your component. If you’re using a flux implementation, this would naturally come from the app state. But to keep this tutorial simple, let your LoginPage keep track of it’s own state.
Check Whether the User is Logged In
We’re almost there, but you don’t necessarily want to render the widget right away. You’ll need to add a check to make sure the user isn’t already logged in, and move your renderEl out to a function called showLogin.
// ...other stuff removed for brevity's sake
 componentDidMount(){
    this.widget.session.get((response) => {
      if(response.status !== 'INACTIVE'){
        this.setState({user:response.login});
      }else{
        this.showLogin();
      }
    });
  }

  showLogin(){
    Backbone.history.stop();
    this.widget.renderEl({el:this.loginContainer},
      (response) => {
        this.setState({user: response.claims.email});
      },
      (err) => {
        console.log(err);
      }
    );
  }
You might have noticed a weird bit of code in that
showLoginmethod. That first line:Backbone.history.stop(). The widget itself uses Backbone.js to navigate between its own screens (login, forgot password, etc.), and when it renders, it starts theBackbone.history. Since you’ve now moved it out into ashowLoginfunction, the widget is going to re-render whenever the function is called. So this is just a little trick to tell Backbone to stop the history, because it’s going to restart when the widget is rendered.
The Final LoginPage React Component
Let’s wrap this up. Make sure you bind the class’s this context to each of your methods. Add a logout method, and change your render method to make a decision on what to render, based on whether there is a currently logged in user.
So the final version of LoginPage.js should look like this.
import React from 'react';
import OktaSignIn from '@okta/okta-signin-widget';

export default class LoginPage extends React.Component{
  constructor(){
    super();
    this.state = { user: null };
    this.widget = new OktaSignIn({
      baseUrl: 'https://dev-[dev id].oktapreview.com',
      clientId: '[client id]',
      redirectUri: 'http://localhost:3000',
      authParams: {
        responseType: 'id_token'
      }
    });

    this.showLogin = this.showLogin.bind(this);
    this.logout = this.logout.bind(this);
  }

  componentDidMount(){
    this.widget.session.get((response) => {
      if(response.status !== 'INACTIVE'){
        this.setState({user:response.login});
      }else{
        this.showLogin();
      }
    });
  }

  showLogin(){
    Backbone.history.stop();
    this.widget.renderEl({el:this.loginContainer},
      (response) => {
        this.setState({user: response.claims.email});
      },
      (err) => {
        console.log(err);
      }
    );
  }

  logout(){
    this.widget.signOut(() => {
      this.setState({user: null});
      this.showLogin();
    });
  }

  render(){
    return(
      <div>
        {this.state.user ? (
          <div className="container">
            <div>Welcome, {this.state.user}!</div>
            <button onClick={this.logout}>Logout</button>
          </div>
        ) : null}
        {this.state.user ? null : (
          <div ref={(div) => {this.loginContainer = div; }} />
        )}
      </div>
    );
  }
}
Check It Out
When you run the app now (with npm start), you should see something like this:
If it works – congrats! If it doesn’t, please post a question to Stack Overflow with an okta tag, or hit me up on Twitter @leebrandt.
Known Issues
There is one known issue in this tutorial. The widget’s CSS takes over the whole page and will override your app’s CSS. This is a documented issue and you can see Matt Raible’s comment on it
React + Okta
You can find a completed version of the application created in this blog post on GitHub.
Building authentication in an application is hard. It’s even less fun to build it over and over again in each application you build. Okta does the hard part for you and makes it a lot more fun to be a developer! Sign up for a forever-free developer account and try Okta today!
I hope you’ve enjoyed this quick tour of our React support. If you have questions about Okta’s features, or what we’re building next, please hit me up on Twitter @leebrandt, leave a comment below, or open an issue on GitHub.
Build faster with Okta’s authentication and user management API. Register today for the free forever Developer Edition!
