Usability, an important part of web interface eases the way we communicate with web. Many new technologies and functionalities are invented to ease the development effort as well as improve the overall way in which users interact with web. HTML5 has given many things as of today to improve the browser functionalities on client side with minimum amount of scripting. It provides a great way to implement drag and drop functionality in modern browsers. We are going to see how it is implemented with a basic example of drag and drop in an image from one div to another.

To achieve drag and drop functionality with traditional HTML4, developers would have to use complex Javascript code. HTML 5 provides a Drag and Drop API that brings support to the browser making it much easier to code up. No extra plugins needed to be installed. It is supported by the following major browsers:
- Internet Explorer 9+
- Firefox
- Opera, Chrome
- Safari
Note: Drag and drop does not work in Safari 5.1.7 and earlier versions.
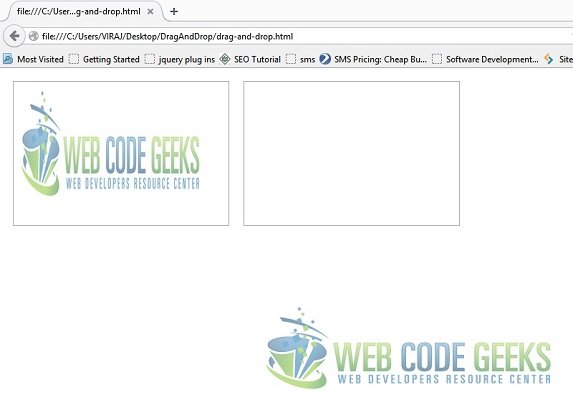
1. Setting up two divs
We will first code two create two div boxes. One div will contain the image to be dragged. The other div will be the destination where the image needs to be dragged.
<!DOCTYPE html>
<html>
<head>
    <style>
        #div1, #div2
        {float:left; width:280px; height:180px; margin:10px;padding:10px;border:1px solid #aaaaaa;}
    </style>
</head>
<body>

<div id="div1">
 <img src="drag.png" width="250" height="150" id="drag1">
</div>

<div id="div2"></div>

</body>
</html>
Output for above code is two div boxes with one div box containing our image
2. Make the elements draggable
Now, we need to first make the image draggable. Set the attribute "draggable = true"
<div id="div1">
<img src="drag.png" draggable="true" width="250" height="150" id="drag1">
</div>
3. Set up events to handle drag functionality
Set the ondragstart event in the img tag to call dragInitiliaze() function as follows :
<img src="drag.png" draggable="true" ondragstart="return dragInitialize(event)" width="250" height="150" id="drag1">
The ondragstart event in img tag detects when the drag is initialized and then it calls the dragInitiate() function. The dragInitiate() function, then catches the event. It sets the effectAllowed value to “move” and has dataTransfer.setData() method which sets the data type and the value of the dragged data.
<script type="text/javascript">

function dragInitialize(ev) {
ev.dataTransfer.effectAllowed='move';
ev.dataTransfer.setData("Text", ev.target.getAttribute('id'));
return true;
}

</script>

<!-- In body add the following draggable attributes to first div -->

<div id="div1" >
<img src="drag.png" draggable="true" ondragstart="return dragInitialize(event)" width="250" height="150" id="drag1">
</div>
4. Completing the drop and putting it all together
By default, the elements that are set to be draggable cannot be dropped in any other elements. The drop functionality needs to be handled by events provided by Drag-and-Drop API. We have to take care of following things :
function allowDropStatus(ev) {
ev.preventDefault();
return false;
}

function dropComplete(ev) {
ev.preventDefault();
var src = ev.dataTransfer.getData("Text");
ev.target.appendChild(document.getElementById(src));
ev.stopPropagation();
return false;
}

<!-- Modify the 2nd div to accept the drop -->

<div id="div2" ondrop="return dropComplete(event)" ondragover="return allowDropStatus(event)"></div>
- The div should listen to drop event so that it can accept the drop and place the image in its destination.
ondragoverlistener event is fired whenever a dragged image is over the destination divallowDropStatus()prevents the default browser action so that we can code and handle the drop functionality.dropComplete()function does following three tasks :
- Prevents default browser action after the image has been dropped
- Fetches the data of image from
getDatawhich was stored while the image was selected for drag - Appends the data to new div
- Stops the propagation of image
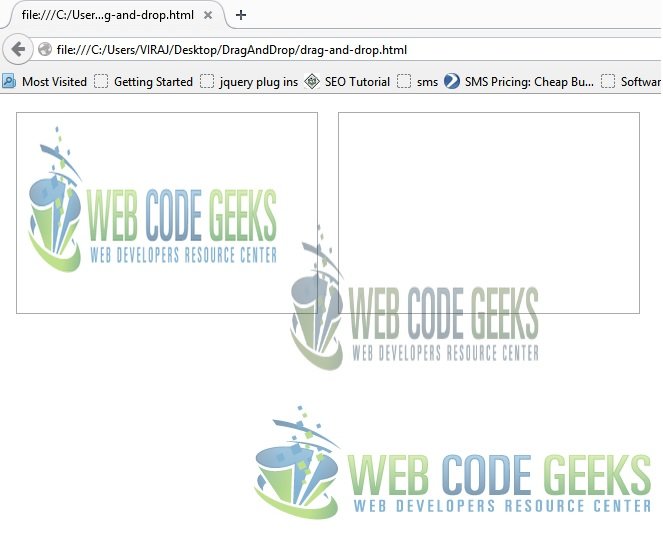
If you observe carefully, we can drag the image from first div to second. But, what if we want to drag the image back to first div. The image is set to draggable, so it will be dragged. But, our first div is not set to handle drop. Let’s modify our first div so that it can handle the drop.
We put following two listeners in first div to accept drop :
ondragoverlistener which callsallowDropStatusfunctionondroplistener which callsdropCompletefunction
<div id="div1" ondrop="return dropComplete(event)" ondragover="return allowDropStatus(event)">
<img src="drag.png" draggable="true" ondragstart="return dragInitialize(event)" width="250" height="150" id="drag1">
</div>

This completes our simple example for Drag and Drop. It is totally based on handling of events and listeners which are provided by native HTML5 API
Conclusion and further applications
So, now we can drag images back and forth efficiently. Drag and Drop functionality has numerous uses in improving the overall usability. Using the logic presented above and a glimpse of how various events of Drag-and-Drop API can be used, you can extend them to use and apply for any other functionality. As with any technology, HTML 5 Drag-and-Drop API has its own advantages and disadvantages. Its upto you too whether use it or not.
You can download the full source code of this example here : HTML 5 Drag and Drop

How can you make a clone of the first box?
and thank you for sharing!
Hi, can I implement this technique into a Joomla article? I would like users to be able to drag and rip items into an article form as shown above and then save this in their area?
Great post!
Great article. Very well explained