Greetings readers, in this tutorial, we will show how to use the JavaScript scripting language and the different array methods in the javascript language.
1. Introduction
JavaScript is an object-oriented programming language that allows the client-side scripting to interact with a user and deliver the dynamic pages. Most web browsers including Google Chrome, Mozilla Firefox, Safari, Internet Explorer, Microsoft Edge, Opera, etc. support it. The JavaScript scripting language includes:
- Declaring variables
- Maintaining the retrieving values
- Defining and invoking functions
- Defining classes
- Load and use external modules
- Define event handlers
- And much more ….
Table Of Contents
1.1 Advantages of JavaScript Language
The pros of using the JavaScript scripting language are:
- JavaScript is easy to learn
- It executes on client’s browser, so eliminates the server-side processing and be executed on any OS
- JavaScript can be used with any type of web page e.g. PHP, ASP.NET, Perl etc
- Web-page performance increases due to client-side execution
- JavaScript code can be minified to decrease the loading time from the server
- Many JavaScript-based application frameworks are available in the market to create Single page web applications e.g. AngularJS, ReactJS etc.
1.2 Disadvantages of JavaScript Language
The cons of using the JavaScript scripting language are:
- No support for networking applications
- Does not have any multi-threading or multi-processing capabilities
- Does not allow the file reading and writing capabilities
1.3 What is an Array?
An array is an object that can store a collection of items. Over here represents the simple syntax of an array.
Snippet
var employees = ["John", "Jane", "Joe"];

/* or, Creating an array using the constructor! */

var employees = new Array("John", "Jane", "Joe");
In Javascript scripting language, the array object has many properties and methods which help developers to effectively handle the arrays. Developers can fetch,
- The property value by using the
myarray.propertysyntax - The method output by using the
myarray.method()syntax
1.3.1 Array methods in JavaScript
Let us take a brief look at the most commonly used methods in the javascript scripting language.
| Method | Description |
|---|---|
concat() | Joins two or more arrays, and returns a copy of the joined arrays |
copyWithin() | Copies the array elements within the array, to and from the specified positions |
entries() | Returns a key-value pair from the array iteration object |
every() | Checks if every element in an array pass the test or not |
fill() | Fill the elements in an array with a static value |
filter() | Creates a new array with every element in an array that passes a test |
find() | Returns the value of the first element in an array that passes a test |
findIndex() | Returns the index of the first element in an array that passes a test |
forEach() | Calls a function for each array element |
from() | Creates an array from an object |
includes() | Check if an array contains the specified element |
indexOf() | Search the array for an element and returns its position |
isArray() | Checks whether an object is an array |
join() | Joins all the elements of an array into a string |
keys() | Returns an array iteration object, containing the keys of the original array |
lastIndexOf() | Search the array for an element, starting at the end, and returns its position |
map() | Creates a new array with the result of calling a function for each array element |
pop() | Removes the last element of an array, and returns that element |
push() | Adds new elements to the end of an array, and returns the new length |
reduce() | Reduce the values of an array to a single value (going left-to-right) |
reduceRight() | Reduce the values of an array to a single value (going right-to-left) |
reverse() | Reverses the order of the elements in an array |
shift() | Removes the first element of an array and returns that element |
slice() | Selects a part of an array and returns the new array |
some() | Checks if any of the elements in an array pass a test |
sort() | Sorts the elements of an array |
splice() | Adds/Removes the elements from an array |
toString() | Converts an array to a string and returns the result |
unshift() | Adds new elements to the beginning of an array and returns the new length |
valueOf() | Returns the primitive value of an array |
These new APIs make a developer life easier, really! However, it would be difficult for a beginner to understand this without an example. Therefore, let us create a simple application using the commonly used array methods of the javascript scripting language.
2. JavaScript Array Methods Example
Here is a systematic guide for implementing this tutorial using the JavaScript language.
2.1 Tools Used
We are using Eclipse Kepler SR2, JDK 8 and Maven. Having said that, we have tested the code against JDK 1.7 and it works well.
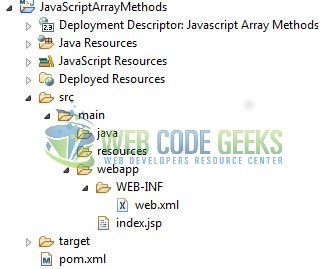
2.2 Project Structure
Firstly, let us review the final project structure if you are confused about where you should create the corresponding files or folder later!
2.3 Project Creation
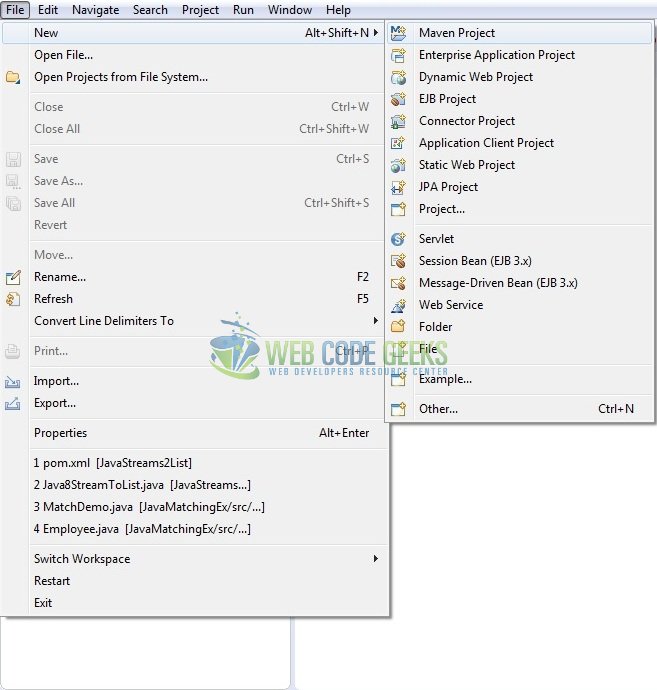
This section will show on how to create a Java-based Maven project with Eclipse. In Eclipse Ide, go to File -> New -> Maven Project.
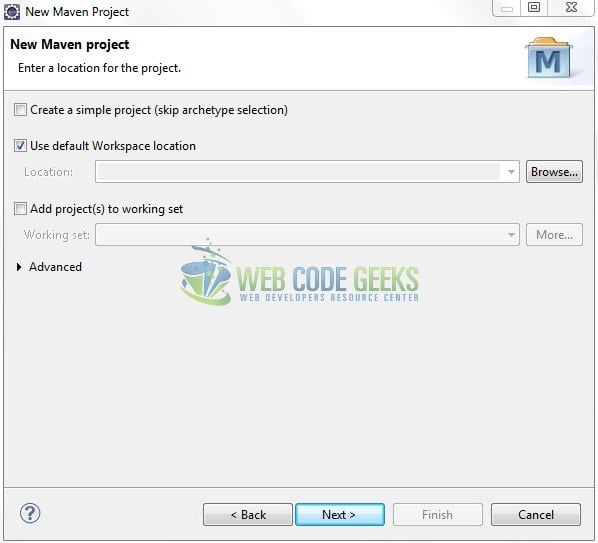
In the New Maven Project window, it will ask you to select the project location. By default, ‘Use default workspace location’ will be selected. Just click on the next button to proceed.
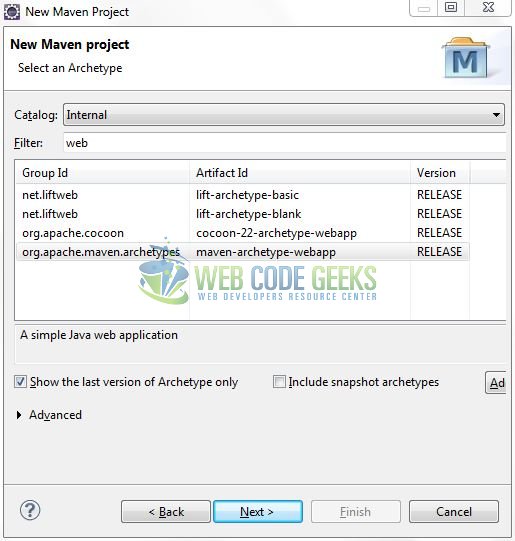
Select the ‘Maven Web App’ Archetype from the list of options and click next.
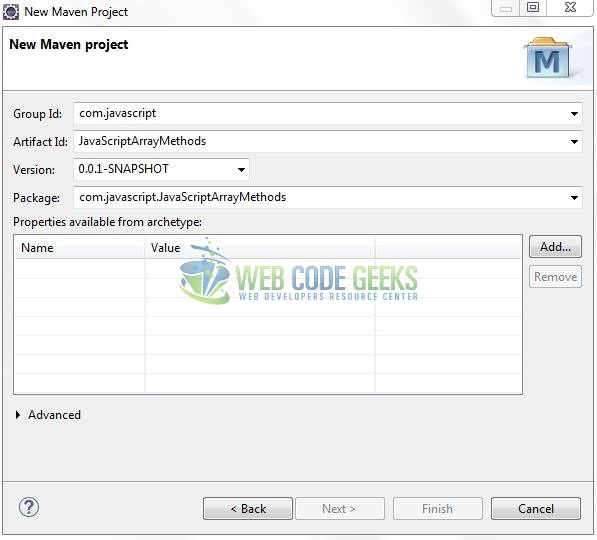
It will ask you to ‘Enter the group and the artifact id for the project’. We will input the details as shown in the below image. The version number will be by default: 0.0.1-SNAPSHOT.
Click on Finish and the creation of a maven project is completed. If you see, it has downloaded the maven dependencies and a pom.xml file will be created. It will have the following code:
pom.xml
<project xmlns="http://maven.apache.org/POM/4.0.0" xmlns:xsi="http://www.w3.org/2001/XMLSchema-instance" xsi:schemaLocation="http://maven.apache.org/POM/4.0.0 http://maven.apache.org/xsd/maven-4.0.0.xsd">
	<modelVersion>4.0.0</modelVersion>
	<groupId>com.javascript</groupId>
	<artifactId>JavaScriptArrayMethods</artifactId>
	<version>0.0.1-SNAPSHOT</version>
	<packaging>war</packaging>
</project>
3. Application Building
Let us create an application to understand the basic building blocks of this tutorial.
3.1 Define the HTML
Let us write the different array functions in the index.html file. Add the following code to it:
index.jsp
<!DOCTYPE html PUBLIC "-//W3C//DTD HTML 4.01 Transitional//EN" "http://www.w3.org/TR/html4/loose.dtd">
<html>

<head>
    <meta http-equiv="Content-Type" content="text/html; charset=ISO-8859-1">
    <title>Index page</title>

    <link rel="stylesheet" href="https://maxcdn.bootstrapcdn.com/bootstrap/3.3.7/css/bootstrap.min.css">

    <script type="text/javascript">
        document.write("<div class='container'><h2 align='center' class='text-primary'>JavaScript Array Methods Example</h2><hr /></div>");

        // Array and array methods!
        var myStudent = new Array("John", "Ann", "Aaron", "Edwin", "Elizabeth");
        Array.prototype.show = function() {
            document.write("<ul>");
            for (i = 0; i < this.length; i++) {
                document.write("<li>" + this[i] + "</li>");
            }
            document.write("</ul>");
        }

        document.write("1. Students array: <br />");
        myStudent.show();

        // length - to display the total items present in an array!
        document.write("<br />2. Students array length= " + myStudent.length + "<br />");

        // sort() - sorts the array data alphabetically!
        document.write("<br />3. Sorted students array:<br />");
        myStudent.sort();
        myStudent.show();

        // reverse()- reverses the array data!
        document.write("<br />4. Reversed students array:<br />");
        myStudent.reverse();
        myStudent.show();

        // pop() - removes item from the end and returns value of that item!
        document.write("<br />5. Students array after removing the last item:<br />");
        myStudent.show();
        var poppedItem = myStudent.pop();
        document.write("Popped item is= " + poppedItem + "<br />");

        // push() - add items to the end!
        document.write("<br />6. Students array after push:<br />");
        myStudent.push("Charlotte");
        myStudent.show();

        // forEach() - iterates over each item in an array!
        document.write("7. forEach()loop function:<br /><ul>");
        myStudent.forEach(function(item, index) {
            document.write("<li>" + item + " is at index= " + index + ".</li>");
        });
        document.write("</ul><br />");

        // map() - return something customized for each item (creates a copy of an array)!
        document.write("8. map() function:<br /><ul>");
        var array = myStudent.map(function(item) {
            document.write("<li>" + item + " is amazing.</li>");
        });
        document.write("</ul><br />");

        // filter() - returns an array with items that pass the test [creates a copy]!
        document.write("9. filter() function: ");
        var filtered = myStudent.filter(function(element) {
            return element.length > 5;
        });
        document.write(filtered + "<br /><br />");
    </script>
</head>

<body>
	<!-- Do nothing -->
</body>

</html>
4. Run the Application
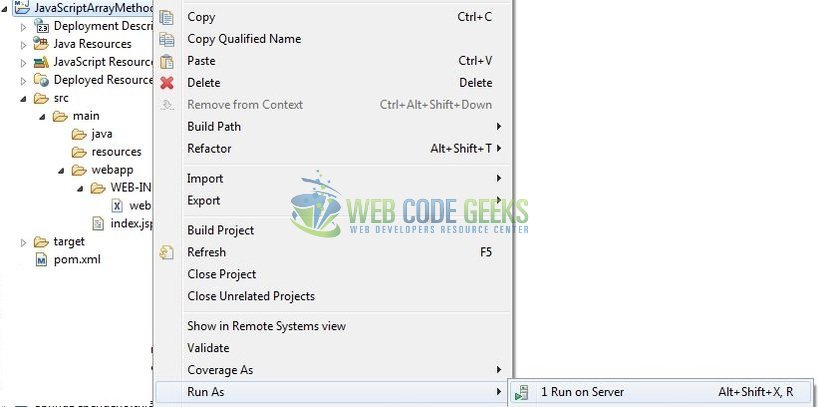
As we are ready for all the changes, let us compile the project and deploy the application on the Tomcat7 server. To deploy the application on Tomat7, right-click on the project and navigate to Run as -> Run on Server.
Tomcat will deploy the application in its web-apps folder and shall start its execution to deploy the project so that we can go ahead and test it in the browser.
5. Project Demo
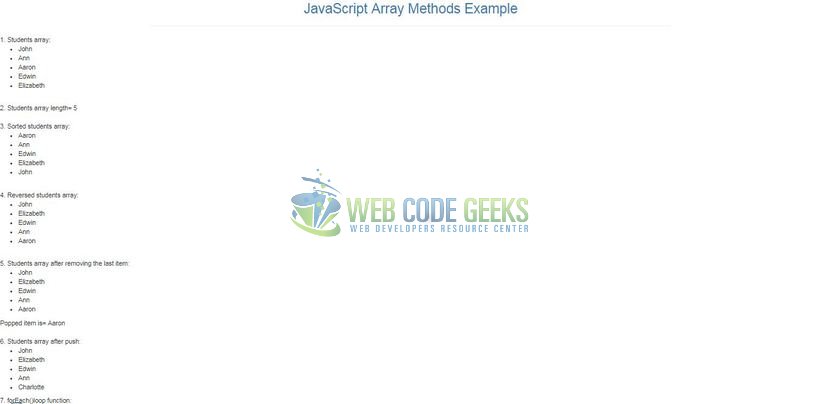
Open your favorite browser and hit the following URL to display the application’s index page as shown in Fig. 7.
http://localhost:8082/JavaScriptArrayMethods/
Server name (localhost) and port (8082) may vary as per your Tomcat configuration.
That is all for this tutorial and I hope the article served you whatever you were looking for. Happy Learning and do not forget to share!
6. Conclusion
In this section, developers learned how to create a simple application with the JavaScript language. Developers can download the sample application as an Eclipse project in the Downloads section.
7. Download the Eclipse Project
This was an example of JavaScript Array Methods for the beginners.
You can download the full source code of this example here: JavaScriptArrayMethods
