When I was developing our wedding application back in February, I was also trying to learn the ropes in AngularJS. It didn’t make sense for me to go with JQuery Mobile since, well I am learning angularjs. So I think through my options and ask, “Jquery mobile is essentially built in a javascript framework, is there an angularjs alternative?”.
Luckily for me, I had an interesting discussion with a friend of mine who is happen to be researching new mobile development frameworks. He mentioned ionicframework and that it’s based in angularjs, cordova and he is excited to use it.
I was curious and quickly google it. Lo and behold, it is what it is. It’s a mobile hybrid development framework based on angularjs with tons of built in directives. To make it matters more interesting, it also has it’s own ui style framework so that every component you used can inherit the mobile systems native ui. Its something new to me and I’m already thinking all the possibilities that I can do with it.
For this post, I’ll be giving a few basics of using ionicframework.
- Setting up your local ionic framework environment
- Brackets or Sublime Text editor
- Some digging in the code
- Build and Test
- Our Wedding App!
Step 1: Setting up your local ionic framework environment.
I’m a command line guy, let me emphasis that and I don’t see any reason why you wouldn’t consider that. Using the actual cli commands will give you more control over anything you do to your application.
Download the node package manager and install ionic framework cli
- To download and install npm cli, click here
- Now after the installation, go to your project folder (create one if you don’t have it yet) and run the following command.
npm install -g cordova ionicThis will install the ionic framework cli. - After the installation, you can now use the ionicframework cli to create, build and test projects. For more examples, go the ionic site
Step 2: IDE. Brackets? Sublime? NotePad++?
I personally use Brackets most of the time as it’s simple and easy to use. It’s an Open source adobe projects and has a lot of plugins and extension available. It also compliments the adobe products such as adobe photoshop if you need to get the details of your slices and graphics within your code.
I use a mint green themed IDE, autocompletion for css, javascript. And if you look at my screen, I use coffee app as well.
Step 3: Try out an example project
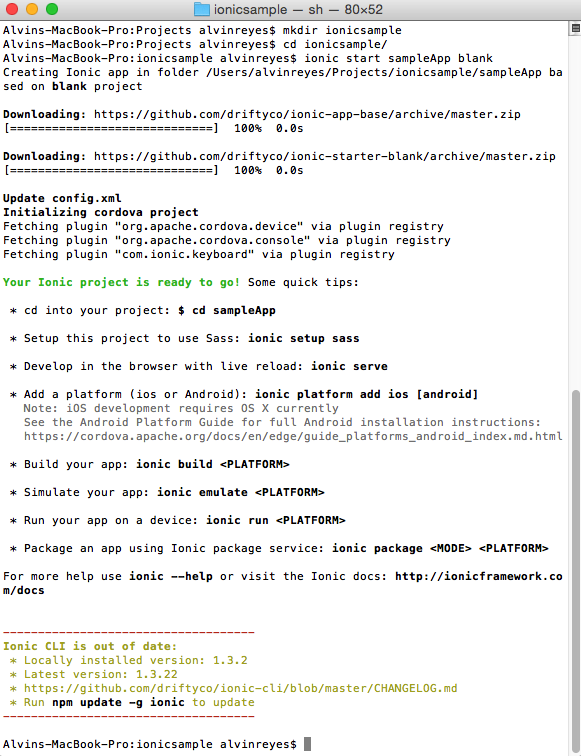
Go to your project directory. I’m assuming you already have your ionic cli install so let’s go step by step
- cd dir
ionic start myApp tabs
The steps above will create a scaffolding ionic project.
Open your source in your IDE
In my case, I am using brackets. I can launch it using Live Preview button
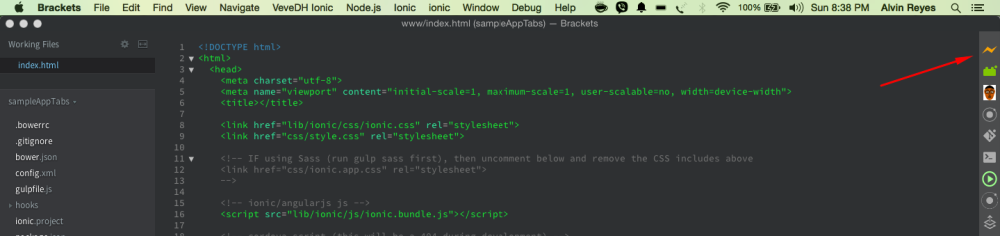
The scaffolding app looks good. It has tabs, list, and basic page that you can use as your guideline.
Step 4: Let’s dig in deeper
If you look at the scaffolding app, it already has the app.js along with the services and controller js source. Let’s look in closer.
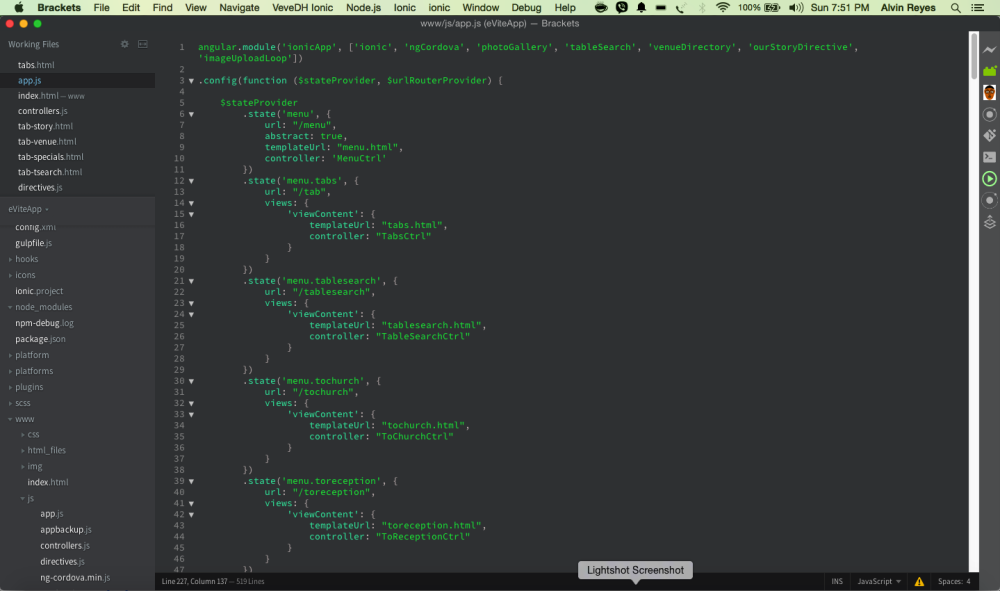
app.js
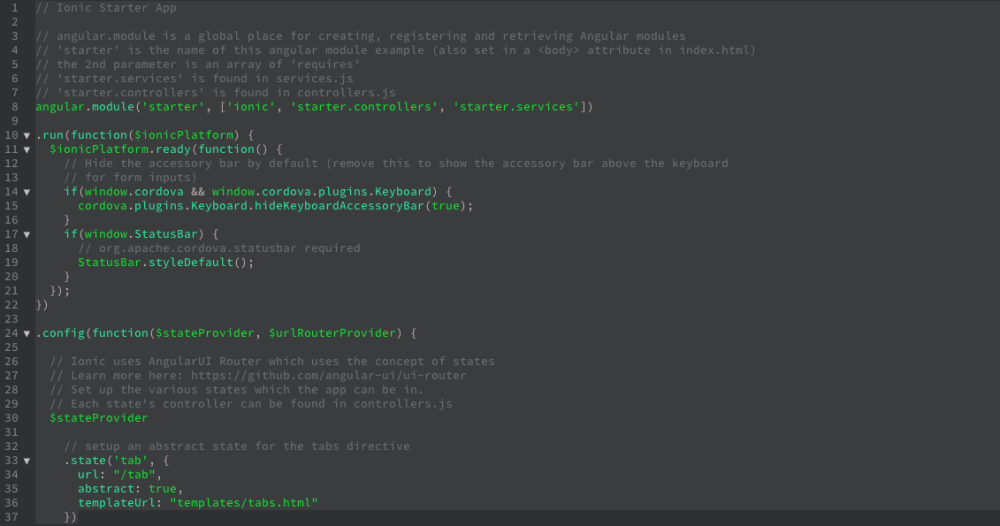
- app.js – this is the global source code for angularjs framework. AngularJS will basically manipulate the DOM as soon as it receives the HTML object. It’s usually being used to house the modules, routes and service definitions, although this can be in a separated source code but basically runs on the same DOM interpreter.
- Line 8: create the module name ‘starter’ importing the following modules:
- ionic – this basically the ionic library module
- starter.controllers – the controllers we defined. The main module needs access to this
so that it can dictate the controller scope that it will be used for each route. - starter.services – the services we defined. We need this so that we can access services
within the module.
- Line 11 – 22: This executed upon running the module, this basically means that the native mobile service needs to know that we are using the cordova keyboard plugin and status bar.
- Line 24: the .config is a module function that sets any configuration needed upon running the module. In this case, we use the stateProvider and urlRouterProvider module to route to different pages and views.
services.js
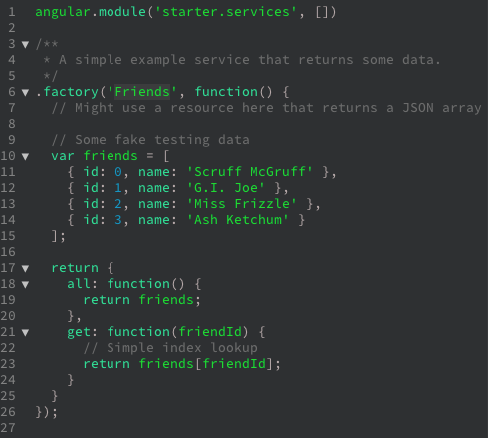
- Line 1: Definition of the starter.service module.
- Line 6: Definition of factory Object ‘Friends’ which we will used eventually in the controller.
controller.js
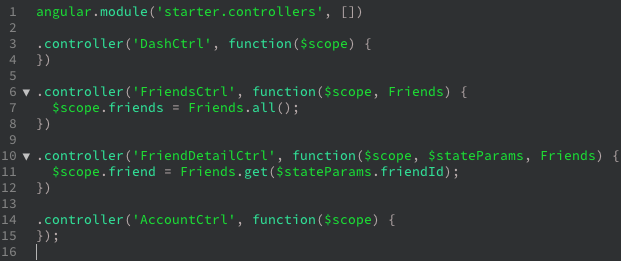
- Line 1: Definition of module starter.controllers – which we imported from app.js. We really don’t need any new modules inside this so no imports necessary.
- Line 3 – 16: Defined the controller. The controller is basically the main source that is directly bound to the ui. If you observe carefully, you can see that on the FriendsCtrl, we imported the ‘Friends’ factory from the starter.services module.
The scaffolding is almost complete with the most basic UI controls. There are tons of examples in CodePen for this, from panel directives, sliders, to tinder cards. The key however is trying to consolidate them all to your needs. Most of the UI components available are made through directives which is the perfect way of creating components, not just in an angularjs web app, but also in ionic framework for mobile.
Step 5: Build and Test in your mobile
Ionic is based on cordova, so you can compile the source in any platform supported by this. Here are some of the code you need to build for android or ios platform.
ionic platform add androidThis means that you will emulate on your device.
ionic ionic build android
ionic ionic emulate android --device
Extra: Our Wedding App.
I somehow use our wedding as an opportunity to practice, so here are some screenshots of the app.

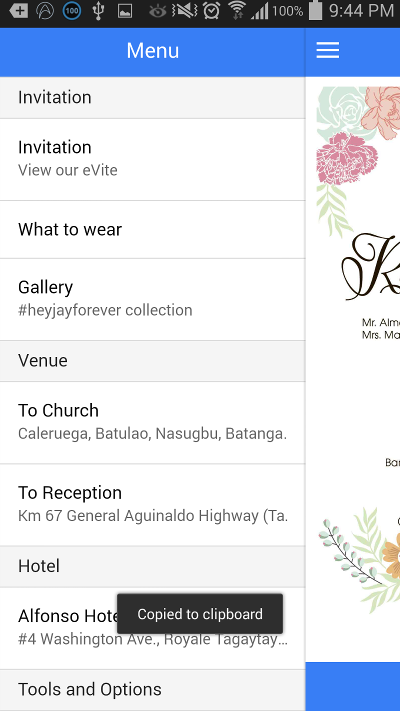
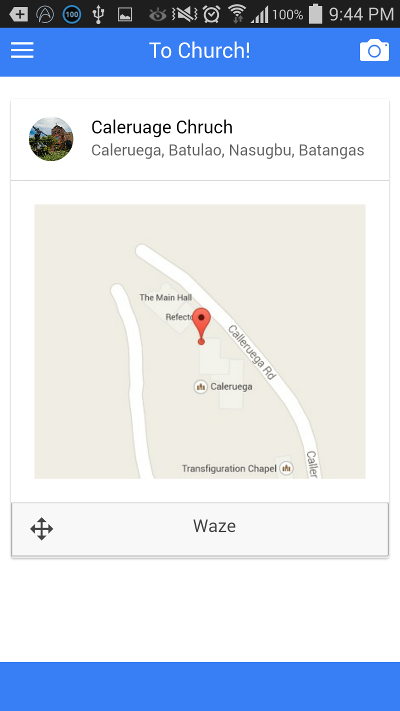
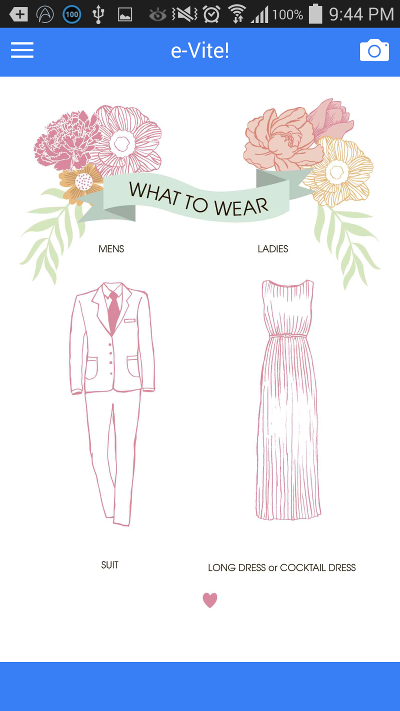
I did this in just a week after learning the ropes!
Download the APK here.
Enjoy!
| Reference: | Ionic Framework – Mobile Hybrid Application Development from our WCG partner Alvin Reyes at the Alvin “Jay” Reyes Blog blog. |

I like the way with your wedding invitation card app. I would like to do as same for mine. Can you please give me some source code of it ???