In the first part of this series, I stepped through the basics of creating a continuous-deployment pipeline for a Laravel-based application using Codeship. We had a look at the application’s overall structure, its configuration, created database migrations, and created some acceptance tests. We finished up by working through an initial Codeship project creation, so that the test-suite could be run whenever a push was made to the project’s ≈master branch in its GitHub repository.
As I mentioned at the end of that article, it wasn’t the whole story. We’ve only gotten halfway down our continuous deployment pipeline. What’s missing is the part where we actually deploy the application to a production (or testing or staging) server. That’s what we’re going to do in this, the second and final, part of the series.
Specifically, we’ll cover how to refactor the application, so that it uses a PostgreSQL database, instead of SQLite. I’ll demonstrate how to update the environment configuration, so that it includes the relevant variables necessary to test the build, using Codeship’s PostgreSQL database, available in all projects.
We’ll wrap things up by deploying the project to a DigitalOcean droplet. We’ll also see how to use ElephantSQL as our host, instead of a PostgreSQL installation on the droplet.
Let’s get started.
Updating the Environment Configuration
The first thing we need to do is update the environment configuration variables. Specifically, we need to change the database-related ones and then add some extra variables to support the deployment process.
Did you know that every Codeship build contains an installation of PostgreSQL? Codeship provides support for versions 9.2–9.5, as at the time of writing.
Regardless of what version you need, it’s easy to access. The port number you use has symmetry with the PostgreSQL version number. So, version 9.2 is available on port 5432, version 9.3 is available on port 5433, and so on.
So the first thing we’re going to do is change the DB_CONNECTION environment variable to be pgsql and add a new variable, called DB_PORT, giving it the value 5435.
With that done, we need to add two extra variables, so that we can authenticate with the database. These are DB_USERNAME and DB_PASSWORD. The values for these settings will be set from two pre-existing environment variables. These are $PG_USER and $PG_PASSWORD. Add these in, and we’ve made the required changes for the database.
Now we need to add a further set of environment variables to support the deployment tool we’ll use, which we’ll see shortly. The deployment environment variables we’ll need are:
- REPOSITORY: The git repository storing our code
- RELEASES: The number of deployed releases to keep
- DEPLOY_DIR: The directory to deploy the code
- DEPLOY_USER: The operating system user who will run the deploy
- PRODUCTION_IP_ADDRESS: The IP address of the server to deploy to
A quick note on the DEPLOY_USER setting: Make sure that they have permissions to write to the directory, and that there is a public key for that user stored on your GitHub account. This way, they can access the repository, if it’s private.
Updating the Setup Commands
With the new environment variables set, we need to update the Setup Commands. We’re not going to do much, other than to remove one line — touch database/database.sqlite — which set up the SQLite database file.
We’re not using SQLite in testing anymore, so we don’t need that configuration. Under Project Settings -> Test -> Setup Commands, remove that line from the configuration.
Updating The Code
With these changes made, we need to make a few small updates to the application code and configuration so that it uses PostgreSQL instead of SQLite.
First, we need to create a copy of .env that will be copied to somewhere on our hosting server, say /opt/application/config. In there, we need to set DB_CONNECTION to have the value pgsql. With that done, copy it to your web host.
The reason for this is that we’re not going to store it under version control. If we did, there’s a risk that, at some stage, the credentials may leak out. Plus, storing it under version control violates one of the tenets of a Twelve-Factor app.
The next change is optional, depending on how you’re going to handle caching. By default, Laravel uses a filesystem cache. If we continue down that road, the build will fail when we deploy the application. The reason is because bootstrap/cache is listed in .gitignore. Given that, it won’t exist when a deploy is run, leading to an error when that directory is attempted to be used.
So, you have two choices. You can add extra configuration and environment variables to use a caching service. Or you can remove bootstrap/cache from .gitignore.
ElephantSQL
As I mentioned in part one, in this, the final post in the series, we’re going to be using an external service, ElephantSQL.
I’ll assume that you don’t already have an account with them, and step through the process of setting one up. Happily, their interface makes it almost trivial. What’s more, they have a free plan, so that you don’t have to pay anything to give them a try.

- In your browser, navigate to www.elephantsql.com/plans.html.
- Scroll down and click Try now for FREE, under the Tiny Turtle option. You’ll be taken to a login and signup page.
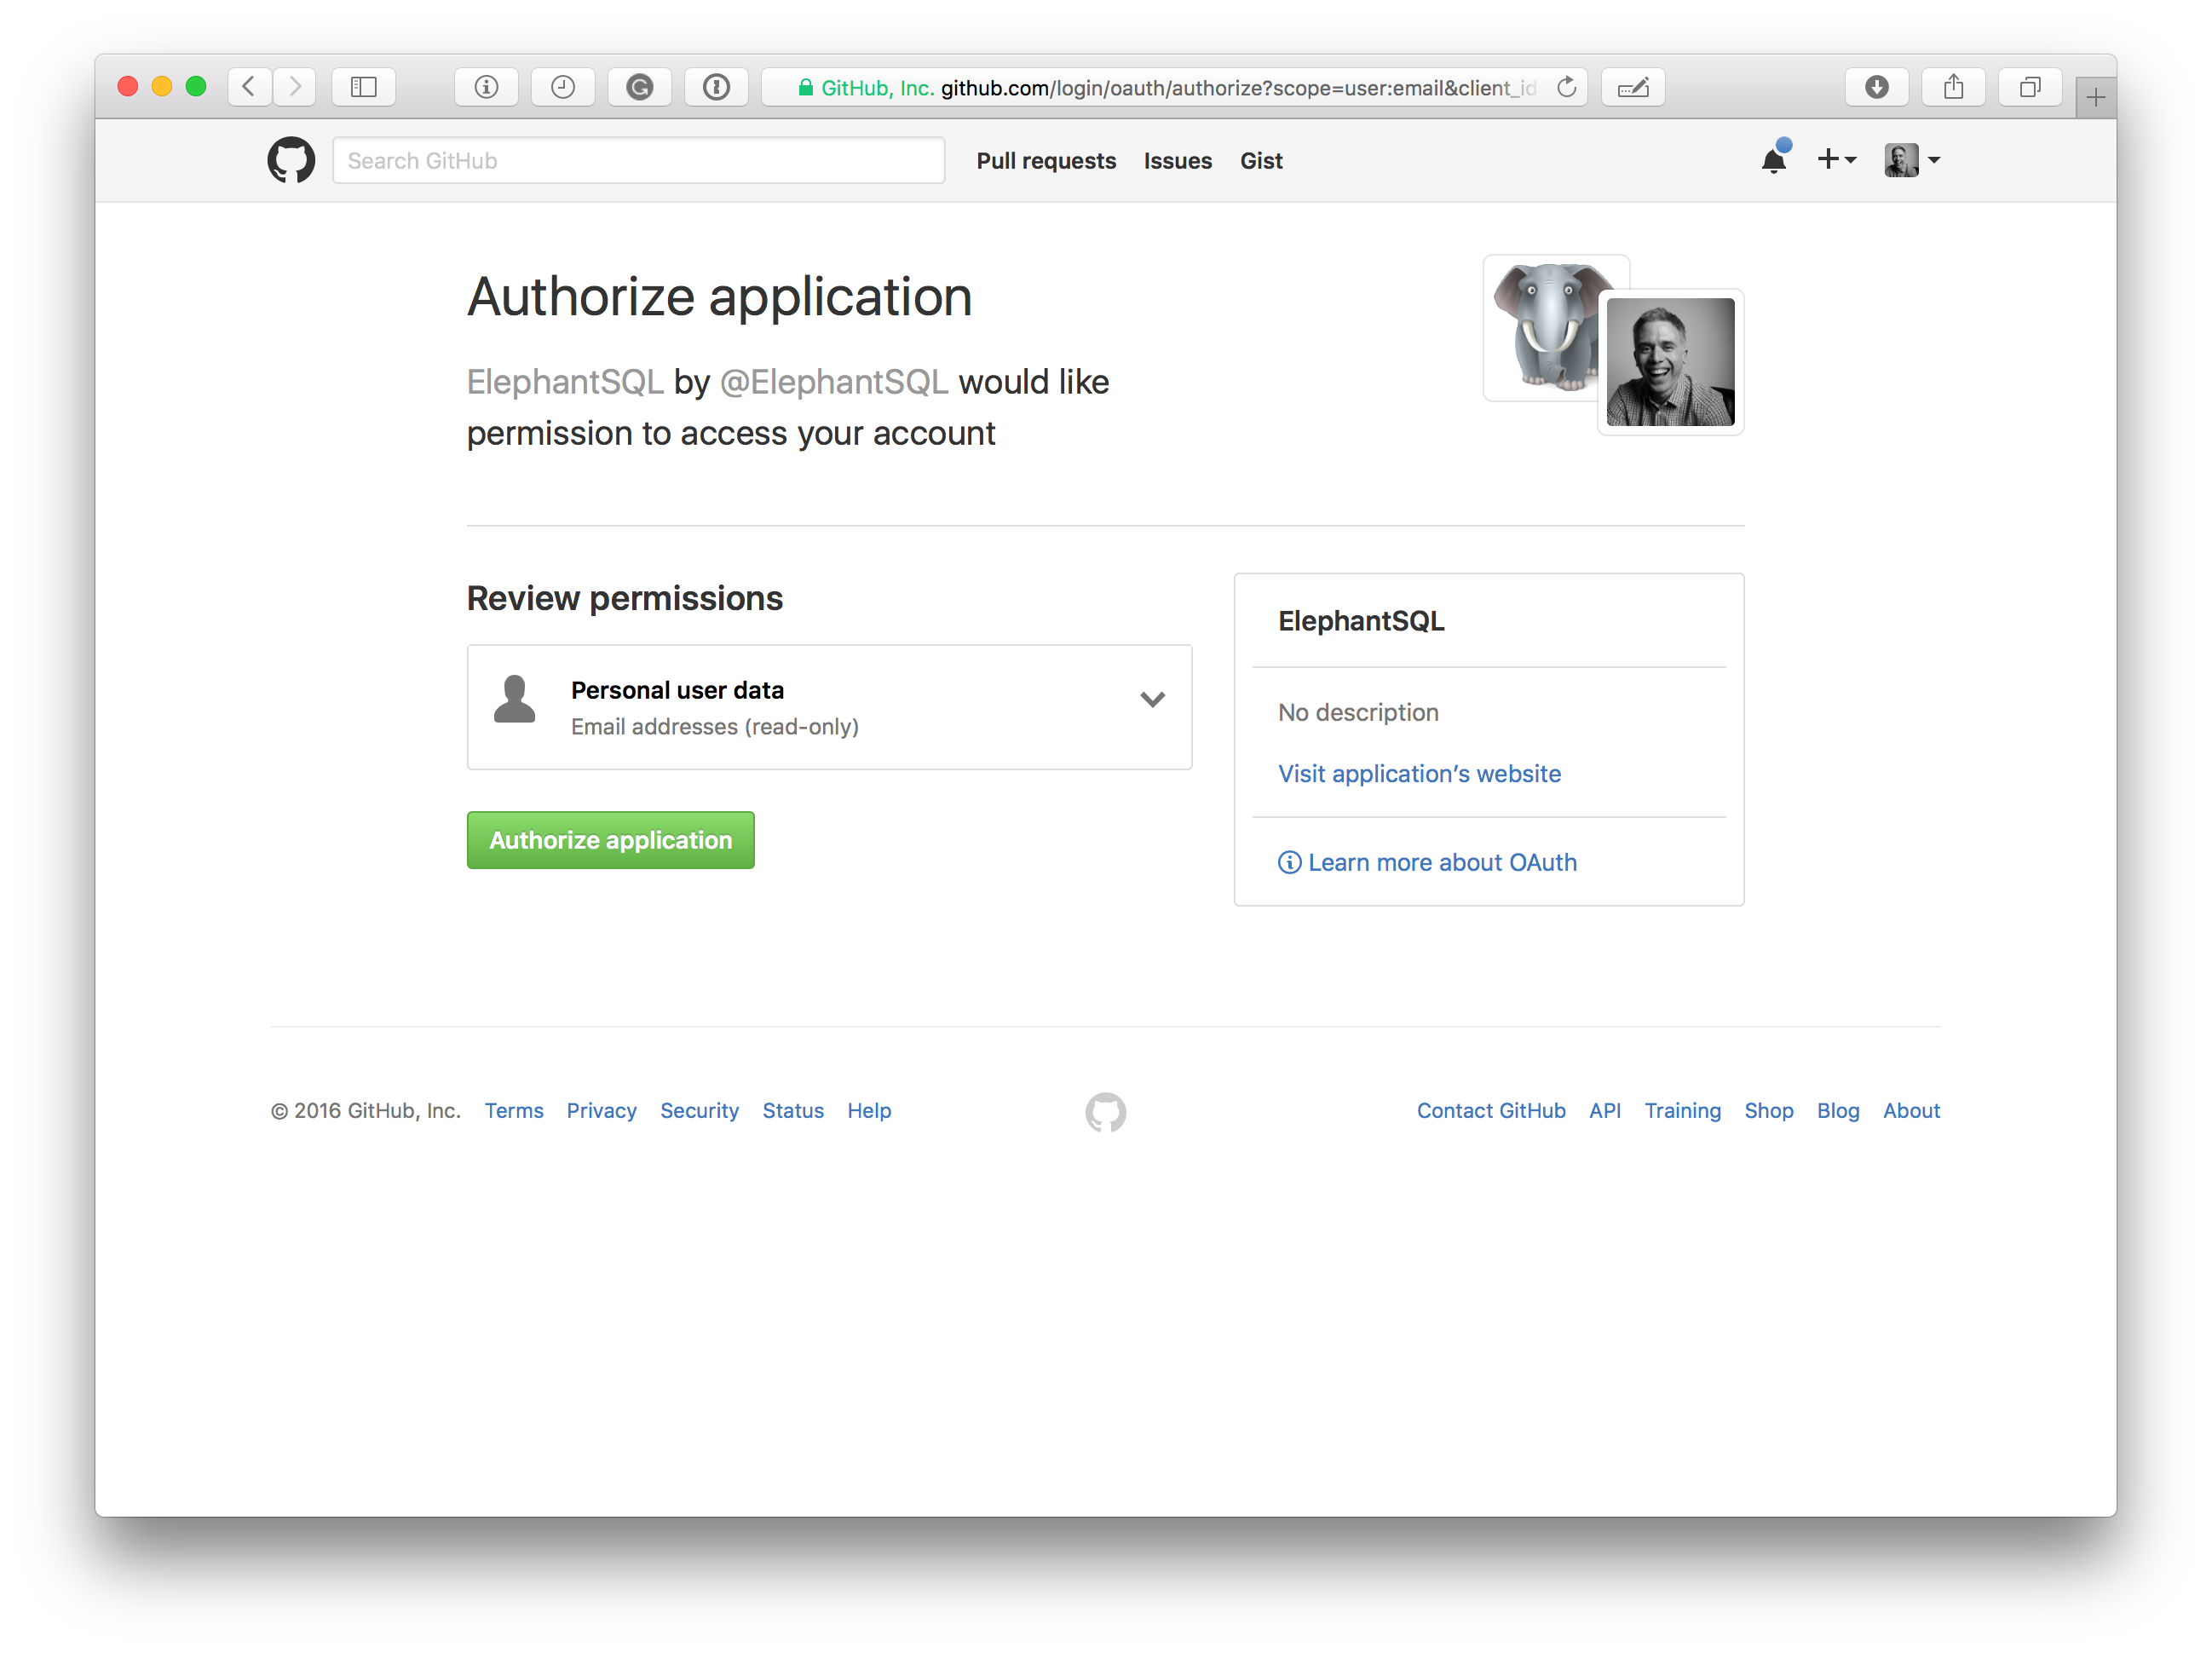
- Under Sign up, you’ll see a section titled Sign up or login. Click the button labeled Sign in with GitHub. You’ll be asked to authorize ElephantSQL’s access to your GitHub repositories.

- Click Authorize application. With that completed, you’ll be redirected and logged in to your ElephantSQL dashboard.
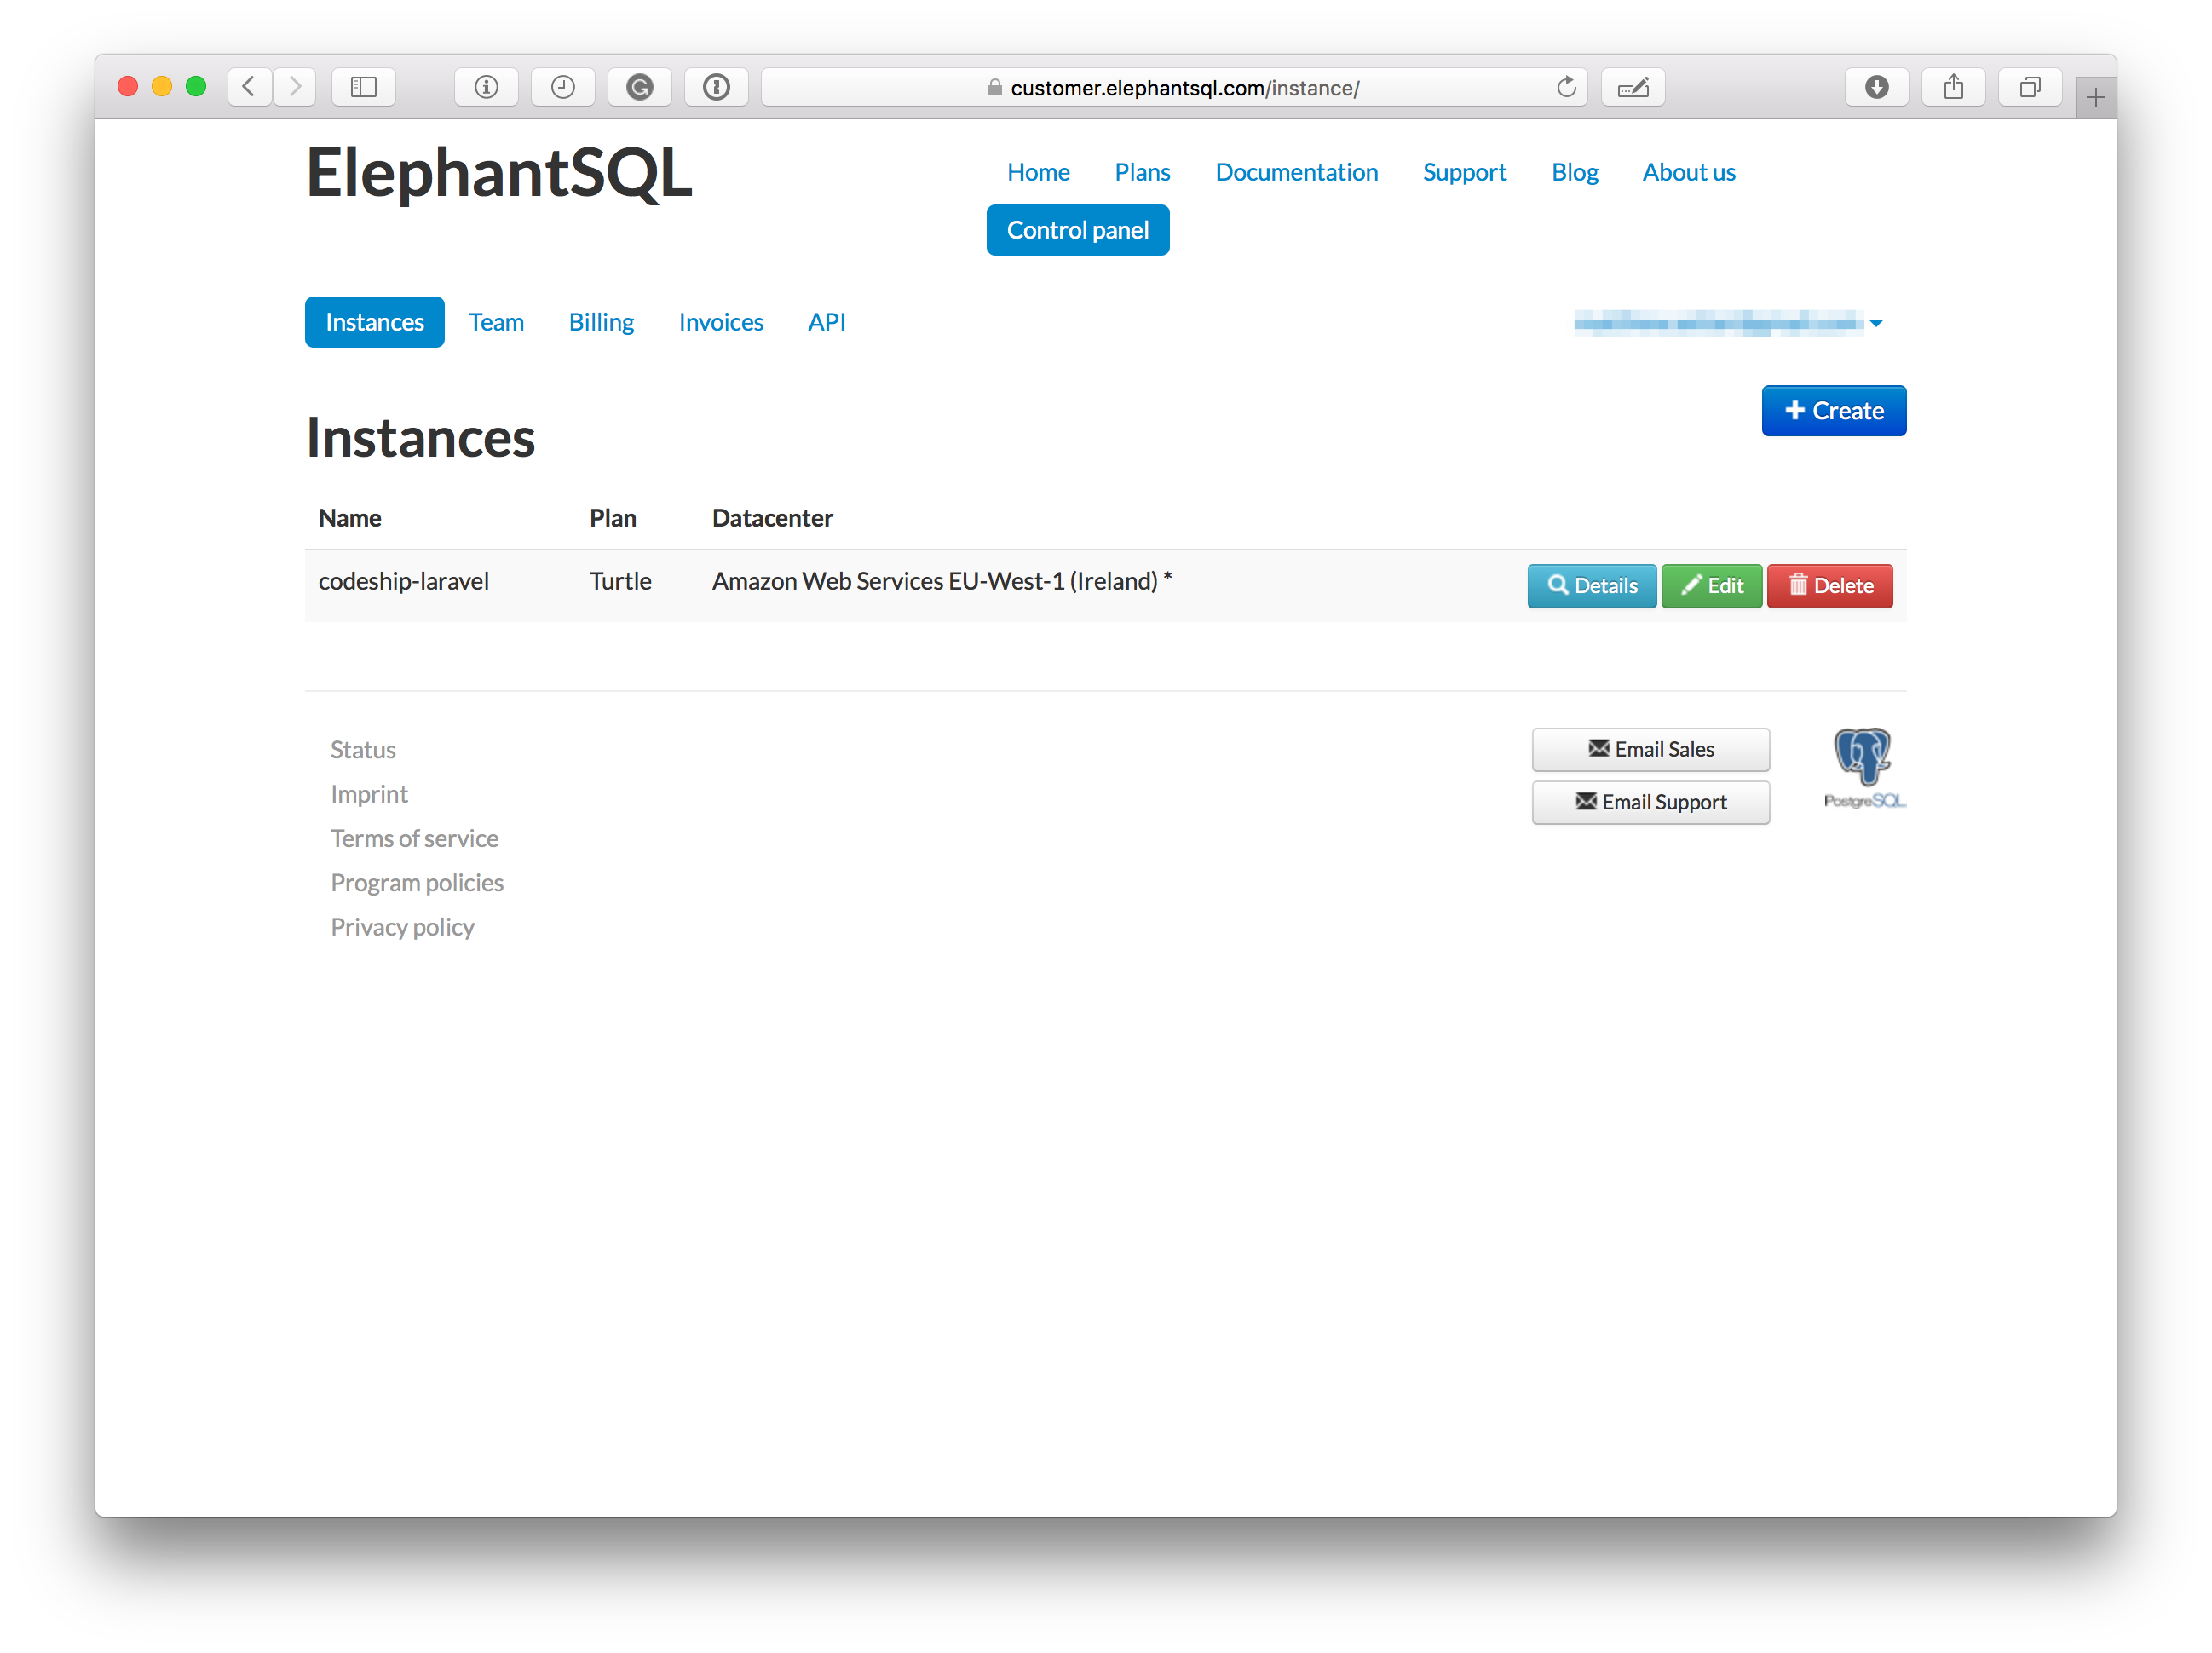
- Click the blue Create button on the right-hand side.
- Add a name for your database, pick a data center, and click Create. You’ll see your database in the list.
- Finally, we need to get the connection details, so that we can update our environment settings. Click Details, and make a note of the URL, hostname, database and usernames, and password.
- With those at hand, you need to add them to the production server configuration environment. I have a sample in the next section. You also need to set them in your environment settings.
I know, this has largely been taken care of quite effortessly so far. But this part takes a little bit of manual intervention, depending on how you’re handling server provisioning. The simplest way that I can recommend is by using Ansible.
If you’d like a more comprehensive guide, check out Using Packer and Ansible to Build Immutable Infrastructure by Marko Locher, here on the Codeship blog. Whichever way you go, ensure that those environment variables are set in your production environment.
The Deployment Server
Before we get on to working through how we’re going to deploy the code, we need to cover the deployment server and its requirements.
Make sure that the server supports either PHP 5.6 or 7.0 and has the pgsql extension installed and enabled. It also needs to have a recent version of Git installed.
Next, make sure that the NIGINX or Apache virtual host configuration is set up to host a Laravel application. Also, make sure that that the DB_ environment variables, which I showed you how to set earlier, have been set.
If you have all that done, there are no other critical services, packages, or configurations required. Here’s a minimal, sample, Apache VirtualHost configuration:
<VirtualHost *:80>
    ServerAdmin webmaster@localhost
    DocumentRoot /var/www/html/current/public

    ErrorLog ${APACHE_LOG_DIR}/error.log
    CustomLog ${APACHE_LOG_DIR}/access.log combined

    SetEnv DB_USERNAME your_database_username
    SetEnv DB_PASSWORD your_database_password
    SetEnv DB_DATABASE your_database_name
    SetEnv DB_HOST your_database_hostname

    <Location />
            RewriteEngine On
            RewriteCond %{REQUEST_FILENAME} -s [OR]
            RewriteCond %{REQUEST_FILENAME} -l [OR]
            RewriteCond %{REQUEST_FILENAME} -d
            RewriteRule ^.*$ - [NC,L]
            RewriteRule ^.*$ /index.php [NC,L]
    </Location>

</VirtualHost>
Deploying the Application
Now that the environment configuration is ready to go, we need to step through the deployment process. Like all things in PHP, there are a host of ways in which you can do it.
There’s Phing, Capistrano, SCP, Rsync over SSH, and so on. But the one that I’m going to be covering is a newer tool, one written specifically in PHP, called Deployer.
Deployer is a handy library that works in a similar way to Phing, Make, and Ant. You create one or more tasks that have to be run during deployment. You provide details of the deployment server you’re going to deploy on, whether that’s one server (such as production) or multiple (such as testing, production, and staging).
Then you run the deployment. All the tasks are run in the order in which you’ve specified them. All going well, the deployment works just as you expected.
What’s extra nice about Deployer, aside from being written in PHP, is that it comes with a series of prepackaged tasks and it supports rollback and deployment versioning. As far as its prepackaged tasks, there are task recipes for working with Composer-based builds as well as a variety of services and tools, such as New Relic, RabbitMQ, Slack, and HipChat.
To make Deployer available, copy the phar version to your repository by calling:
wget http://deployer.org/deployer.phar
This will bring in the latest version (3.3.0 at the time of writing). Next, we need to create a Deployer configuration file called deploy.php in the root of our project. It’s a little lengthy, so I’ll work through it a piece at a time.
require __DIR__ . 'vendor/autoload.php';
require __DIR__ . 'vendor/deployer/deployer/recipe/composer.php';

set("sudo_for_composer_is_wrong", true);
First, we import the classes we’ll be using and specify that we’re not going to attempt to use sudo with Composer.
server('digitalocean', getenv('PRODUCTION_IP_ADDRESS'))
    ->user(getenv('DEPLOY_USER'))
    ->password(getenv('DEPLOY_PASSWORD'))
    ->stage('production')
    ->env('deploy_path', getenv('DEPLOY_DIR'));
Next, we create a server configuration; in this case just one, called production. In the call to server(), we specify the hostname and IP address of the server.
We next call user() and password() to authenticate to the server as a given user. Alternatively, we could use a combination of user() and identityFile() to instead use SSH public keys. We then use stage() to give a name to the server and provide a custom environment variable, by making a call to env().
set('repository', getenv('REPOSITORY'));
set('keep_releases', getenv('RELEASES'));
Next, we set the repository where the code is located, as well as the number of releases to keep in addition to the current one, by making two calls to the set() method. This is responsible for setting Deployer configuration settings.
At this point, you can now see where all of the extra environment variables we added before will be used. By default, unless we set it explicitly, Deployer will keep up to five releases of our application. I know that we set RELEASES to five.
But I wanted to be explicit, particularly since this is a key setting. If something goes wrong, we can quickly roll back. Ideally, we’ll never have to do that, but it’s crucial to have it there should we need to.
task('deploy:copy-env-file', function () {
    $deployPath = '/var/www/html/current/';
    $envFile = '/path/to/your/.env/file';
    run("cp {$envFile} {$deployPath}");
})->desc("Copy the env file");

task('deploy:database-migrations', function () {
    $deployPath = '/var/www/html/current/';
    cd($deployPath);
    run("php artisan migrate");
})->desc("Run the database migrations");

task('deploy:done', function () {
    write('Deploy done!');
})->desc("Run artisan make");

task('deploy', [
    'deploy:prepare',
    'deploy:release',
    'deploy:update_code',
    'deploy:copy-env-file',
    'deploy:vendors',
    'deploy:symlink',
    'cleanup',
    'deploy:database-migrations',
])->desc("The main deployment process");
Now we write some custom tasks and compose the deployment pipeline. A task is composed of three parts:
- A name
- A callback, or list of tasks, which handles the task’s work
- A task description, which is optional
In the first task, we’re copying the environment file to our new installation. In the second task, we’re running the database migrations on our database hosted on ElephpantSQL. And in the third task, we’re creating a message to provide visual confirmation of the fact that the deployment is completed.
Now for the deployment pipeline. In this one, I’ve passed an array of pre-existing tasks (or recipes) to run which form the deployment process, along with our three custom tasks.
These will prepare the release, check out the latest version from the repository, run a composer update, symlink the latest copy as the current version, and remove any unnecessary releases, if there are more than the required number still present.
// The task to run after deployment
after('deploy', 'deploy:done');
Now for the last step. Here, we’re specifying what to do when a release finishes. In this case, we’re running our custom notification task, which we saw just a moment ago.
The Deployment Pipeline
We now have one final task to take care of before we can run the deployment: create a deployment pipeline.
- Under Project Settings -> Deployment, click Custom Script. You’ll see a text box, similar to what we’ve seen previously when setting the Test configuration.
- Add the following, adding in the details for your deployment server.
export PRODUCTION_IP_ADDRESS=
export DEPLOY_USER=
export DEPLOY_PASSWORD=
export DEPLOY_DIR=
php deployer.phar deploy production
This will export the environment settings that the deployer needs and then run the deployer binary, calling the deploy method, and specifying that the server we’ll be deploying to is named production. That will then run the deployment pipeline which we established, and finalize the deployment.
Deploying the Application
With all that done, we’re now ready to deploy our application. Assuming you’ve not pushed the change to the application to the repository yet, push them now, and a new build will be triggered.
A few minutes after you’ve pushed the code, the build will be triggered. If all goes well, your shiny Laravel application will be deployed.
Conclusion
And that is how you can set up a deployment pipeline for Laravel with Codeship. Admittedly, it’s a bit of a long pipeline, but it’s completely transparent as to what’s going on and how it’s been setup. There are a number of moving parts, but when combined together, they work very well.
| Reference: | Getting Started With Laravel On Codeship – Part II from our WCG partner Matthew Setter at the Codeship Blog blog. |
