This article is part of our Academy Course titled Building web apps with Node.js.
In this course, you will get introduced to Node.js. You will learn how to install, configure and run the server and how to load various modules.
Additionally, you will build a sample application from scratch and also get your hands dirty with Node.js command line programming. Check it out here!
Table Of Contents
1. What is Node.js?
According to nodejs.org site:
“Node.js is a platform built on Chrome’s JavaScript runtime for easily building fast, scalable network applications. Node.js uses an event-driven, non-blocking I/O model that makes it lightweight and efficient, perfect for data-intensive real-time applications that run across distributed devices.”
Node.js is a platform where we can write server side Javascript and build full-fledged web applications. We can even create web servers based on node.js with a proper security model implemented on top of our application.
Node.js enables programmers to write JavaScript on the server side, which provides access to things like the HTTP stack, TCP, file I/O, and databases.
We will need to use an event-driven, non-blocking I/O model for programming a node.js application as the platform is governed by the above model. Node.js is capable of handling concurrent network connections – so it can be used for data-intensive or real time applications.
Some of the applications that can be built with node.js are:
- Web Applications
- HTTP Proxy based applications
- SMTP Servers used for mail
and other applications which are network intensive.
As we mentioned, all programs built with node.js are actually developed using Javascript. So, in order to understand and work with node.js, we expect that the reader has a basic knowledge of Javascript. All of the applications, which we will develop during this course, will be developed with Javascript.
2. Node Package Manager
In node.js world, all the libraries for communicating with different applications are maintained as node.js modules. We can install and manage all the modules from the node.js repository using Node Packeage Manager, or NPM. NPM also allows us to manage modules in a local machine in isolated way, allowing different applications installed in the same machine to depend on different versions of the same module without creating conflicts. Also, NPM allows different versions of the same node.js module to coexist in the same application development environment.
3. Node.js Installation
Node.js can be installed on a Windows or Linux Environment.
3.1. Install Node.js in Ubuntu Linux from Binary
To install node.js on Ubuntu, we have to go to http://nodejs.org/download/.
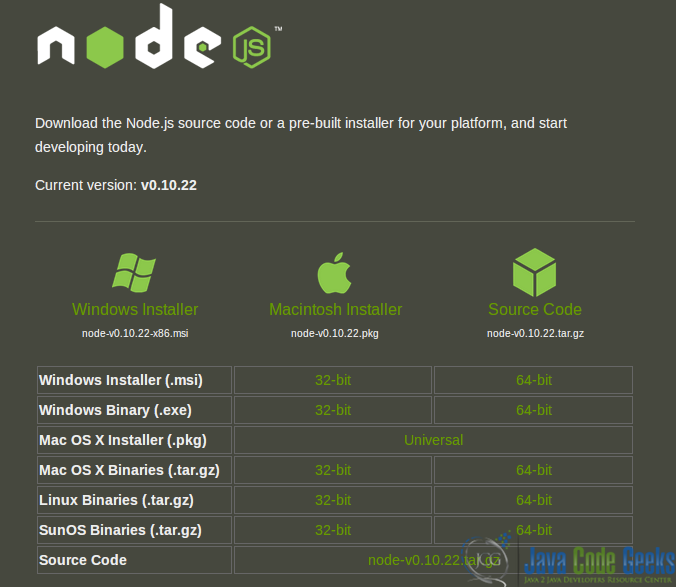
We need to select 32-bit or 64-bit linux binaries as per the requirements of our local machine configuration.
For this example we will download the binary file node-v0.10.22-linux-x64.tar.gz.
Now we have to open a terminal and perform the following operations:
First we create a directory named nodeinstall in our machine root.
sudo mkdir nodeinstall
Please note that root privileges are required in order to execute the command.
Now we need to copy the binary using the following command:
sudo cp <>/node-v0.10.22-linux-x64.tar.gz /nodeintsall/
Go to the folder nodeinstall.
cd /nodeinstall/
To untar the linux binary, we will use:
sudo tar -zxvf node-v0.10.22-linux-x64.tar.gz
Now go to /node-v0.10.22-linux-x64/bin folder.
cd /node-v0.10.22-linux-x64/bin
Now simply run node from command prompt.
node
The node.js console will open a node.js interactive console through the Node.js Read-Eval-Print Loop (REPL), to which we can send JavaScript commands.
It will show a prompt with “>”.
Now to quickly check whether everything is fine or not, we will use the following in node.js prompt:
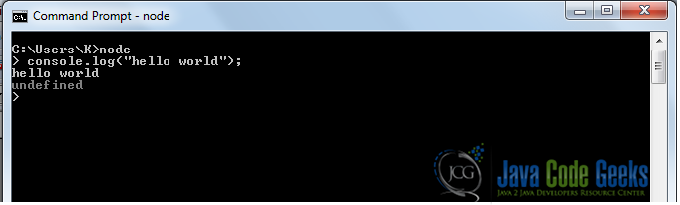
console.log("hello world");
The Output must match the following screen.

The “hello world” will be prompted in the node.js console. Also we have “undefined” written below the content. Here the REPL will print the value of expression here. Here, since the console.log function is returning nothing, the variable value will be printed as “undefined”.
To exit from the node console, we need to press – ctrl+z or ctrl+c (twice).
3.2. Install Node.js in Windows from Binary
Download the Windows installation file from the Node.js site. Double click on the setup file. It will open the installation window.
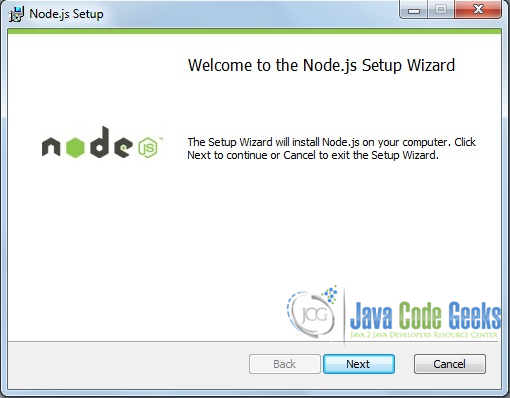
Click on Next.
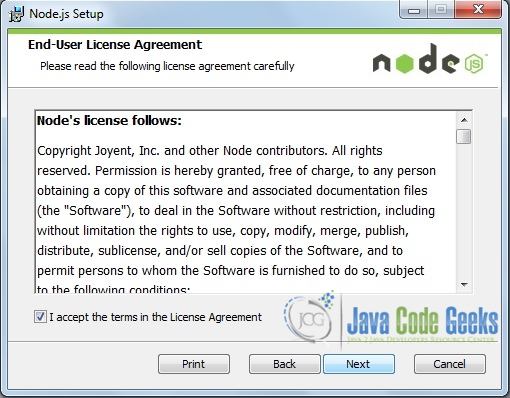
Click on the check-box of “I accept the terms in the License Agreement”, then click Next.
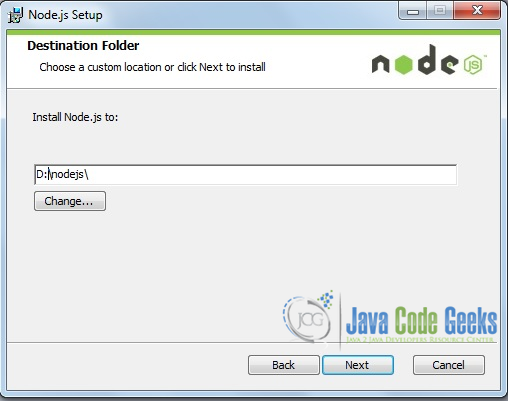
Provide the installation path where the application will be installed.
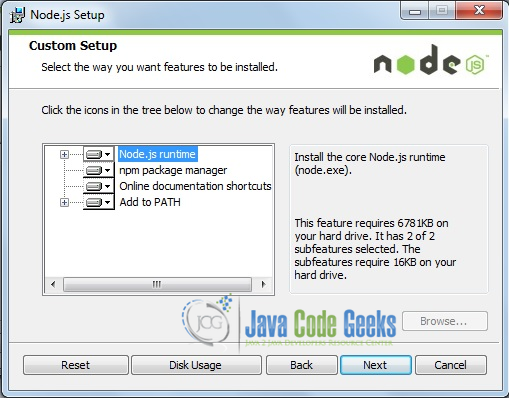
Click Next.
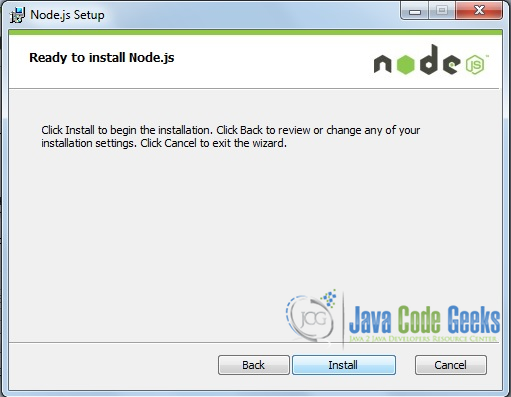
Click Install.
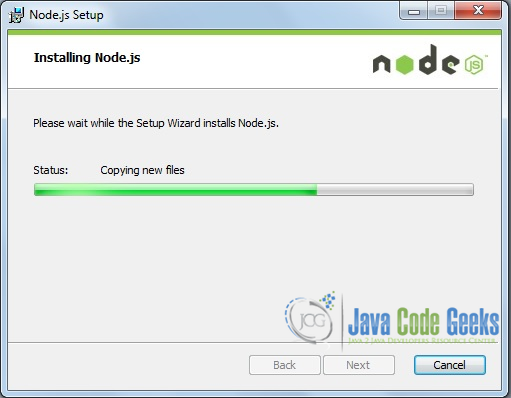
It will take some time to install. Do not cancel the installation.
After completion we will be provided with the following image:
Click Finish to complete the installation.
Now simply run node from command prompt.
node
The node.js console will open a node.js interactive console through Node.js Read-Eval-Print Loop (REPL), to which we can send JavaScript commands.
It will show a prompt with “>”.
Now to quick check whether everything is fine or not we will use the following in node.js prompt:
console.log("hello world");
The Output must match the following screen.
The “hello world” will be prompted in the node.js console. Also we have “undefined” writen below the content. Here the REPL will print the value of expression here. Here as console.log function is returning nothing, the variable value will be printed as “undefined”.
To exit from the node console, we need to press – ctrl+c (twice).
3.3. Build and install Node.js from source code in Ubuntu Linux
We need to download the binary file node-v0.10.22.tar.gz as per our machine configuration.
Now we have to open a terminal for the following operations:
First we create a directory nodesourceinstall in our machine root.
sudo mkdir nodesourceinstall
Please note that root privileges are required in order to execute the command.
Now we need to copy the binary using the following command:
sudo cp <>/node-v0.10.22.tar.gz /nodesourceintsall/
Go to the folder nodesourceinstall.
cd /nodesourceinstall/
To untar the linux binary, we will use:
sudo tar -zxvf node-v0.10.22.tar.gz
Now go to /node-v0.10.22/ folder.
cd /node-v0.10.22/
Now the hard work. (Following 3 commands are to be executed one-by-one):
sudo ./configure
We need to give the root password as needed.
Next is:
sudo make
The third one is:
sudo make install
Now we will run node from command prompt:
node
The node.js console will open a node.js interactive console through Node.js Read-Eval-Print Loop (REPL), to which we can send JavaScript commands.
It will show a prompt with “>”.
Now to quick check whether everything is fine or not we will use the following in node.js prompt:
console.log("hello world");
The Output must match the following screen.

The “hello world” will be prompted in the node.js console. Also we have “undefined” written below the content. Here, the REPL will print the value of expression here. Here as console.log function is returning nothing, the variable value will be printed as “undefined”.
To exit from the node console, we need to press – ctrl+z or ctrl+c (twice).
4. Creating a http server in Node.js
To get a quick handle on node.js applications, we can write a simple http server in node.js.
Procedures:
- We will create a folder named
nodeappsin our machine. - We will create a file named
sampleserver.jsin the folder.
And we will write the following code in the sampleservers.js file, as follows:
sampleserver.js:
var http = require('http');

function dealWithWebRequest(request, response) {
  response.writeHead(200, {"Content-Type": "text/plain"});
  response.write("Hello Node.js");
  response.end();
}

var webserver = http.createServer(dealWithWebRequest).listen(8124,"127.0.0.1");

webserver.once('listening', function() {
	console.log('Server running at http://127.0.0.1:8124/');
});
Now we will run the following command in the Linux terminal using the node.js executable:
node sampleserver.js
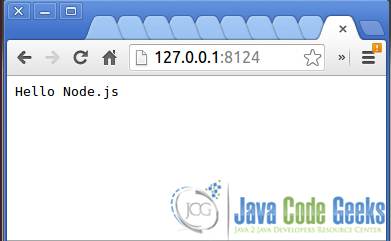
We will have the following message in the console (Server running at http://127.0.0.1:8124/).

If we point the web browser to the previous URL, we will have following output:
Now let’s explain the above node.js code.
var http = require('http');We are using the Node.js
httpmodule. We are doing a lookup for the http module in the function call. We are calling the http module and assign the functionality to any variable (here it is “http”). This variable further serves for functional references in next calls.var webserver = http.createServer(dealWithWebRequest).listen(8124,"127.0.0.1");http.createServer will create a http server here and will assign it to variable
webserver. Also, at the end of the closure, the TCP port and server address are given. These define where the server will run. Here, the server address is 127.0.0.1 and the TCP port is 8124.We’re binding the function to the server request event. This event will fire when server receives a HTTP request. This function will be called for every request that this server receives, and we need to pass two objects as arguments: HTTP request and HTTP response. The response object will be responsible for the reply message to the client.
function dealWithWebRequest(request, response) {
        //Some code here
}
This is the callback function, which is passed as argument in htttp.createServer(…) module which is a normal function passing as argument in Javascript.
- Three inner lines in the function:
    response.writeHead(200, {'Content-Type': 'text/plain'});
    response.write('Hello Node.js\\n');
    response.end();
We are writing an HTTP header specifying the content type of the response. So, for this sample server we have set the content type as text/plain in the first line.
Next, we are writing the message with
response.writeand ending the HTTP server response object to render message to the browser. This means theresponse.endwill send the message to browser and tell HTTP Protocol to end the response.response.write('Hello Node.js\\n'); response.end(); - After completing the whole work we have the listener setup for the server
     server.once('listening', function() {
        console.log('Server running at http://127.0.0.1:8124/');
     });
Once the server is listening on that port, the listening event is firing. We have instructed node.js to log a message in that particular listening event.
5. Download the Source Code
This was a tutorial of installing Node.js. You may download the source code of this tutorial here: SampleServer.zip

Very nice article !