Released earlier in 2017, Docker’s new native applications for Windows and Mac replaced the older methods for running Docker on Windows and Mac and created a better experience for developers using those platforms.
The previous solution, Docker Toolbox, depended on VirtualBox to create a small Linux virtual machine that hosted your images and containers. It worked well but could be unreliable at times and required workarounds that sometimes resulted in unexpected outcomes or not working at all.
Docker for Mac instead uses virtualization technology that is already part of Mac OS X: HyperVisor. Docker for Windows uses Microsoft’s virtualization technology, Hyper-V. These changes aim to make your Docker containers run faster than before, take up less disk space, and fit better into your operating system.
This post is intended as a getting-started overview alongside tips and gotchas that I noticed whilst using Docker on different platforms. I am by no means an advanced Docker user, but I hope having everything you need in one place is helpful to you.
Docker for Windows and Mac
As the application uses newer technologies only available in newer machines and OS versions, it has minimum requirements, which are:
Mac
- A 2010 or newer model, with Intel’s hardware support for memory management unit (MMU) virtualization
- OS X 10.11 or newer
- At least 4GB of RAM
- VirtualBox prior to version 4.3.30 must not be installed, as it will cause issues with Docker for Mac
Windows
- Microsoft Windows 10 Professional or Enterprise 64-bit
If your computer or OS doesn’t meet requirements, then you can still use the older Docker Toolbox version that uses VirtualBox. But even to use Docker Toolbox, you will still need a 64-bit version of Windows 7 or later.
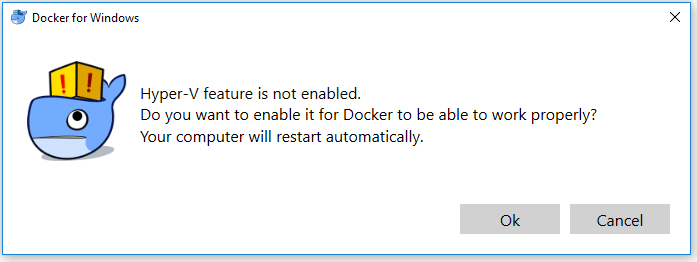
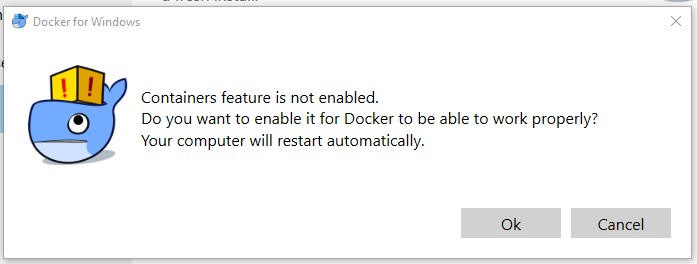
One of the first gotchas to look out for when using Docker natively on Windows is that it needs Virtualization and Hyper-V (Windows native virtualization) enabled; this will cause VirtualBox to stop working. If you use any other virtual machines (including Vagrant), then you’re out of luck.
When you run Docker for the first time, it will check that Hyper-V is enabled and if not, enable it for you. You may need to enable virtualization on your processor, which involves changing BIOS settings. This is a potentially complex step, but this guide might help.
Install and set up
Download for Mac here and Windows here. Recent changes to the way Docker brands its versions have made this more confusing than it used to be, but these links should take you directly to the correct pages.
Co-existing with Docker Toolbox
If you are using Docker Toolbox and Docker Machine on a Mac, your images and containers can typically coexist together.
On Windows, this is not possible locally, but you can use Docker Machine to create remote containers. Docker for Mac and Windows are fully native to the host platform and install everything into locations you would expect (e.g., the Applications folder on a Mac), using symlinks to make certain tools accessible on the command line.

First launch and configuration
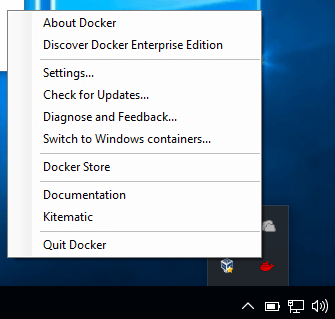
When you first run the Docker application, it will check your system for compatibility and requirements, show a welcome screen, and then start the Docker process. Your main interaction with the Docker application will be via a menu bar item, for example, to stop and start the Docker process, open Kitematic for GUI access to your containers, find documentation, and access preferences.
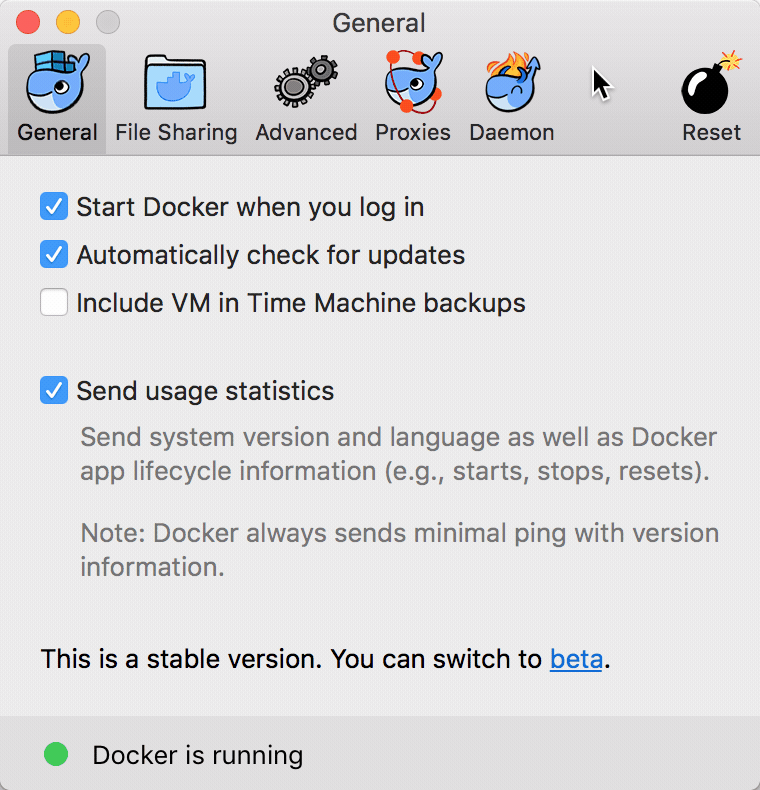
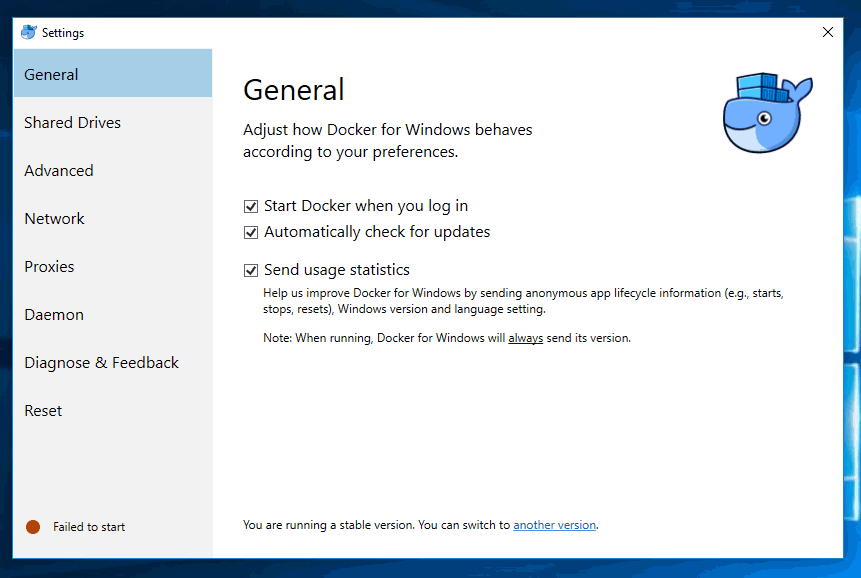
General
The General pane has settings for launch, updates, usage statistics, and excluding the virtual machine from backups (Mac only), which is a simple but useful feature to have, as it can end up being a large file.
File sharing
While sharing volumes between Docker containers and the host operating system was possible with Docker Toolbox, it could be slow and suffer permissions issues.
Docker for Mac uses a new file system created by Docker called ‘osxfs’. I can’t find much detail on the new file system, but there is some info here. You can add or remove share local paths to share with containers using the + and – buttons, but these paths shouldn’t overlap, e.g., not Users and Users/homefolder.
Docker for Windows uses SMB and you can only share an entire drive to Docker. Make sure you use credentials that have necessary permissions to access the paths you will need in containers.
Advanced
This pane lets you change the specs of the virtual machine and change the location of the disk image.
Proxies
The application should automatically detect any HTTP(s) proxy settings you have at an operating system level, but you can check or override them here. While not a part of this preference pane, it will also automatically detect any VPN settings you have, allowing access to any containers running within it.
Daemon
Finally, in the Daemon pane, you can opt in to experimental features and configure registries you use for custom images. If you’re feeling bold, you can configure the same options via the embedded JSON field.
Using Docker natively
Little of the process for using Docker has changed, except that it requires fewer steps. To start Docker, open the Docker application, and quit it to stop Docker. While Docker is running, you should be able to access it via Kitematic and any Mac or Windows shells (except Bash for Windows, as that is its own virtualized environment) and issue Docker commands as normal.
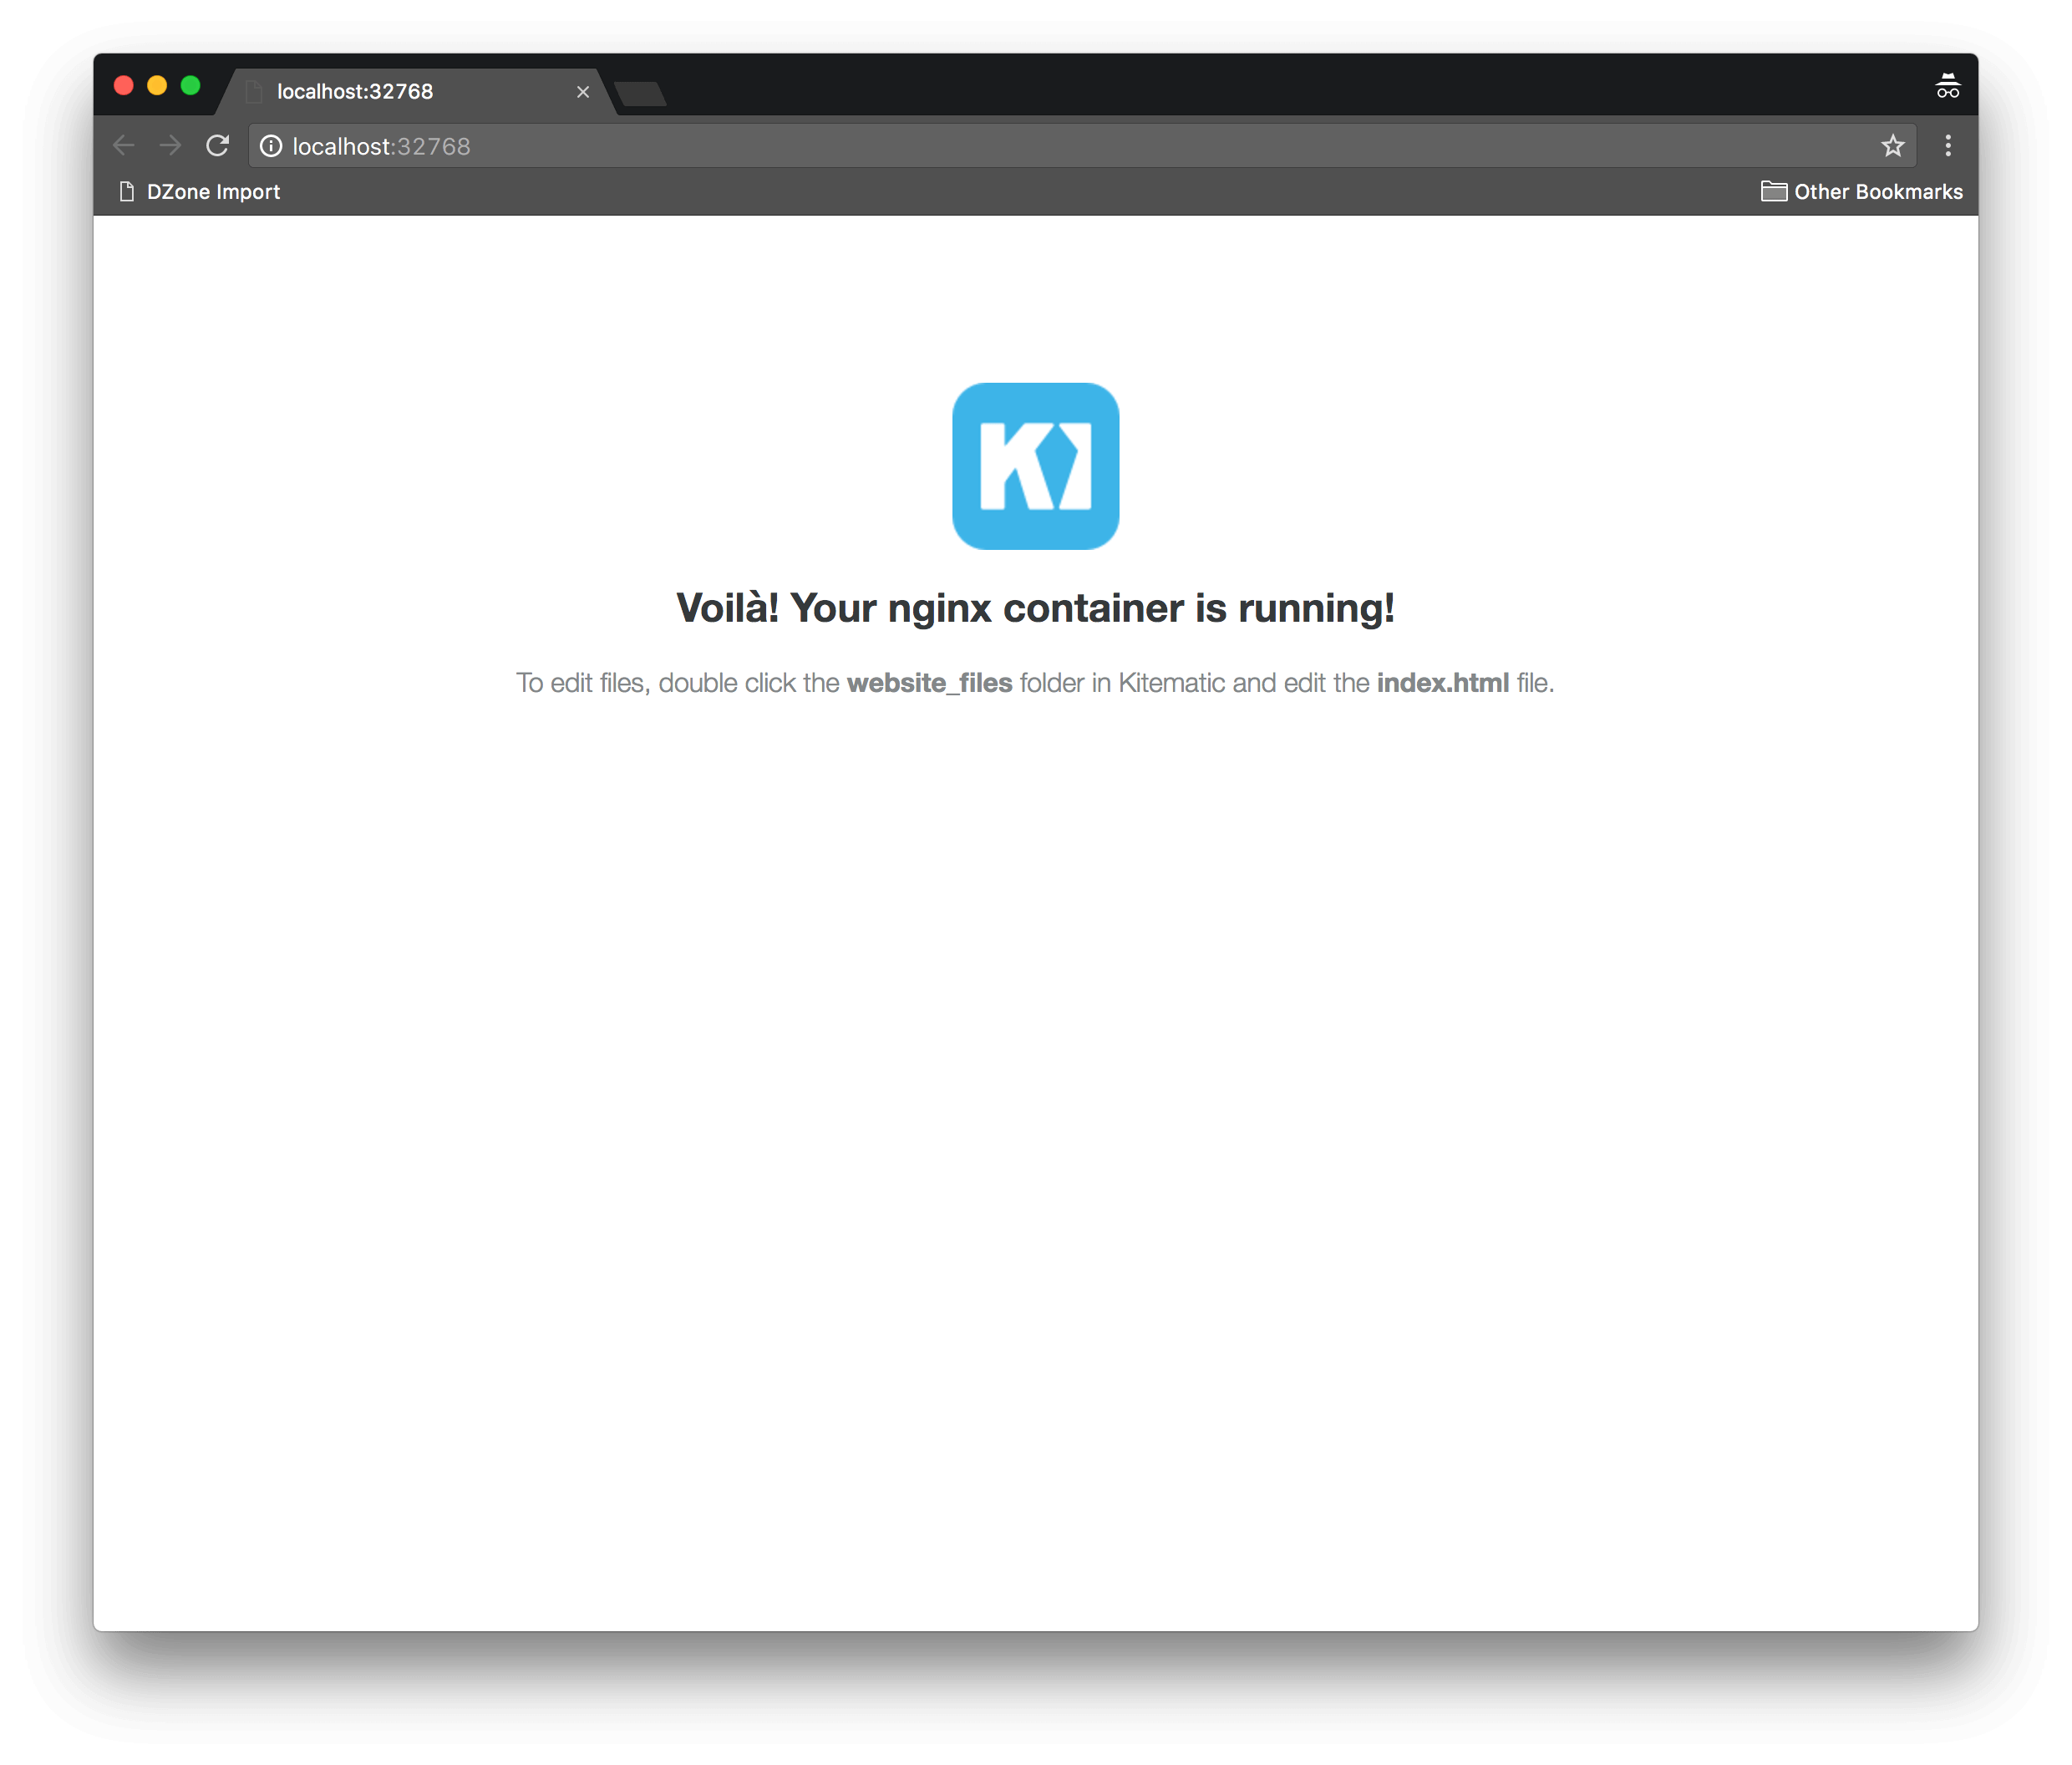
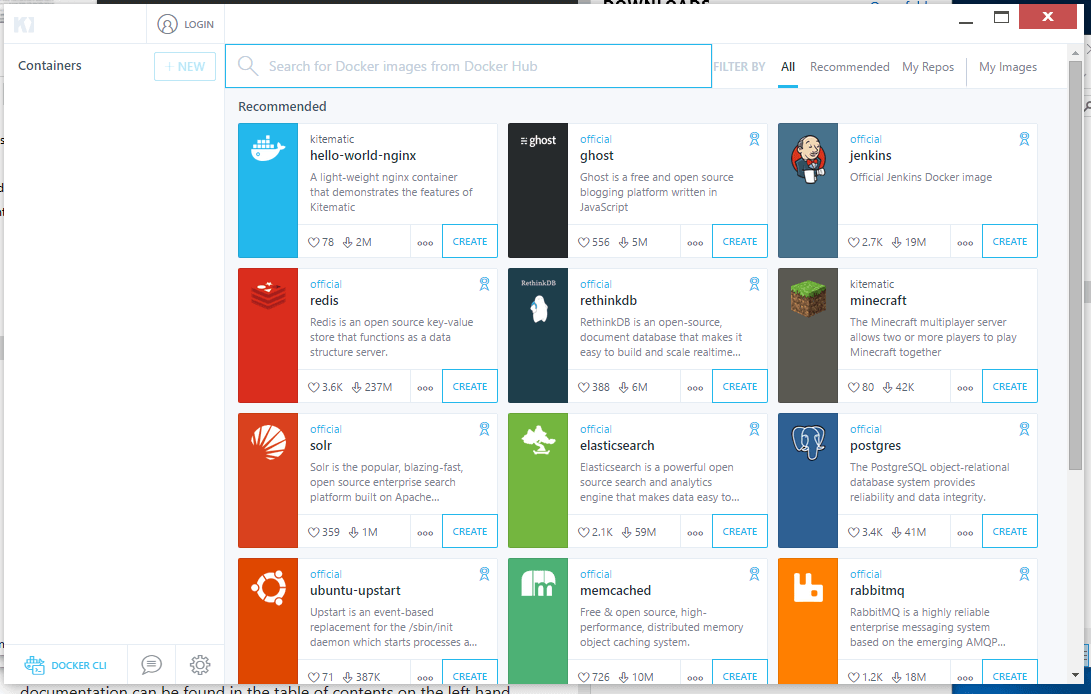
For example, with the application running, you can use Kitematic or the command line to download and start images as containers. Here’s the ‘hello world’ image running in Kitematic:

Notice something else cool there? No more custom IP addresses to remember! All your Docker containers now run on localhost and will be port mapped to the address.
Other Docker commands such as docker-compose and docker-machine work, but for Machine (and thus Swarm) you will need to define a non-native driver. This means you can manage Docker Machine from your Mac or Windows machine, but they will still be hosted elsewhere and still need to be managed by the traditional eval $(docker-machine env default) commands.
Bonus: Want to access the VM on a Mac?
oh just : screen ~/Library/Containers/com.docker.docker/Data/com.docker.driver.amd64-linux/tty – and boom you're in the vm
— Lorenzo Fontana (@fntlnz) April 3, 2017
Here’s a random tip that doesn’t completely fit into this post, but I wanted to share with you. I was fortunate enough to have dinner with Lorenzo Fontana, a Docker Networking contributor and also a Codeship contributor. During dinner, he mentioned a peculiar command that allowed you to jump straight into the VM on a Mac.
screen ~/Library/Containers/com.docker.docker/Data/com.docker.driver.amd64-linux/tty
This may or may not be useful to you, but I thought it was cool.
Windows containers
An interesting feature of Docker for Windows is the ability to toggle running Windows containers as well as Linux containers by changing the daemon that Docker speaks to in the settings pane.
This means you can also experiment with containers running Windows server services and .NET applications.
Linux
Docker is Linux-native, so theoretically Linux should be the easiest platform to install on. Well, yes and no. As is traditional with Linux, you have more control over setup, but that control requires extra steps and configuration.
Installing Docker on Linux has become more complicated. As there are differences between the community and enterprise editions, I will stick to explaining the community edition.
I won’t repeat the steps for installing Docker on every flavor of Linux here, as the Docker documentation does a fine job, but I will highlight necessary steps to ensure you can follow easily, as well as problems I’ve experienced.
System requirements
For Docker to function, you need the Linux kernel version 3.10 or above. If you have an up-to-date version of Linux, you probably already have this installed, but you might not. You can update the kernel, but this can potentially change the behavior of your operating system in other ways. If you want to give that a try, then this post will hopefully help.
Most distributions need you to have certain packages installed. These are for storage drivers and secure repository access; again, these are all easy to install.
Installing
Before installing Docker, make sure you remove any older versions, as some distributions maintain their own packages that are out of date.
As noted above, Docker now comes in two versions, so make sure that after following the prerequisite steps, you install the correct version:
sudo apt-get install docker-ce # Community edition
sudo apt-get install docker-ee # Enterprise edition
Running Docker
All interaction with Docker on Linux is via the command line, so you will need to become familiar with the command line tools it offers.
Running Docker as a non-root user
As Docker binds to a Unix socket owned by the root user and not a TCP port, the Docker daemon by default runs as the root user. When running Docker on a local machine, I found this can become annoying and confusing and I found myself wanting to switch to a non-root user.
To change this behavior, you need to create a new group and give it permissions to access that socket. Note that while this is more convenient, it does grant privileges equivalent to a root user, which has security implications.
Create the group:
sudo groupadd docker
Add yourself to that group (or another user):
sudo usermod -aG docker $USER
Log out and log in again, and the following command should work:
docker run hello-world

Docker for All
Recent additions to Docker editions have complicated this slightly, but now more than ever, you should find installing and using Docker as seamless as possible for your operating system, with earlier versions containing more irritations and edge cases. It’s still not perfect, but the team works hard to solve any issues you may find or propose workarounds.
What have been some of your biggest confusions with Docker on your OS of choice?
| Reference: | Docker for Windows, Linux, and Mac from our WCG partner Chris Ward at the Codeship Blog blog. |
