Previously we modified our setup to use a role from ansible galaxy to install and configure redis. One key thing lacking here is that one rarely needs to just use a role from ansible galaxy by itself so next up we’ll modify our playbook to define the server as a role that uses the redis role.
Creating Our Role
First up we’ll create a role directory containing our role and a few subdirectories we’ll use later.
mkdir -p roles/redis/{meta,tasks,defaults}Next up, we’ll move the geerlingguy.redis role into a dependency for this new role in roles/meta/main.yml.
---
dependencies:
  - role: geerlingguy.redis
We also change the playbook.yml to reference this new role and remove the Hello World task we added in part one.
---
- name: A demo to run ansible in a docker container
  hosts: all
  roles:
    - redis
That’s all for now. We’ll run packer build template.json one more time before we move on to make sure everything is working fine. If it’s not, check out the current directory structure at https://github.com/jamescarr/pad-tutorial/tree/part-3-a.
Making It Dynamic
This has been nice and all but now we’ve reached a point where we need to create more server roles. We could just copy and paste the existing template.json and change a few bits but that will become a headache, won’t it? What we should do is use a variable in packer to dynamically change which role we use.
The good news is that we already have a packer variable named ansible_role that we can repurpose for this need. We previously set it to default but we’re going to change it to specify the role to run. With this in mind, we modify our playbook.yml to use the ansible_host variable as the role that is included.
---
- name: A demo to run ansible in a docker container
  hosts: all
  roles:
    - "{{ ansible_host }}"
While we’re at it, let’s also change the docker image name and add a variable for the version number too. Add a version variable to the variables section of template.json and default it to latest.
"variables": {
    "ansible_host": "",
    "version": "latest",
    "ansible_connection": "docker",
    "ansible_roles_path": "galaxy"
  },
We also update the post-processor section to use the ansible_host and version.
"post-processors": [
    [
      {
        "type": "docker-tag",
        "repository": "jamescarr/{{ user `ansible_host` }}",
        "tag": "{{ user `version` }}"
      }
    ]
Now we can run packer again but this time we specify the ansible_host. We’ll just build a docker image with the latest tag but if we wanted to override it we could specify the version too.
> $ packer build -var 'ansible_host=redis' template.json
Now we can create separate roles for any new docker image we want to build with this template and can include any cross cutting, “all images get this” tasks to the playbook.yml but it is good to keep them all encapsulated in a single role.
Add Another Role
With all this snazzy dynamic pieces in place, let’s add one more role to build a docker image for. For fun, we’ll select RabbitMQ. A quick google makes it appear that Mayeu.RabbitMQ is the role to use so let’s run with that and add it to our requirements.yml.
---
- src: geerlingguy.redis
  version: 1.1.5
- src: https://github.com/jamescarr/ansible-playbook-rabbitmq/archive/e303777.tar.gz
  name: Mayeu.RabbitMQ
In this case, I actually discovered a defect in the latest release of the role that I was able to easily fix so I instead reference the git commit hash of my fork. Thankfully anisble-galaxy is flexible like that.
Since we’ll probably find ourselves changing this often, let’s add a shell-local provisioner to packer under the provisioners section to run ansible-galaxy all the time as the first step.
{
   "type": "shell-local",
   "command": "ansible-galaxy install -p galaxy -r requirements.yml"
}
Next up we’ll create the role structure for our RabbitMQ role.
> $ mkdir -p roles/rabbitmq/{meta,tasks,defaults}This time around we won’t just use the galaxy role, we’ll also configure it to our likings. For our needs we want to configure RabbitMQ with a host of plugins and define a default vhost with one user that can write to any exchange (but not configure or read from queues) and one user that is the administrator. With this in mind we add the following to roles/rabbitmq/meta/main.yml.
---
dependencies:
  - role: Mayeu.RabbitMQ
    rabbitmq_ssl: false
    rabbitmq_plugins:
      - rabbitmq_management
      - rabbitmq_management_agent
      - rabbitmq_shovel
      - rabbitmq_federation
      - rabbitmq_shovel_management
    rabbitmq_vhost_definitions:
      - name: "{{ main_vhost }}"
    rabbitmq_users_definitions:
      - vhost:    "{{ main_vhost }}"
        user:     user1
        password: password
        configure_priv: "^$"
        read_priv: "^$" # Disallow reading.
        write_priv: ".*" # allow writing.
      - vhost:    "{{ main_vhost }}"
        user:     admin
        password: password
        force:    no
        tags:
        - administrator
We also use the same vhost name multiple times so rather than duplicate it all over we define a variable for it in roles/rabbitmq/defaults/main.yml.
---
main_vhost: /faxanadu
With all of these bits in place, let’s run packer to build out our new rabbitmq docker image!
> $ packer build -var 'ansible_host=rabbitmq' template.json
When this is done, we should have a docker image that can run rabbitmq with our expected configuration details!
jamescarr@Jamess-MacBook-Pro-2 ~/Projects/docker-ansible                                                                                                                        [11:47:53]
> $ docker run -it -p 15672:15672 -p 5672:5672 jamescarr/rabbitmq:latest rabbitmq-server
⬡6.2.2 [±master ●]
RabbitMQ 3.6.6. Copyright (C) 2007-2016 Pivotal Software, Inc.
  ##  ##      Licensed under the MPL.  See http://www.rabbitmq.com/
  ##  ##
  ##########  Logs: /var/log/rabbitmq/rabbit@730b08abceab.log
  ######  ##        /var/log/rabbitmq/rabbit@730b08abceab-sasl.log
  ##########
              Starting broker...
 completed with 9 plugins.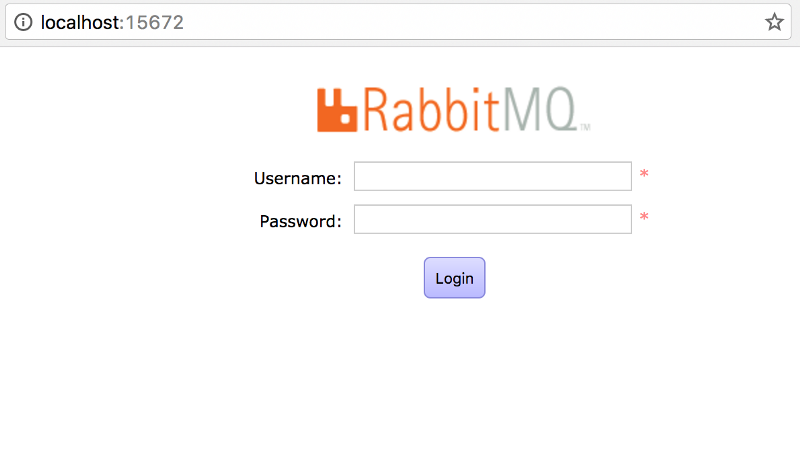
Looks good! You can see the latest state of the project at https://github.com/jamescarr/pad-tutorial/tree/efc9e035eaa0a27ba2d6066ed04a37f5efa4bf42.
Next
Unfortunately when we try to login to the rabbitmq management console we’ll notice that none of our configured users work. That’s because they were created under the hood by rabbitmqctl and not persisted. In the next post we’ll modify our little build system we have going here to run a subset of tasks on container start!
| Reference: | Packer, Ansible and Docker Part 3: Multiple Roles from our WCG partner James Carr at the James Carr blog. |
