“I love writing authentication and authorization code.” ~ No Web Developer Ever. Tired of building the same login screens over and over? Try the Okta API for hosted authentication, authorization, and multi-factor auth.
Many of us have danced the JavaScript framework shuffle for years starting with jQuery, then on to Angular. But Angular is complex, so we turn to React. With React, what seems simple on the surface can end up being a frustrating mess. Enter Vue.js. It works as expected. It’s fast. The documentation is incredible. Templating is eloquent. There’s a unanimous consensus around how to handle state management, conditional rendering, two-way binding, routing, and more.
I’ve seen so many developer’s walk this same path, so today I want to take you through how to build a basic app with Vue.js and Node. This tutorial will take you step by step through scaffolding a Vue.jsproject, offloading secure authentication to Okta’s OpenID Connect API (OIDC), locking down protected routes, and performing CRUD operations through a backend REST API server. This tutorial uses the following technologies but doesn’t require intimate knowledge to follow along
About Vue.js
Vue.js is a robust but simple Javascript framework. It has one of the lowest barriers to entry of any modern framework while providing all the required features for high performance web applications.
This tutorial covers two primary builds, a frontend web app and backend REST API server. The frontend will be a single page application (SPA) with a homepage, login and logout, and a posts manager.
Okta’s OpenID Connect (OIDC) will handle our web app’s authentication through the use of Okta’s Vue SDK. If an unauthenticated user navigates to the posts manager, the web app should attempt to authenticate the user.
The server will run Express with Sequelize and Epilogue. At a high level, with Sequelize and Epilogue you can quickly generate dynamic REST endpoints with just a few lines of code.
You will use JWT-based authentication when making requests from the web app and Okta’s JWT Verifier in an Express middleware to validate the token. Your app will expose the following endpoints which all require requests to have a valid access token.
- GET /posts
- GET /posts/:id
- POST /posts
- PUT /posts/:id
- DELETE /posts/:id
Create Your Vue.js App
To get your project off the ground quickly you can leverage the scaffolding functionality from vue-cli. For this tutorial, you are going to use the progressive web app (PWA) template that includes a handful of features including webpack, hot reloading, CSS extraction, and unit testing.
If you’re not familiar with the tenets of PWA, check out our ultimate guide to progressive web applications.
To install vue-cli run:
npm install -g vue-cli@2.9.3
Next, you need to initialize your project. When you run the vue init command just accept all the default values.
vue init pwa my-vue-app
cd ./my-vue-app
npm install
npm run dev
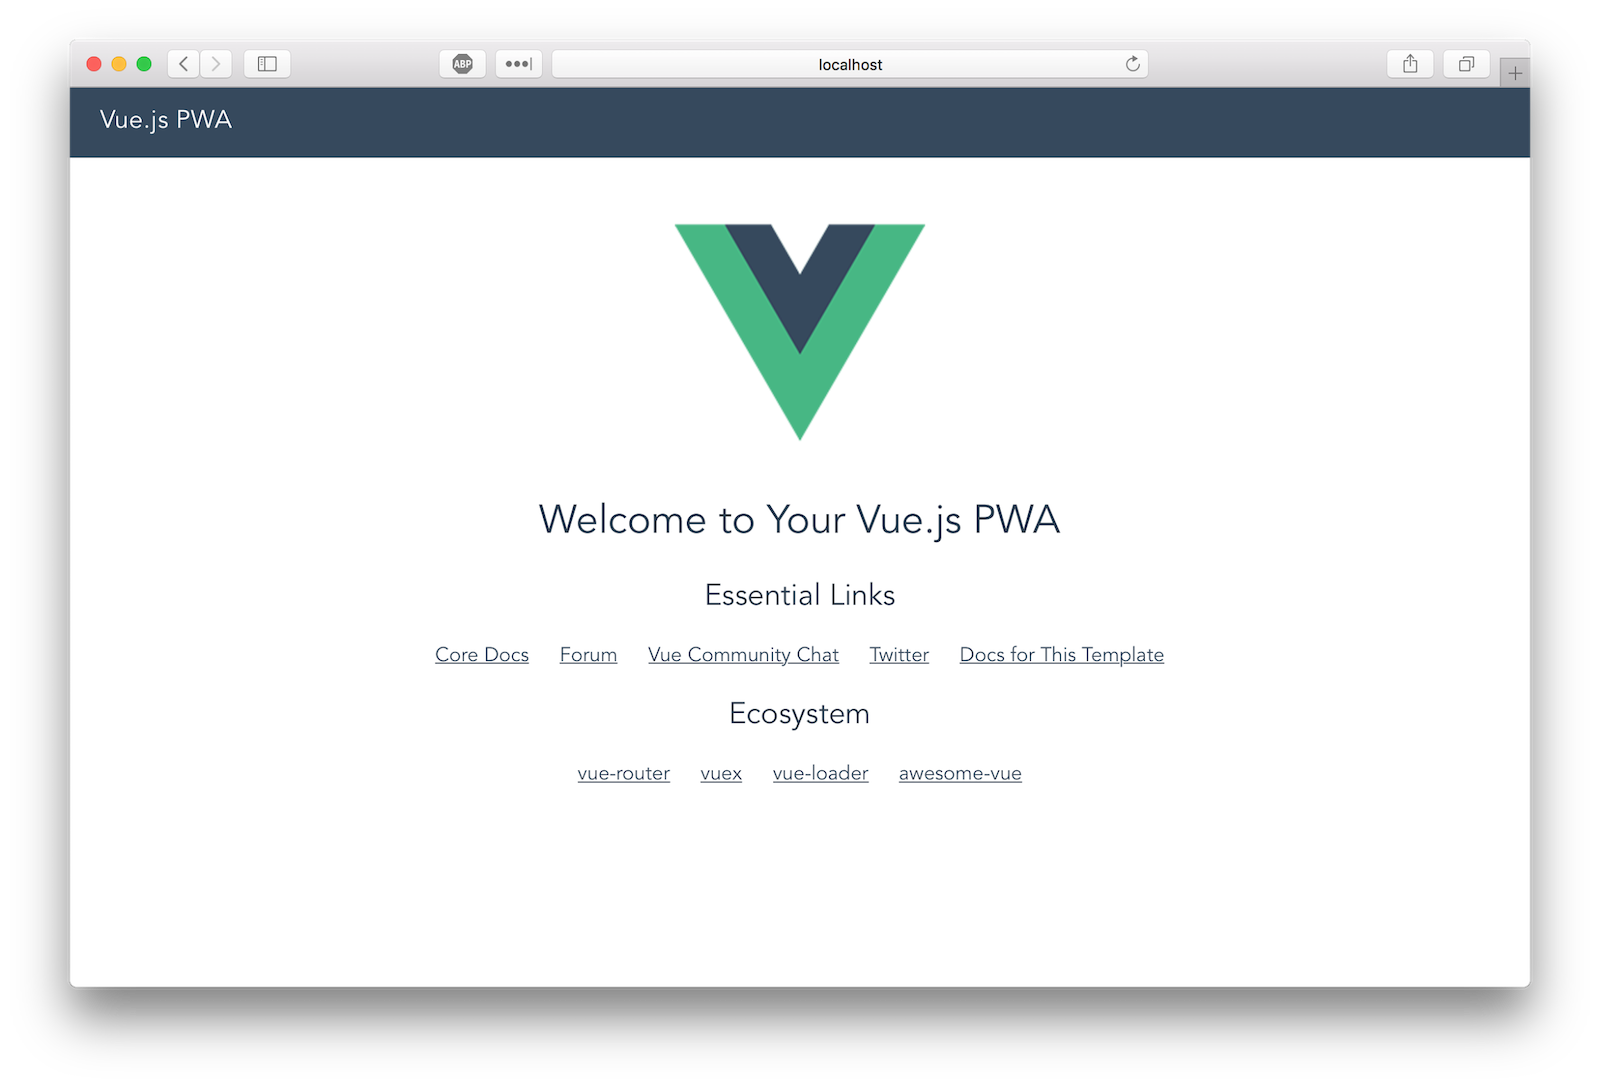
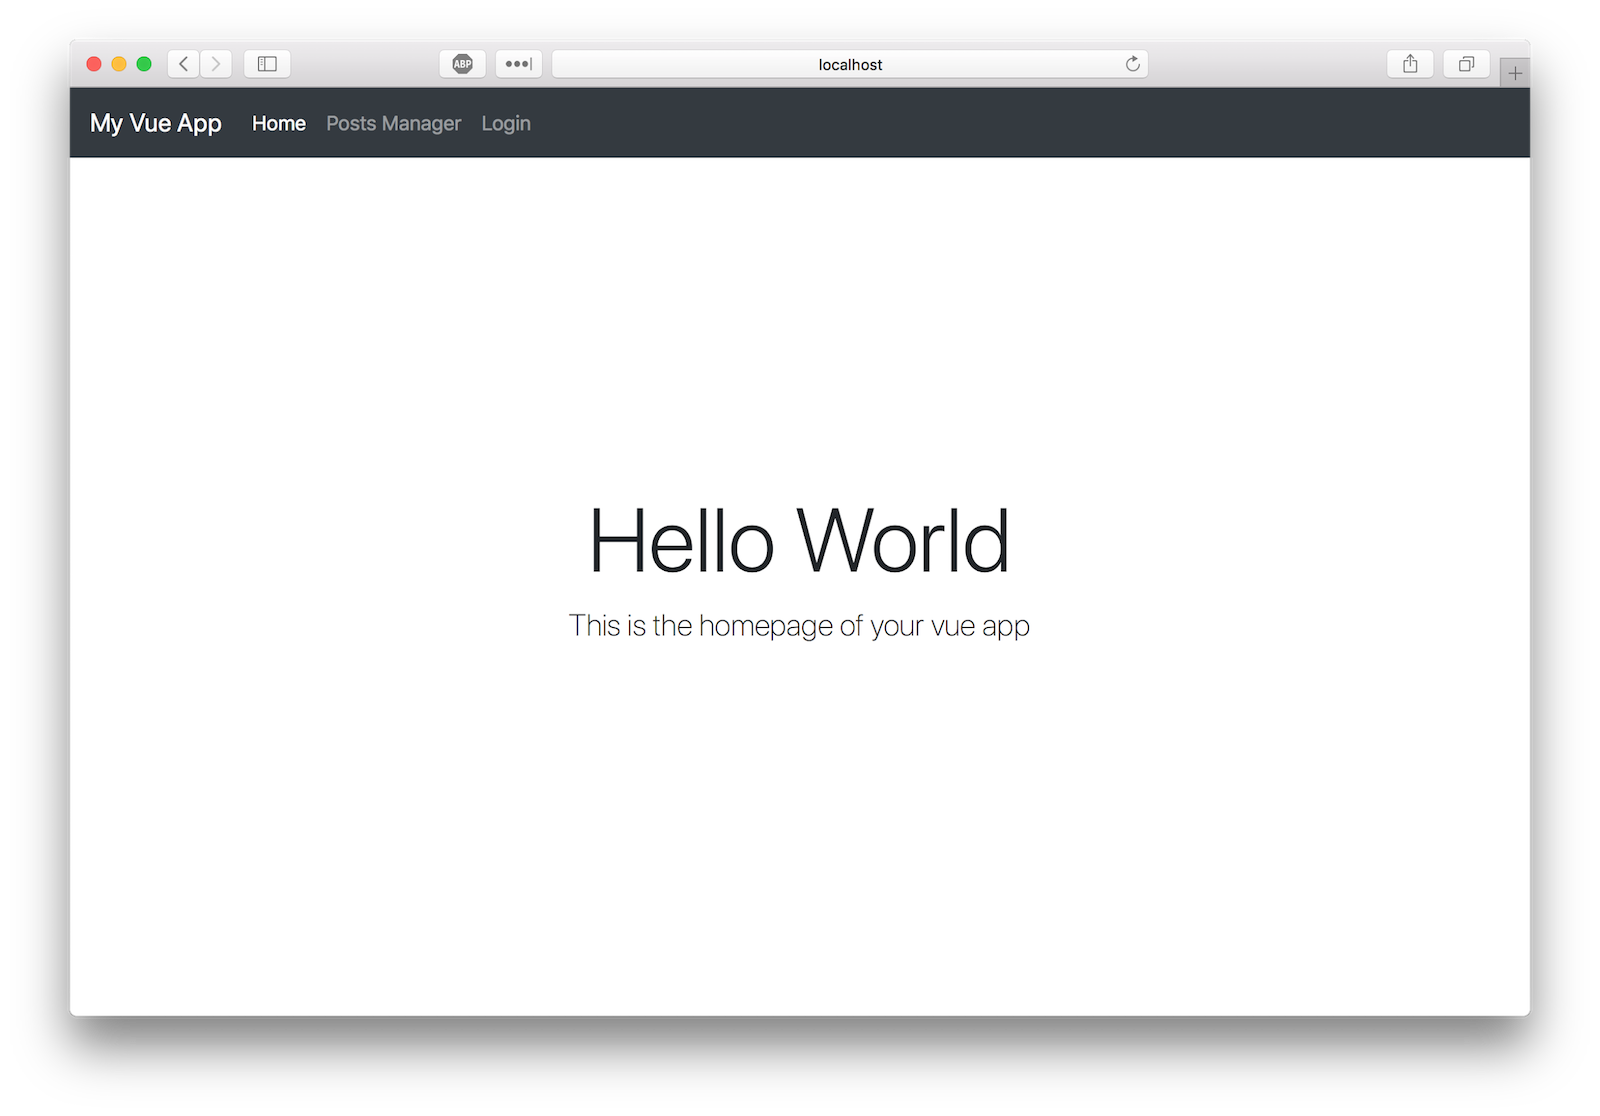
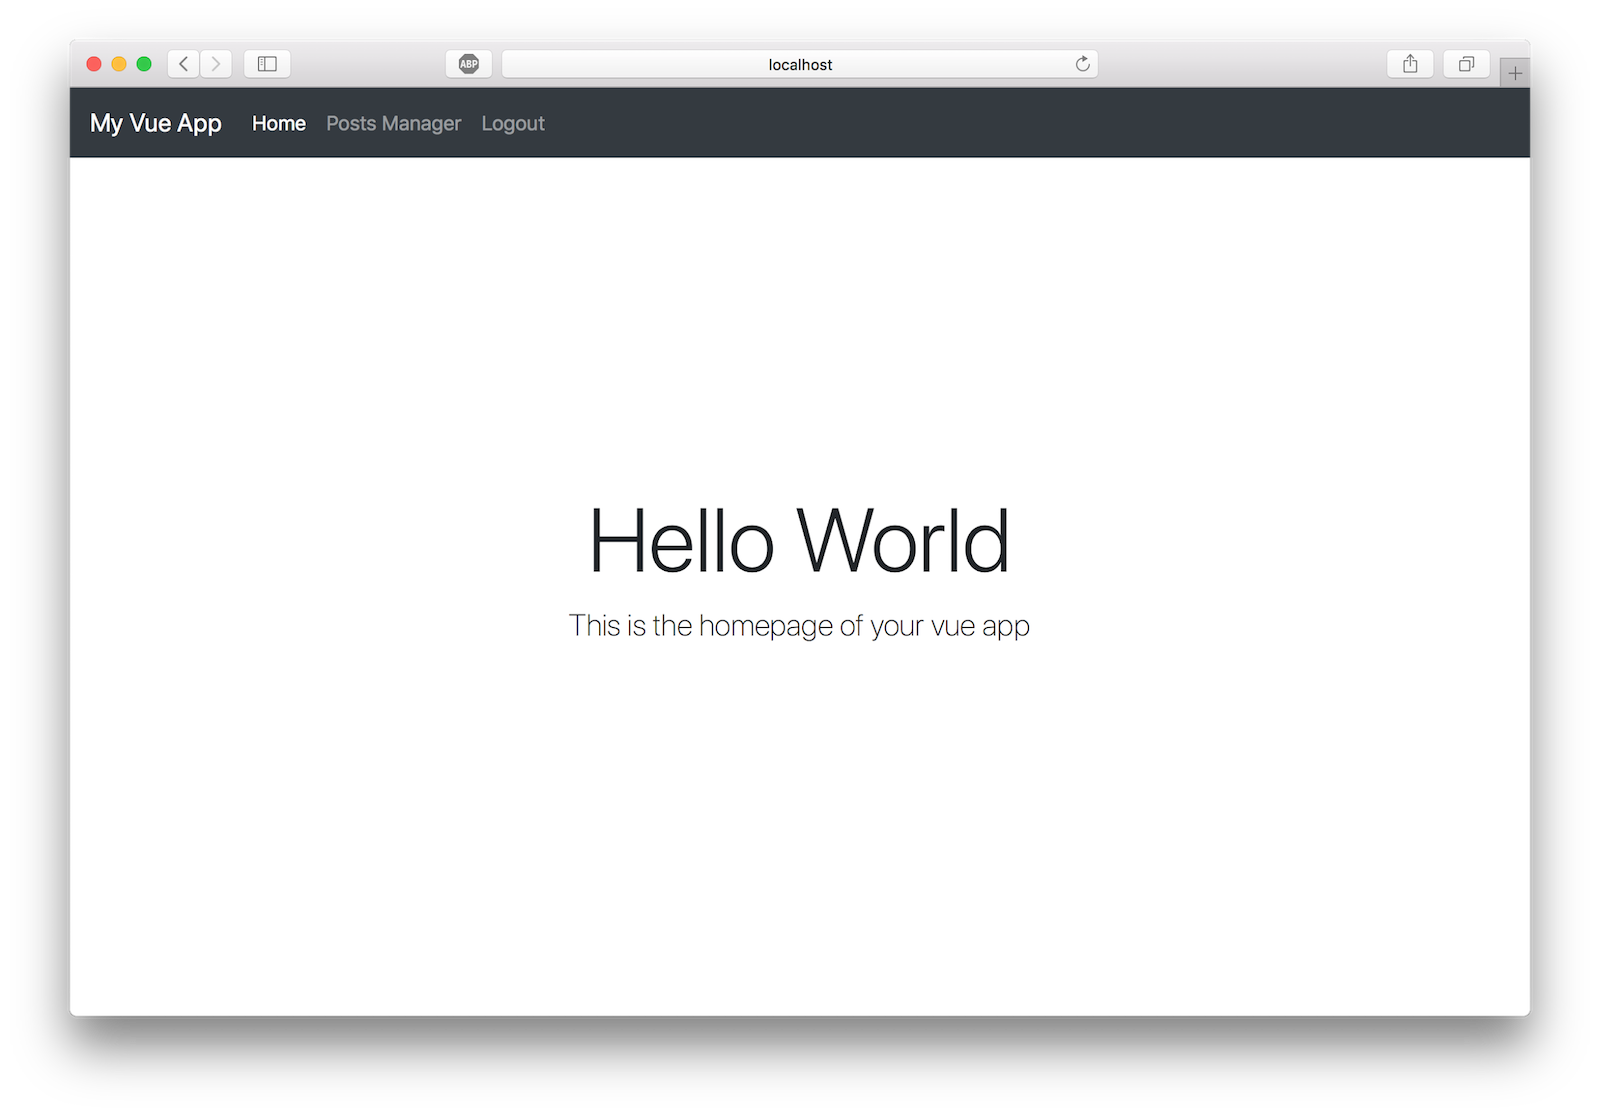
Point your favorite browser to http://localhost:8080 and you should see the fruits of your labor:
Extra Credit: Check out the other templates available for vue-cli.
Install Bootstrap
Let’s install bootstrap-vue so you can take advantage of the various premade components (plus you can keep the focus on functionality and not on custom CSS):
npm i bootstrap-vue@2.0.0-rc.7 bootstrap@4.1.0
To complete the installation, modify ./src/main.js to include bootstrap-vue and import the required CSS files. Your ./src/main.js file should look like this:
// The Vue build version to load with the `import` command
// (runtime-only or standalone) has been set in webpack.base.conf with an alias.
import Vue from 'vue'
import App from './App'
import router from './router'
import BootstrapVue from 'bootstrap-vue'
import 'bootstrap/dist/css/bootstrap.css'
import 'bootstrap-vue/dist/bootstrap-vue.css'

Vue.use(BootstrapVue)
Vue.config.productionTip = false

/* eslint-disable no-new */
new Vue({
  el: '#app',
  router,
  template: '<App/>',
  components: { App }
})
Add Authentication with Okta
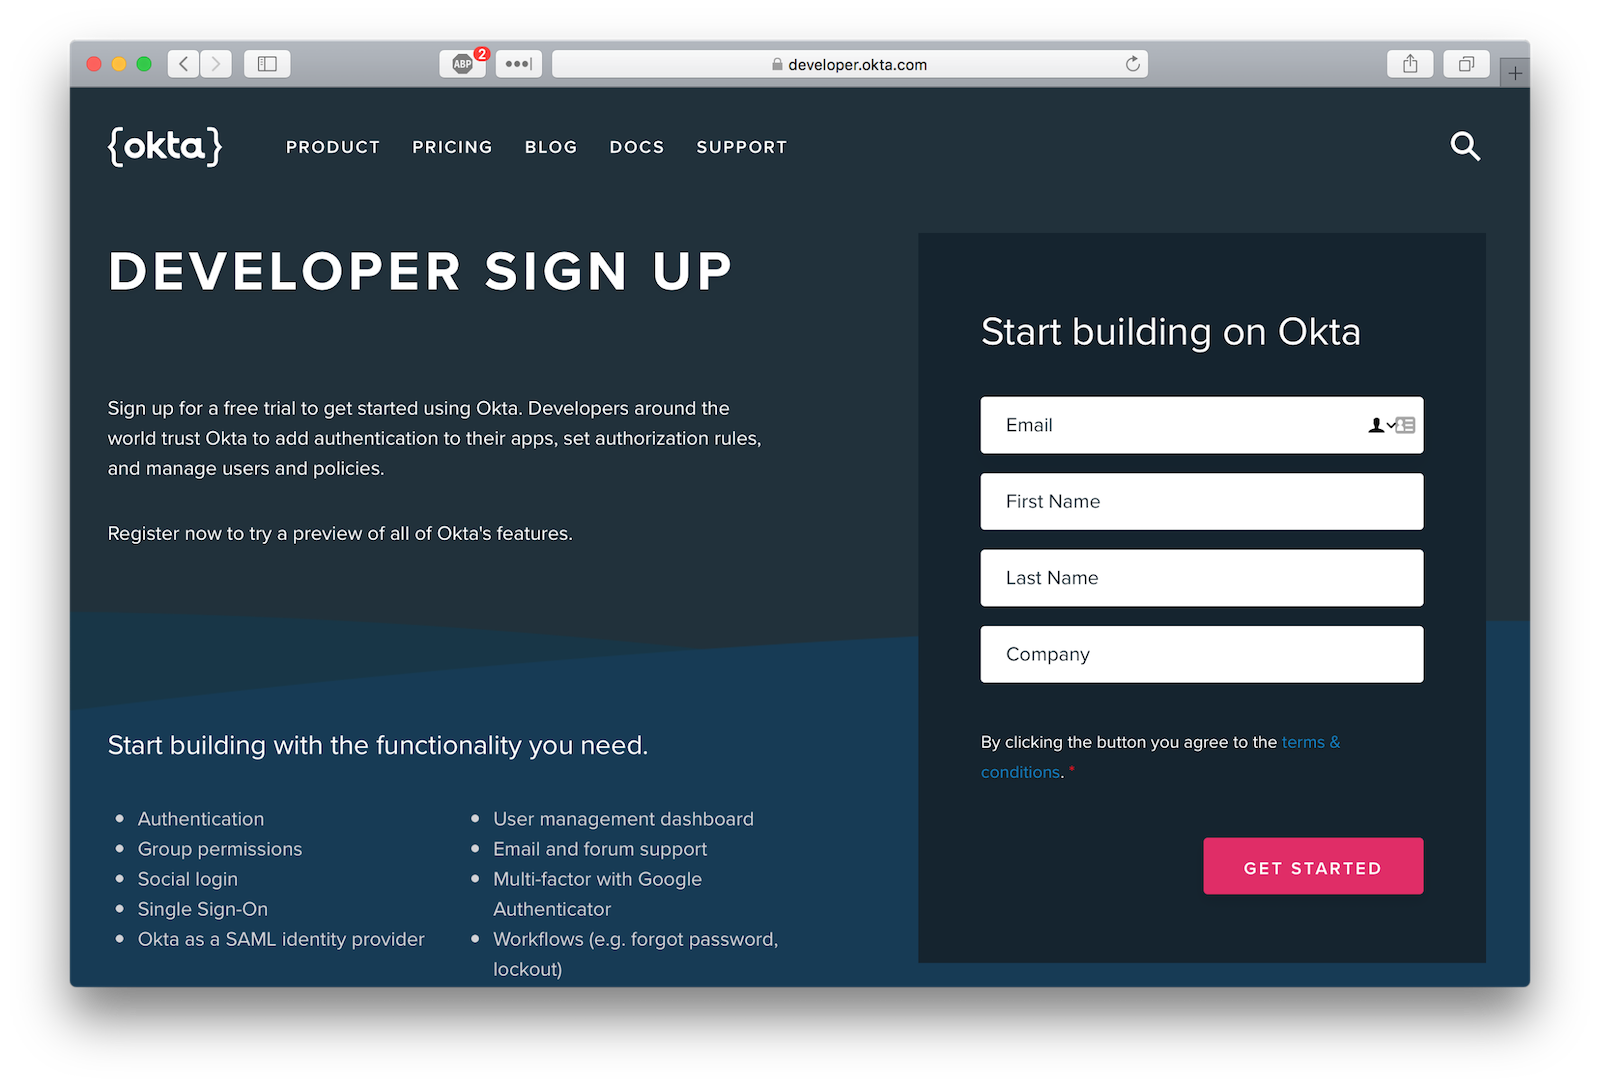
Dealing with authentication in a web app is the bane of every developer’s existence. That’s where Okta comes in to secure your web applications with minimal code. To get started, you will need to create an OIDC application in Okta. Sign up for a forever-free developer account (or log in if you already have one).
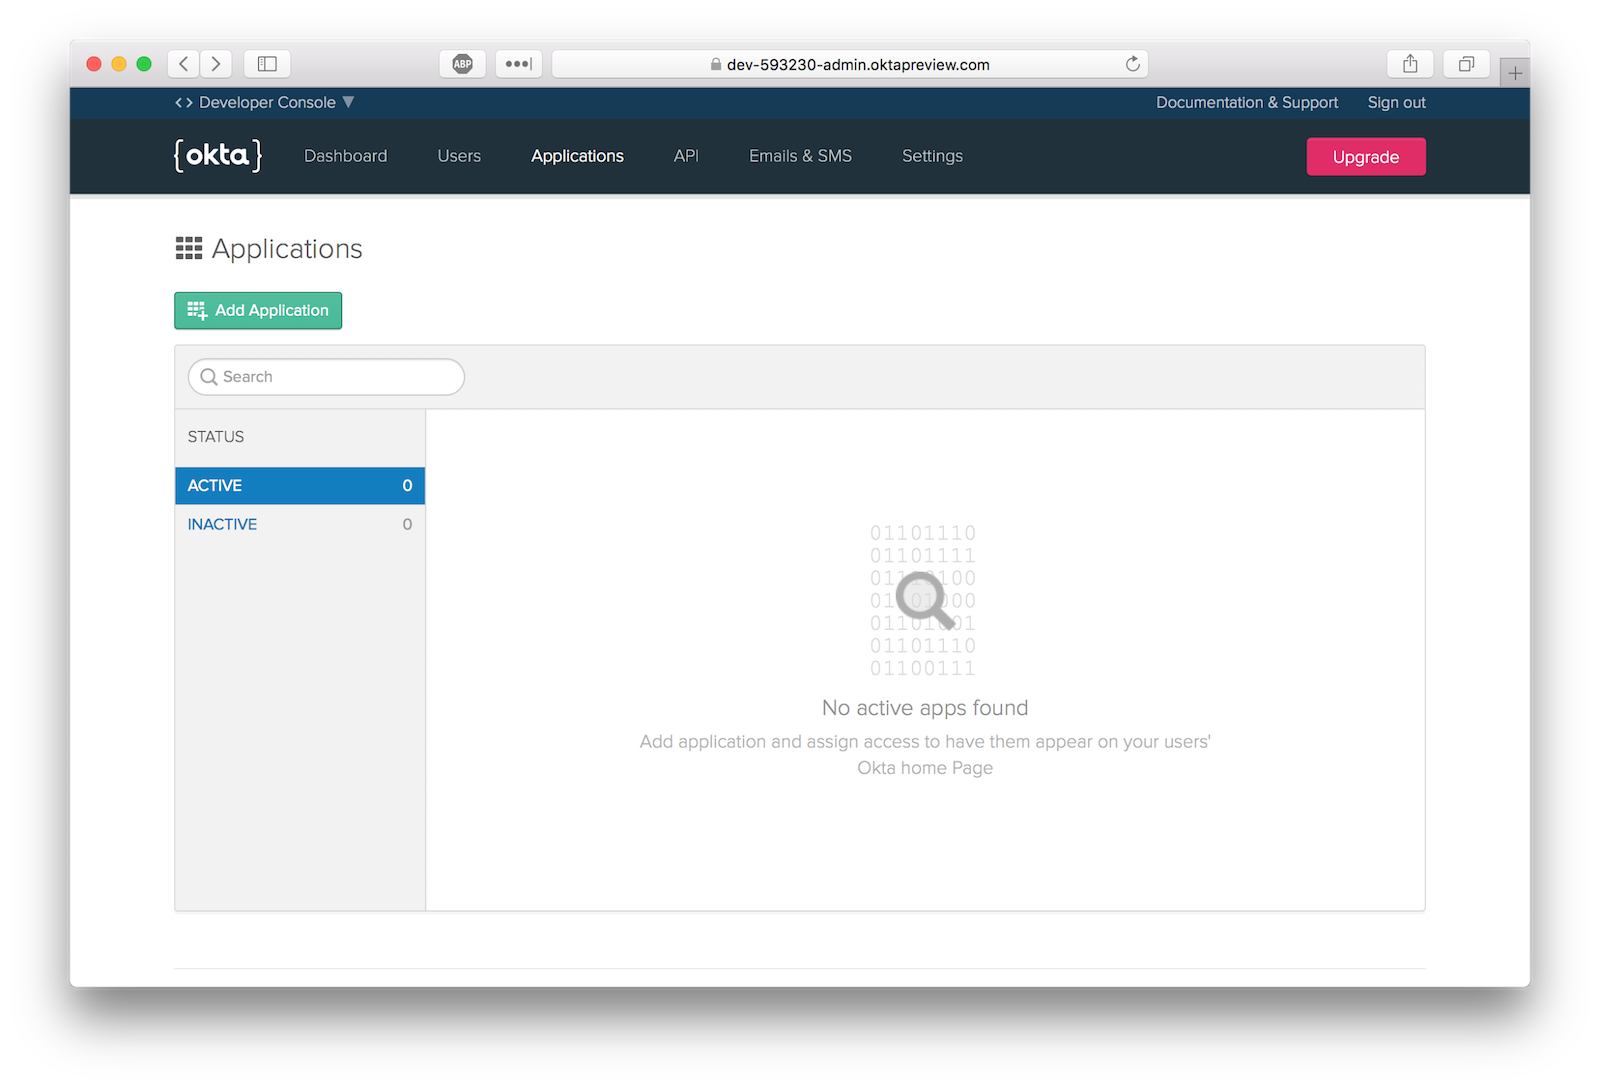
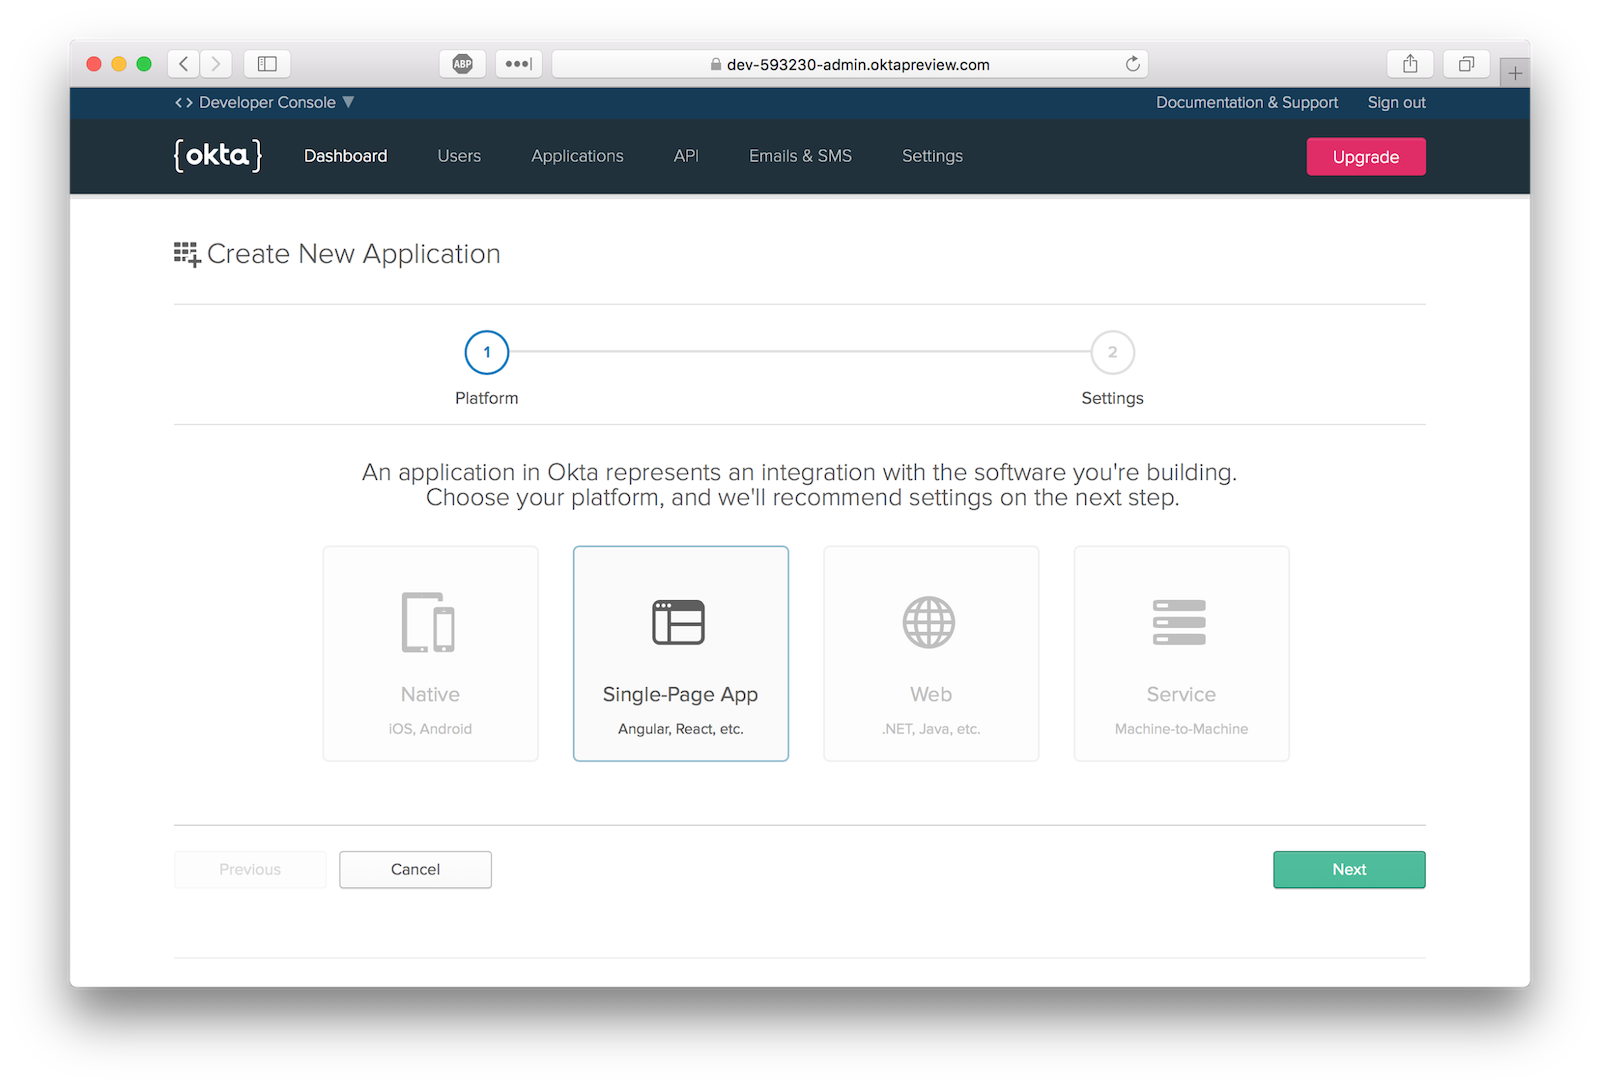
Once logged in, create a new application by clicking “Add Application”.
Select the “Single-Page App” platform option.
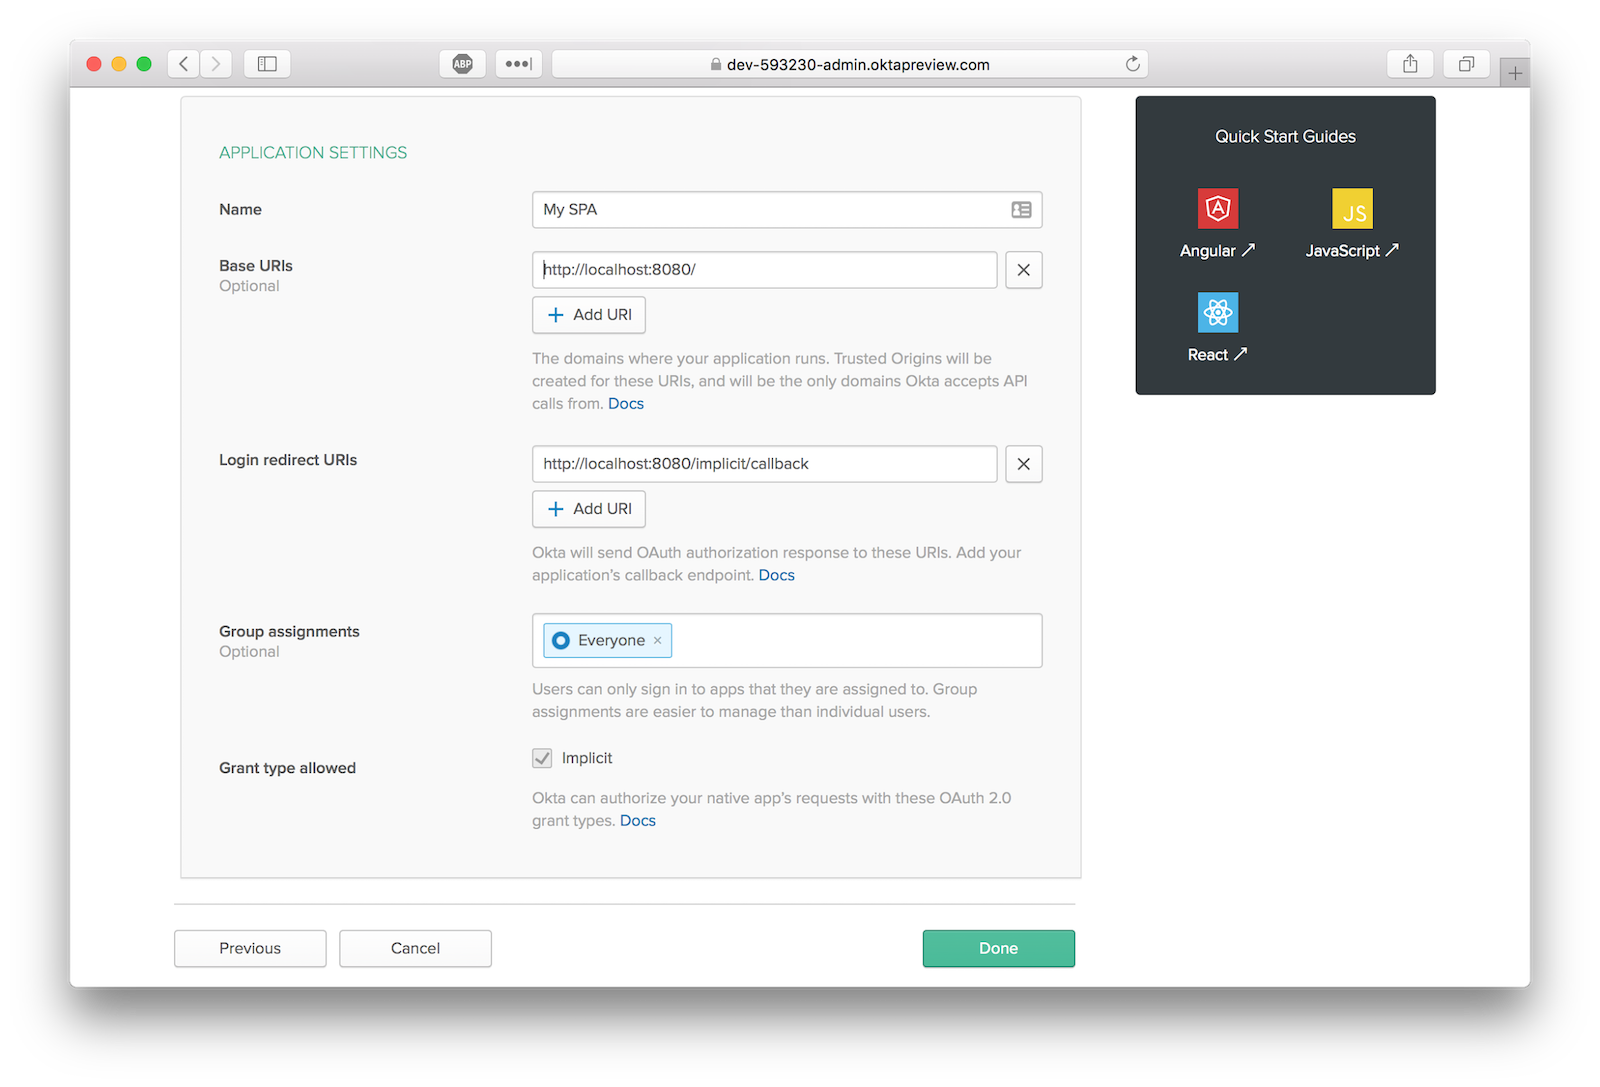
The default application settings should be the same as those pictured.
To install the Okta Vue SDK, run the following command:
npm i @okta/okta-vue@1.0.0
Open ./src/router/index.js and replace the entire file with the following code.
import Vue from 'vue'
import Router from 'vue-router'
import Hello from '@/components/Hello'
import PostsManager from '@/components/PostsManager'
import Auth from '@okta/okta-vue'

Vue.use(Auth, {
  issuer: 'https://{yourOktaDomain}.com/oauth2/default',
  client_id: '{yourClientId}',
  redirect_uri: 'http://localhost:8080/implicit/callback',
  scope: 'openid profile email'
})

Vue.use(Router)

let router = new Router({
  mode: 'history',
  routes: [
    {
      path: '/',
      name: 'Hello',
      component: Hello
    },
    {
      path: '/implicit/callback',
      component: Auth.handleCallback()
    },
    {
      path: '/posts-manager',
      name: 'PostsManager',
      component: PostsManager,
      meta: {
        requiresAuth: true
      }
    }
  ]
})

router.beforeEach(Vue.prototype.$auth.authRedirectGuard())

export default router
You’ll need to replace {yourOktaDomain} and {yourClientId} which can be found on your application overview page in the Okta Developer Console. This will inject an authClient object into your Vue instance which can be accessed by calling this.$auth anywhere inside your Vue instance.
Vue.use(Auth, {
  issuer: 'https://{yourOktaDomain}.com/oauth2/default',
  client_id: '{yourClientId}',
  redirect_uri: 'http://localhost:8080/implicit/callback',
  scope: 'openid profile email'
})
The final step of Okta’s authentication flow is redirecting the user back to your app with the token values in the URL. The Auth.handleCallback() component included in the SDK handles the redirect and persists the tokens on the browser.
{
  path: '/implicit/callback',
  component: Auth.handleCallback()
}
You also need to lock down protected routes from being access by unauthenticated users. This is accomplished by implementing a navigation guard. As the name suggests, navigation guards are primarily used to guard navigations either by redirecting or canceling.
The SDK comes with the method auth.authRedirectGuard() that checks matched routes’ metadata for the key requiresAuth and redirects the user to the authentication flow if they are not authenticated.
router.beforeEach(Vue.prototype.$auth.authRedirectGuard())
With this navigation guard installed, any route that has the following metadata will be protected.
meta: {
  requiresAuth: true
}
Customize Your App Layout in Vue
The web app’s layout is located in a component ./src/App.vue. You can use the router-view component to render the matched component for the given path.
For the main menu, you’ll want to change the visibility of certain menu items based on the status of the activeUser:
- Not Authenticated: Show only Login
- Authenticated: Show only Logout
You can toggle the visibility of these menu items using the v-if directive in Vue.js that checks the existence of activeUseron the component. When the component is loaded (which calls created()) or when a route changes we want to refresh the activeUser.
Open ./src/App.vue and copy/paste the following code.
<template>
  <div id="app">
    <b-navbar toggleable="md" type="dark" variant="dark">
      <b-navbar-toggle target="nav_collapse"></b-navbar-toggle>
      <b-navbar-brand to="/">My Vue App</b-navbar-brand>
      <b-collapse is-nav id="nav_collapse">
        <b-navbar-nav>
          <b-nav-item to="/">Home</b-nav-item>
          <b-nav-item to="/posts-manager">Posts Manager</b-nav-item>
          <b-nav-item href="#" @click.prevent="login" v-if="!activeUser">Login</b-nav-item>
          <b-nav-item href="#" @click.prevent="logout" v-else>Logout</b-nav-item>
        </b-navbar-nav>
      </b-collapse>
    </b-navbar>
    <!-- routes will be rendered here -->
    <router-view />
  </div>
</template>

<script>

export default {
  name: 'app',
  data () {
    return {
      activeUser: null
    }
  },
  async created () {
    await this.refreshActiveUser()
  },
  watch: {
    // everytime a route is changed refresh the activeUser
    '$route': 'refreshActiveUser'
  },
  methods: {
    login () {
      this.$auth.loginRedirect()
    },
    async refreshActiveUser () {
      this.activeUser = await this.$auth.getUser()
    },
    async logout () {
      await this.$auth.logout()
      await this.refreshActiveUser()
      this.$router.push('/')
    }
  }
}
</script>
Every login must have a logout. The following snippet will logout your user, refresh the active user (which is now null), and then redirect the user to the homepage. This method is called when a user clicks on the logout link in the nav.
async logout () {
  await this.$auth.logout()
  await this.refreshActiveUser()
  this.$router.push('/')
}
Components are the building blocks within Vue.js. Each of your pages will be defined in the app as a component. Since the vue-cli webpack template utilizes vue-loader, your component source files have a convention that separates template, script, and style (see here).
Now that you’ve added vue-bootstrap, modify ./src/components/Hello.vue to remove the boilerplate links vue-cli generates.
<template>
<div class="hero">
<div>
<h1 class="display-3">Hello World</h1>
<p class="lead">This is the homepage of your vue app</p>
</div>
</div>
</template>
<style>
.hero {
height: 90vh;
display: flex;
align-items: center;
justify-content: center;
text-align: center;
}
.hero .lead {
font-weight: 200;
font-size: 1.5rem;
}
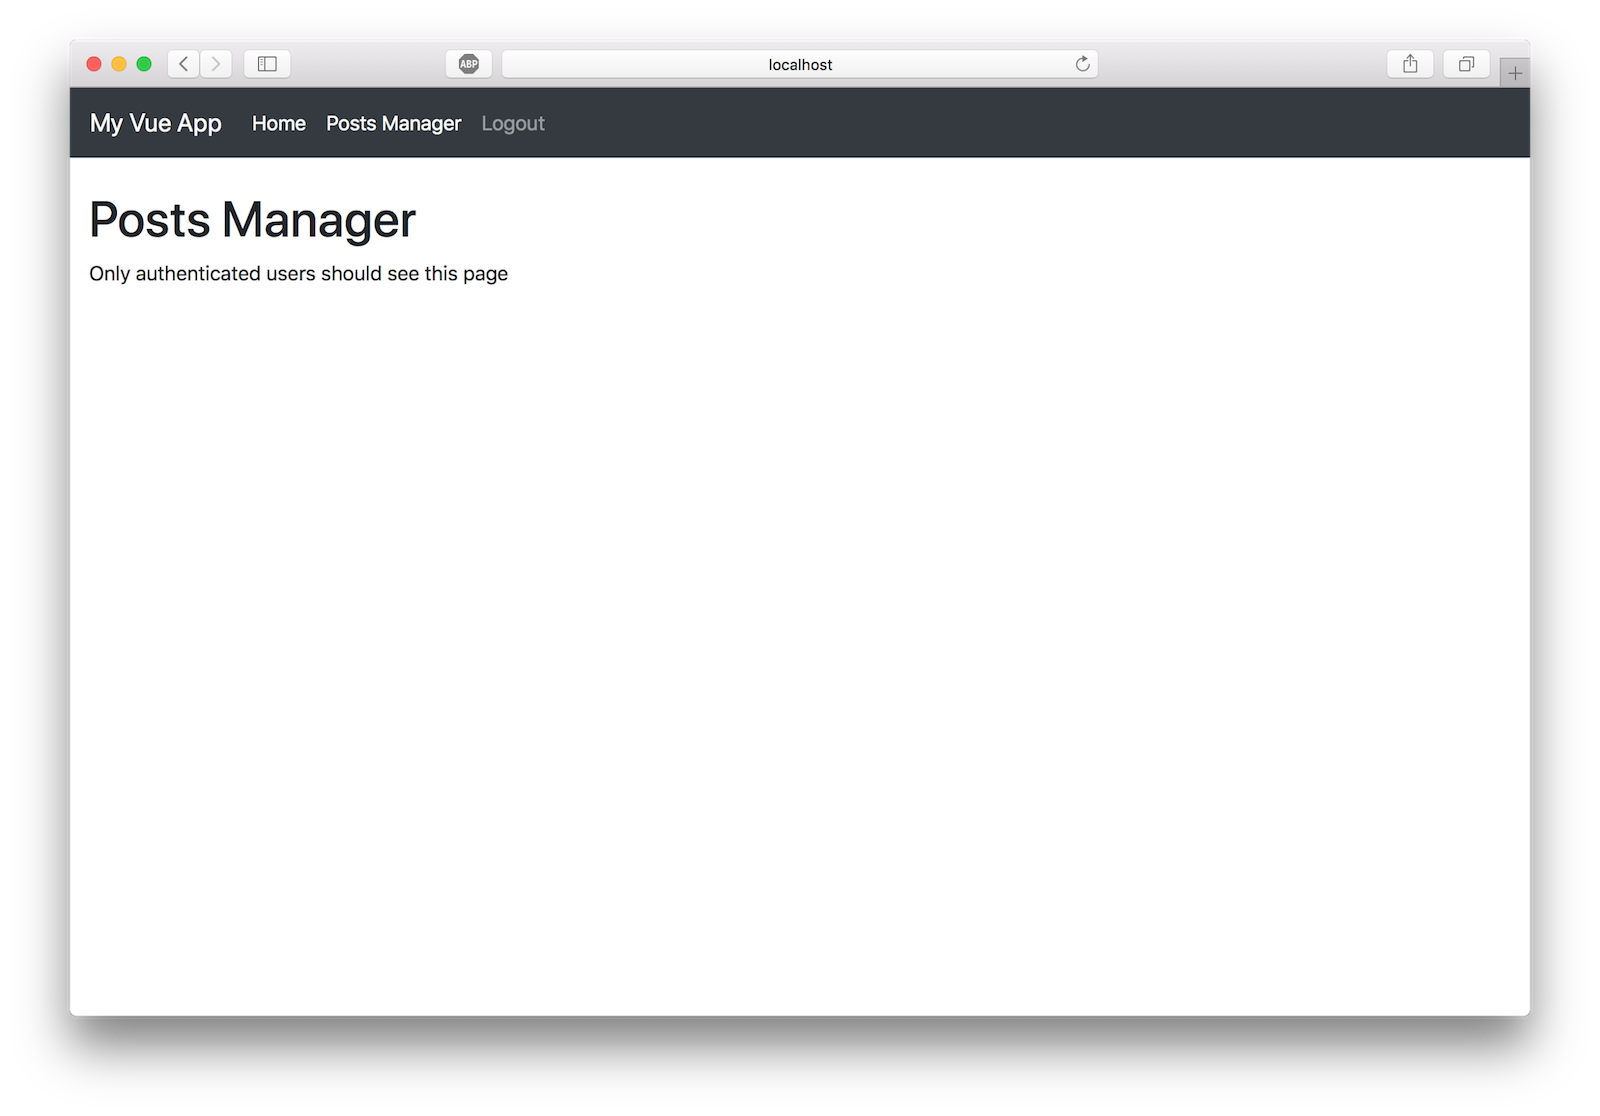
</style>At this point you can stub out the Post Manager page to test your authentication flow. Once you confirm authentication works, you’ll start to build out the API calls and components required to perform CRUD operations on your Posts model.
Create a new file ./src/components/PostsManager.vue and paste the following code:
<template>
  <div class="container-fluid mt-4">
    <h1 class="h1">Posts Manager</h1>
    <p>Only authenticated users should see this page</p>
  </div>
</template>
Take Your Vue.js Frontend and Auth Flows for a Test Drive
In your terminal run npm run dev (if it’s not already running). Navigate to http://localhost:8080 and you should see the new homepage.
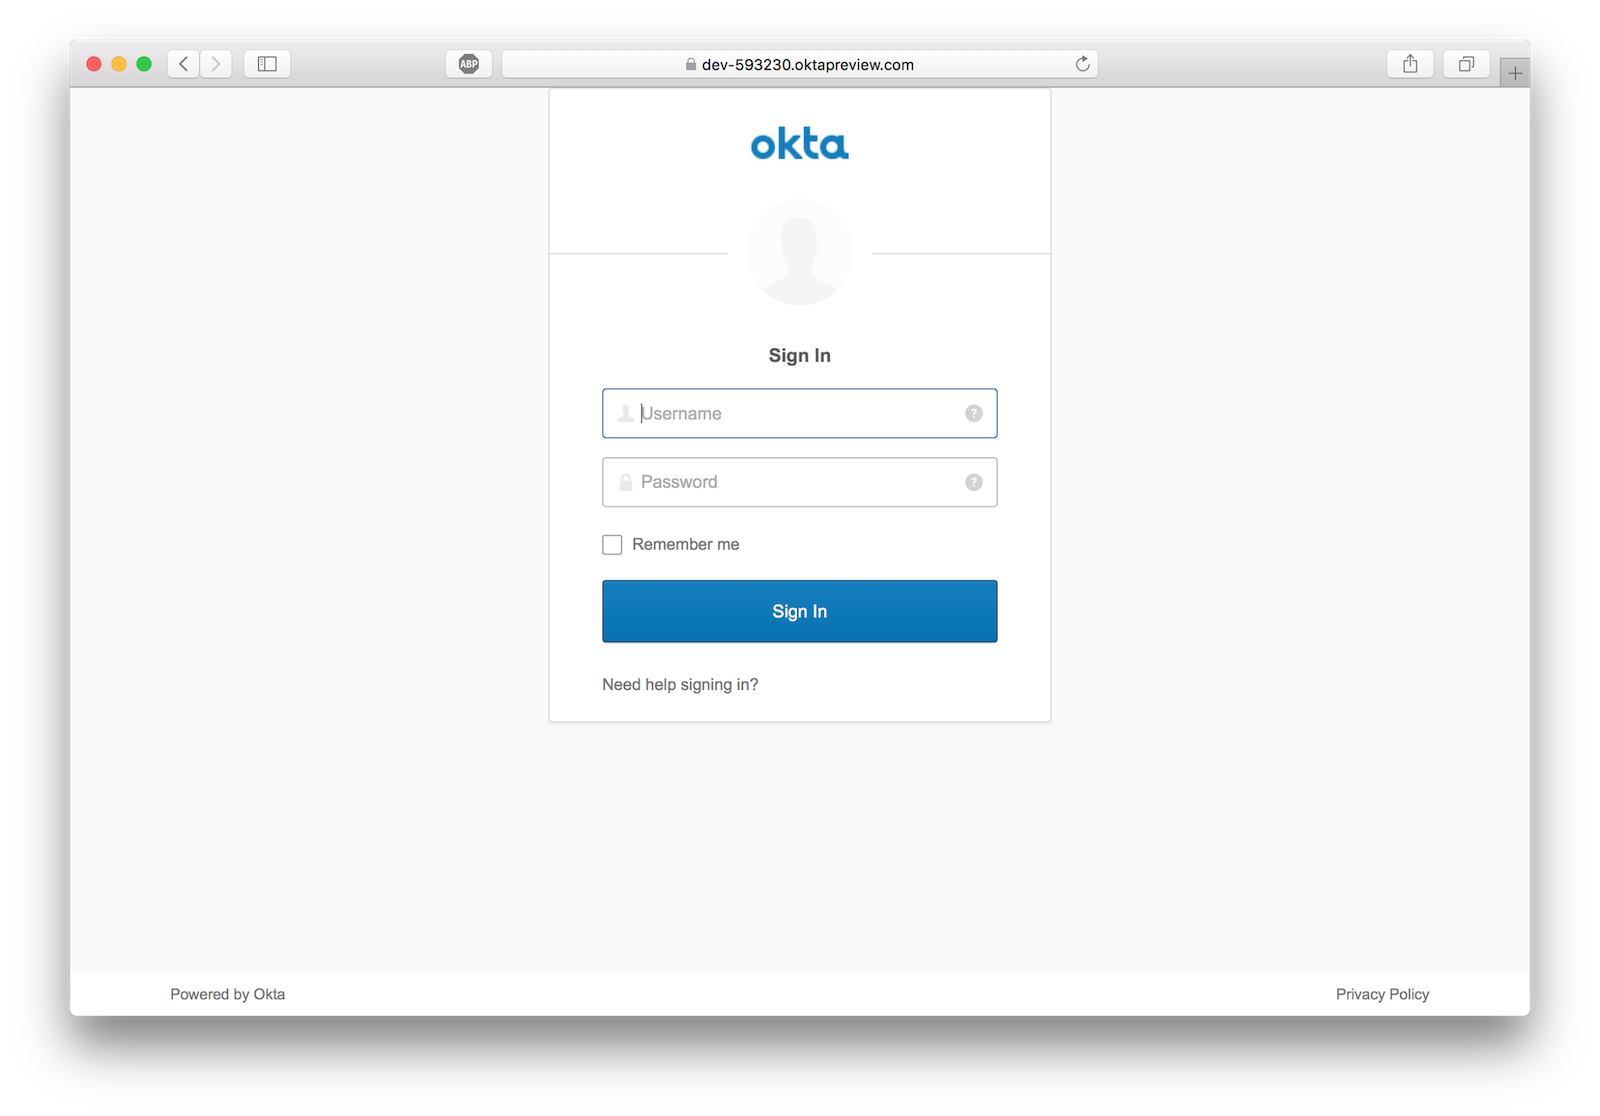
If you click Posts Manager or Login you should be directed to Okta’s flow. Enter your Okta dev account credentials.
NOTE: If you are logged in to your Okta Developer Account you will be redirected automatically back to the app. You can test this by using incognito or private browsing mode.
If successful, you should return to the homepage logged in.
Clicking on Posts Manager link should render the protected component.
Add a Backend REST API Server
Now that users can securely authenticate, you can build the REST API server to perform CRUD operations on a post model. Add the following dependencies to your project:
npm i express@4.16.3 cors@2.8.4 @okta/jwt-verifier@0.0.11 sequelize@4.37.6 sqlite3@4.0.0 epilogue@0.7.1 axios@0.18.0
Then, create the file ./src/server.js and paste the following code.
const express = require('express')
const cors = require('cors')
const bodyParser = require('body-parser')
const Sequelize = require('sequelize')
const epilogue = require('epilogue')
const OktaJwtVerifier = require('@okta/jwt-verifier')

const oktaJwtVerifier = new OktaJwtVerifier({
  clientId: '{yourClientId}',
  issuer: 'https://{yourOktaDomain}.com/oauth2/default'
})

let app = express()
app.use(cors())
app.use(bodyParser.json())

// verify JWT token middleware
app.use((req, res, next) => {
  // require every request to have an authorization header
  if (!req.headers.authorization) {
    return next(new Error('Authorization header is required'))
  }
  let parts = req.headers.authorization.trim().split(' ')
  let accessToken = parts.pop()
  oktaJwtVerifier.verifyAccessToken(accessToken)
    .then(jwt => {
      req.user = {
        uid: jwt.claims.uid,
        email: jwt.claims.sub
      }
      next()
    })
    .catch(next) // jwt did not verify!
})

// For ease of this tutorial, we are going to use SQLite to limit dependencies
let database = new Sequelize({
  dialect: 'sqlite',
  storage: './test.sqlite'
})

// Define our Post model
// id, createdAt, and updatedAt are added by sequelize automatically
let Post = database.define('posts', {
  title: Sequelize.STRING,
  body: Sequelize.TEXT
})

// Initialize epilogue
epilogue.initialize({
  app: app,
  sequelize: database
})

// Create the dynamic REST resource for our Post model
let userResource = epilogue.resource({
  model: Post,
  endpoints: ['/posts', '/posts/:id']
})

// Resets the database and launches the express app on :8081
database
  .sync({ force: true })
  .then(() => {
    app.listen(8081, () => {
      console.log('listening to port localhost:8081')
    })
  })
Make sure to replace the variables {yourOktaDomain} and {clientId} in the above code with values from your OIDC app in Okta.
Add Sequelize
Sequelize is a promise-based ORM for Node.js. It supports the dialects PostgreSQL, MySQL, SQLite, and MSSQL and features solid transaction support, relations, read replication, and more.
For ease of this tutorial, you’re going to use SQLite to limit external dependencies. The following code initializes a Sequelize instance using SQLite as your driver.
let database = new Sequelize({
  dialect: 'sqlite',
  storage: './test.sqlite'
})
Each post has a title and body. (The fields createdAt, and updatedAt are added by Sequelize automatically). With Sequelize, you define models by calling define() on your instance.
let Post = database.define('posts', {
  title: Sequelize.STRING,
  body: Sequelize.TEXT
})
Add Epilogue
Epilogue creates flexible REST endpoints from Sequelize models within an Express app. If you ever coded REST endpoints you know how much repetition there is. D.R.Y. FTW!
// Initialize epilogue
epilogue.initialize({
  app: app,
  sequelize: database
})

// Create the dynamic REST resource for our Post model
let userResource = epilogue.resource({
  model: Post,
  endpoints: ['/posts', '/posts/:id']
})
Verify Your JWT
This is the most crucial component of your REST API server. Without this middleware any user can perform CRUD operations on our database. If no authorization header is present, or the access token is invalid, the API call will fail and return an error.
// verify JWT token middleware
app.use((req, res, next) => {
  // require every request to have an authorization header
  if (!req.headers.authorization) {
    return next(new Error('Authorization header is required'))
  }
  let parts = req.headers.authorization.trim().split(' ')
  let accessToken = parts.pop()
  oktaJwtVerifier.verifyAccessToken(accessToken)
    .then(jwt => {
      req.user = {
        uid: jwt.claims.uid,
        email: jwt.claims.sub
      }
      next()
    })
    .catch(next) // jwt did not verify!
})
Run the Server
Open a new terminal window and run the server with the command node ./src/server. You should see debug information from Sequelize and the app listening on port 8081.
Complete the Posts Manager Component
Now that the REST API server is complete, you can start wiring up your posts manager to fetch posts, create posts, edit posts, and delete posts.
I always centralize my API integrations into a single helper module. This keeps the code in components much cleaner and provides single location in case you need to change anything with the API request.
Create a file ./src/api.js and copy/paste the following code into it:
import Vue from 'vue'
import axios from 'axios'

const client = axios.create({
  baseURL: 'http://localhost:8081/',
  json: true
})

export default {
  async execute (method, resource, data) {
    // inject the accessToken for each request
    let accessToken = await Vue.prototype.$auth.getAccessToken()
    return client({
      method,
      url: resource,
      data,
      headers: {
        Authorization: `Bearer ${accessToken}`
      }
    }).then(req => {
      return req.data
    })
  },
  getPosts () {
    return this.execute('get', '/posts')
  },
  getPost (id) {
    return this.execute('get', `/posts/${id}`)
  },
  createPost (data) {
    return this.execute('post', '/posts', data)
  },
  updatePost (id, data) {
    return this.execute('put', `/posts/${id}`, data)
  },
  deletePost (id) {
    return this.execute('delete', `/posts/${id}`)
  }
}
When you authenticate with OIDC, an access token is persisted locally in the browser. Since each API request must have an access token, you can fetch it from the authentication client and set it in the request.
let accessToken = await Vue.prototype.$auth.getAccessToken()
return client({
  method,
  url: resource,
  data,
  headers: {
    Authorization: `Bearer ${accessToken}`
  }
})
By creating the following proxy methods inside your API helper, the code outside the helper module remains clean and semantic.
getPosts () {
return this.execute('get', '/posts')
},
getPost (id) {
return this.execute('get', `/posts/${id}`)
},
createPost (data) {
return this.execute('post', '/posts', data)
},
updatePost (id, data) {
return this.execute('put', `/posts/${id}`, data)
},
deletePost (id) {
return this.execute('delete', `/posts/${id}`)
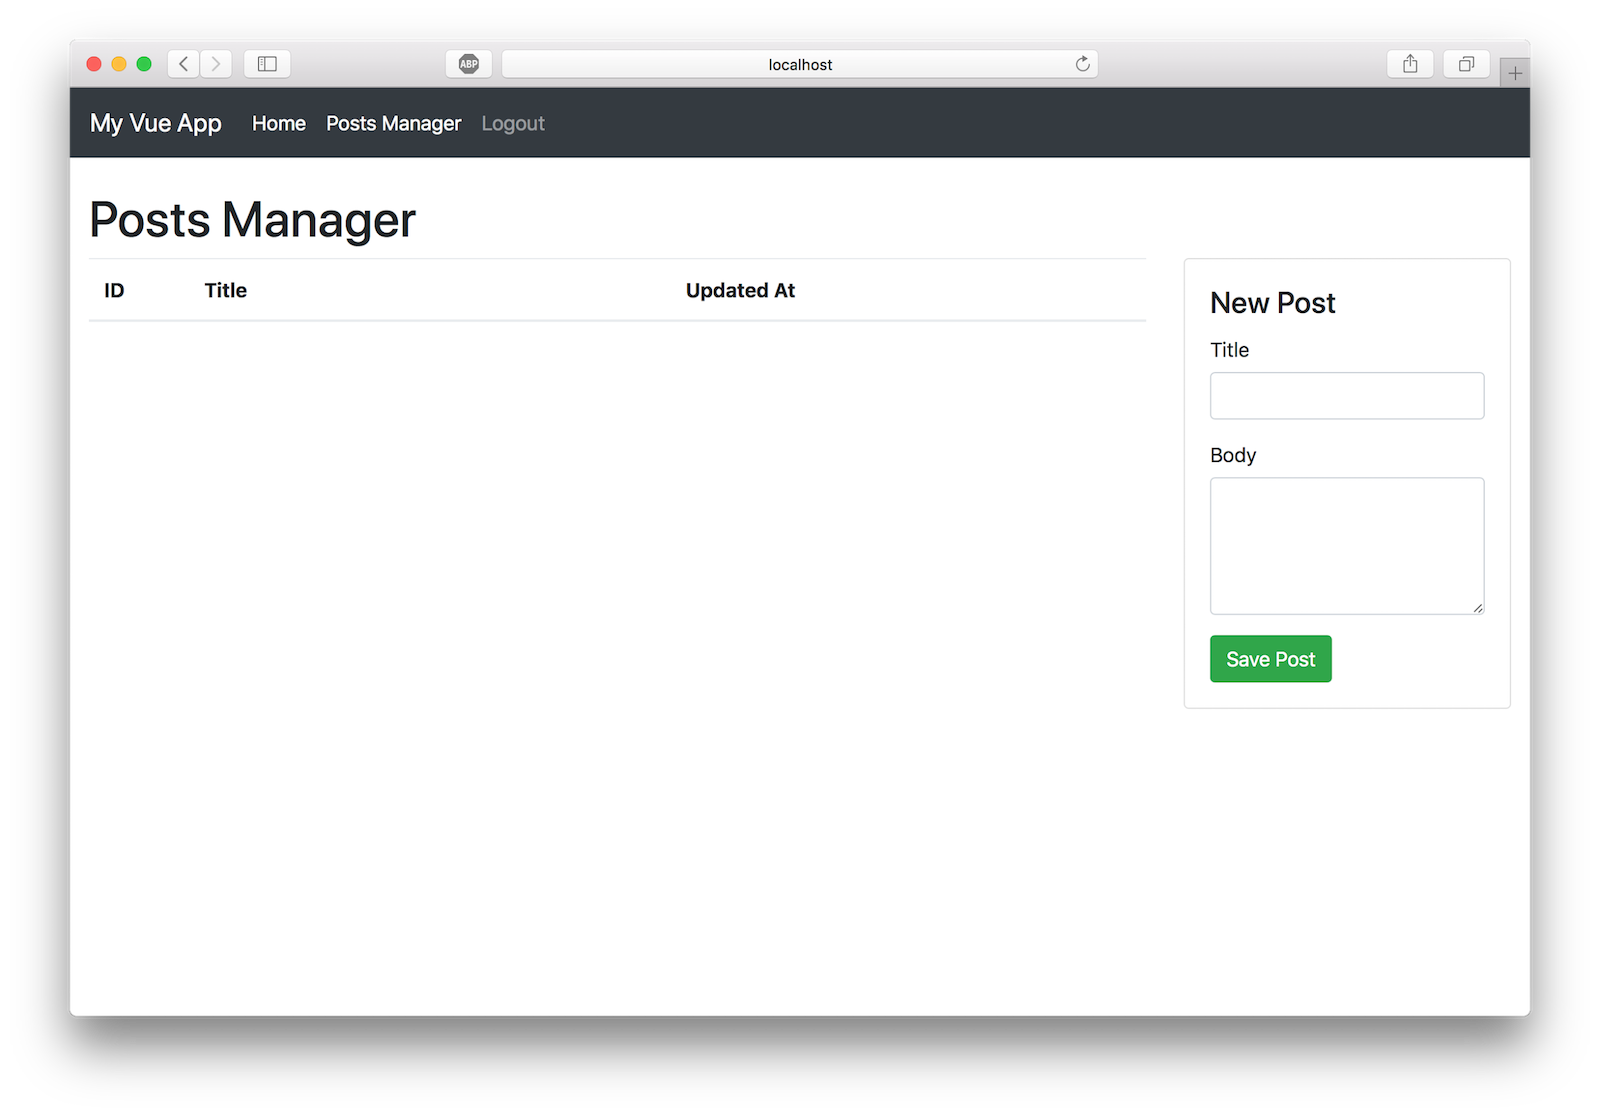
}You now have all the components required to wire up your posts manager component to make CRUD operations via the REST API. Open ./src/components/PostsManager.vue and copy/paste the following code.
<template>
<div class="container-fluid mt-4">
<h1 class="h1">Posts Manager</h1>
<b-alert :show="loading" variant="info">Loading...</b-alert>
<b-row>
<b-col>
<table class="table table-striped">
<thead>
<tr>
<th>ID</th>
<th>Title</th>
<th>Updated At</th>
<th> </th>
</tr>
</thead>
<tbody>
<tr v-for="post in posts" :key="post.id">
<td>{{ post.id }}</td>
<td>{{ post.title }}</td>
<td>{{ post.updatedAt }}</td>
<td class="text-right">
<a href="#" @click.prevent="populatePostToEdit(post)">Edit</a> -
<a href="#" @click.prevent="deletePost(post.id)">Delete</a>
</td>
</tr>
</tbody>
</table>
</b-col>
<b-col lg="3">
<b-card :title="(model.id ? 'Edit Post ID#' + model.id : 'New Post')">
<form @submit.prevent="savePost">
<b-form-group label="Title">
<b-form-input type="text" v-model="model.title"></b-form-input>
</b-form-group>
<b-form-group label="Body">
<b-form-textarea rows="4" v-model="model.body"></b-form-textarea>
</b-form-group>
<div>
<b-btn type="submit" variant="success">Save Post</b-btn>
</div>
</form>
</b-card>
</b-col>
</b-row>
</div>
</template>
<script>
import api from '@/api'
export default {
data () {
return {
loading: false,
posts: [],
model: {}
}
},
async created () {
this.refreshPosts()
},
methods: {
async refreshPosts () {
this.loading = true
this.posts = await api.getPosts()
this.loading = false
},
async populatePostToEdit (post) {
this.model = Object.assign({}, post)
},
async savePost () {
if (this.model.id) {
await api.updatePost(this.model.id, this.model)
} else {
await api.createPost(this.model)
}
this.model = {} // reset form
await this.refreshPosts()
},
async deletePost (id) {
if (confirm('Are you sure you want to delete this post?')) {
// if we are editing a post we deleted, remove it from the form
if (this.model.id === id) {
this.model = {}
}
await api.deletePost(id)
await this.refreshPosts()
}
}
}
}
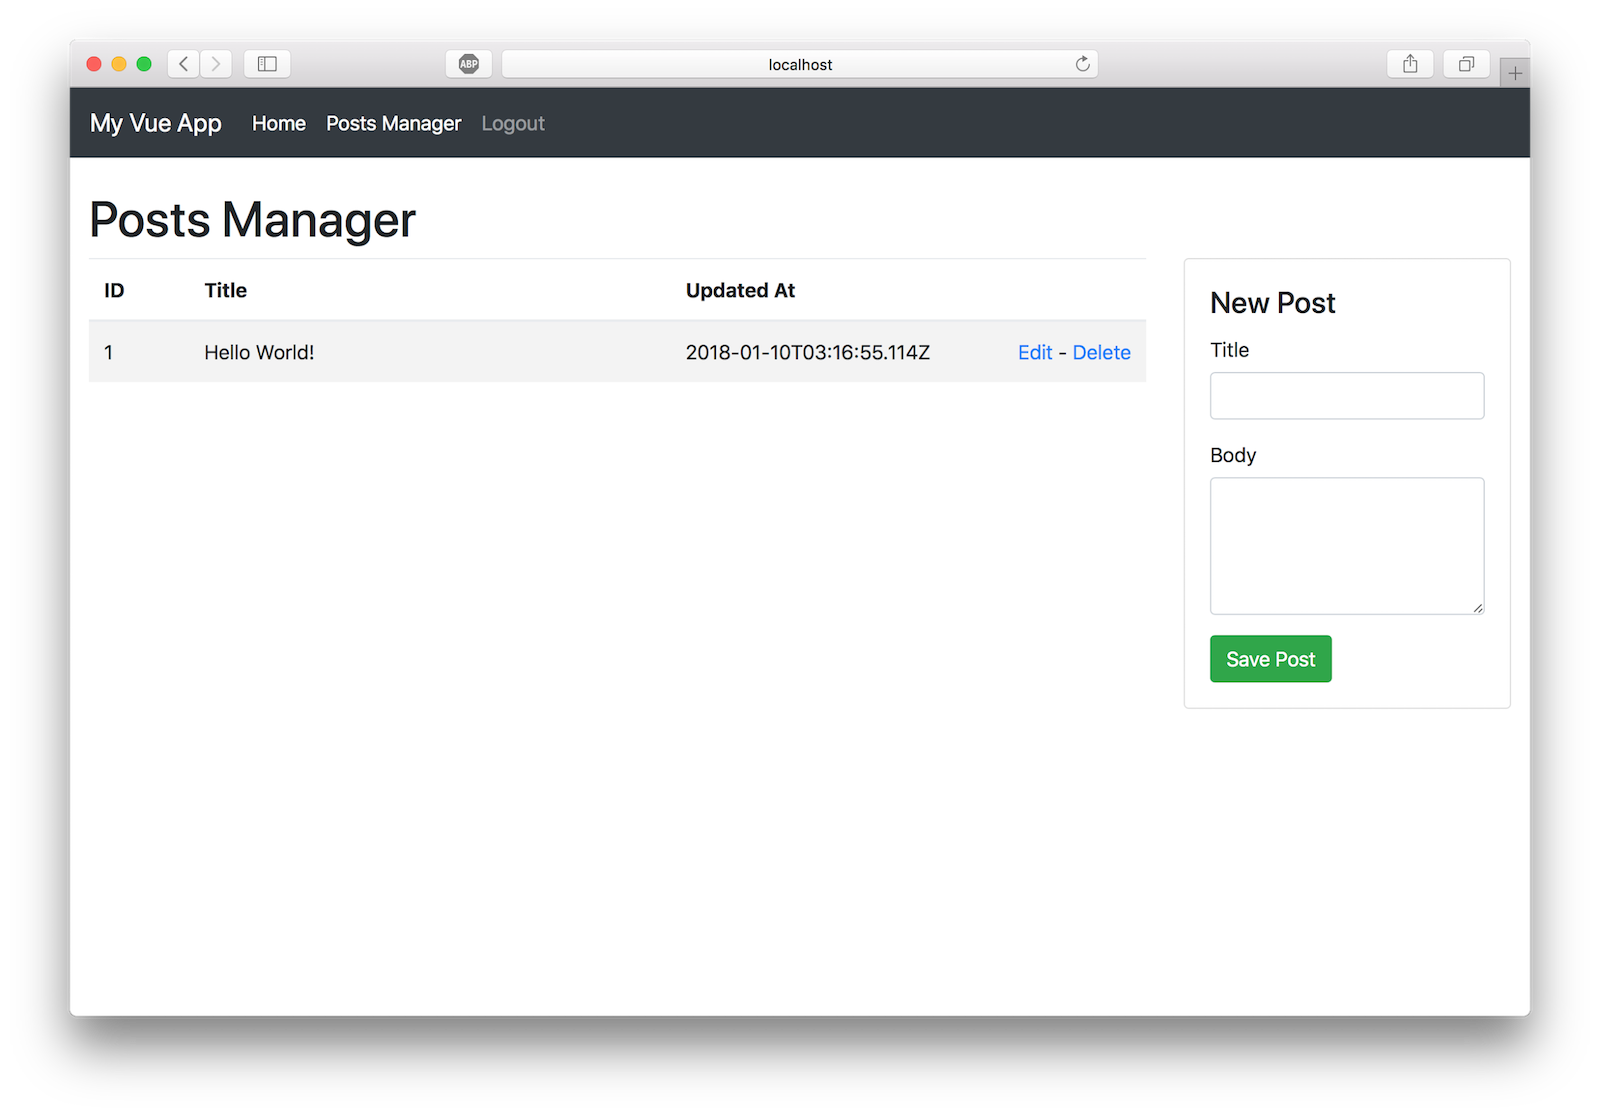
</script>Listing Posts
You’ll use api.getPosts() to fetch posts from your REST API server. You should refresh the list of posts when the component is loaded and after any mutating operation (create, update, or delete).
async refreshPosts () {
  this.loading = true
  this.posts = await api.getPosts()
  this.loading = false
}
The attribute this.loading is toggled so the UI can reflect the pending API call. You might not see the loading message since the API request is not going out to the internet.
Creating Posts
A form is included in the component to save a post. It’s wired up to call savePosts() when the form is submitted and its inputs are bound to the model object on the component.
When savePost() is called, it will perform either an update or create based on the existence of model.id. This is mostly a shortcut to not have to define two separate forms for creating and updating.
async savePost () {
  if (this.model.id) {
    await api.updatePost(this.model.id, this.model)
  } else {
    await api.createPost(this.model)
  }
  this.model = {} // reset form
  await this.refreshPosts()
}
Updating Posts
When updating a post, you first must load the post into the form. This sets model.id which will the trigger an update in savePost().
async populatePostToEdit (post) {
  this.model = Object.assign({}, post)
}
Important: The Object.assign() call copies the value of the post argument rather than the reference. When dealing with mutation of objects in Vue, you should always set to the value, not reference.
Deleting Posts
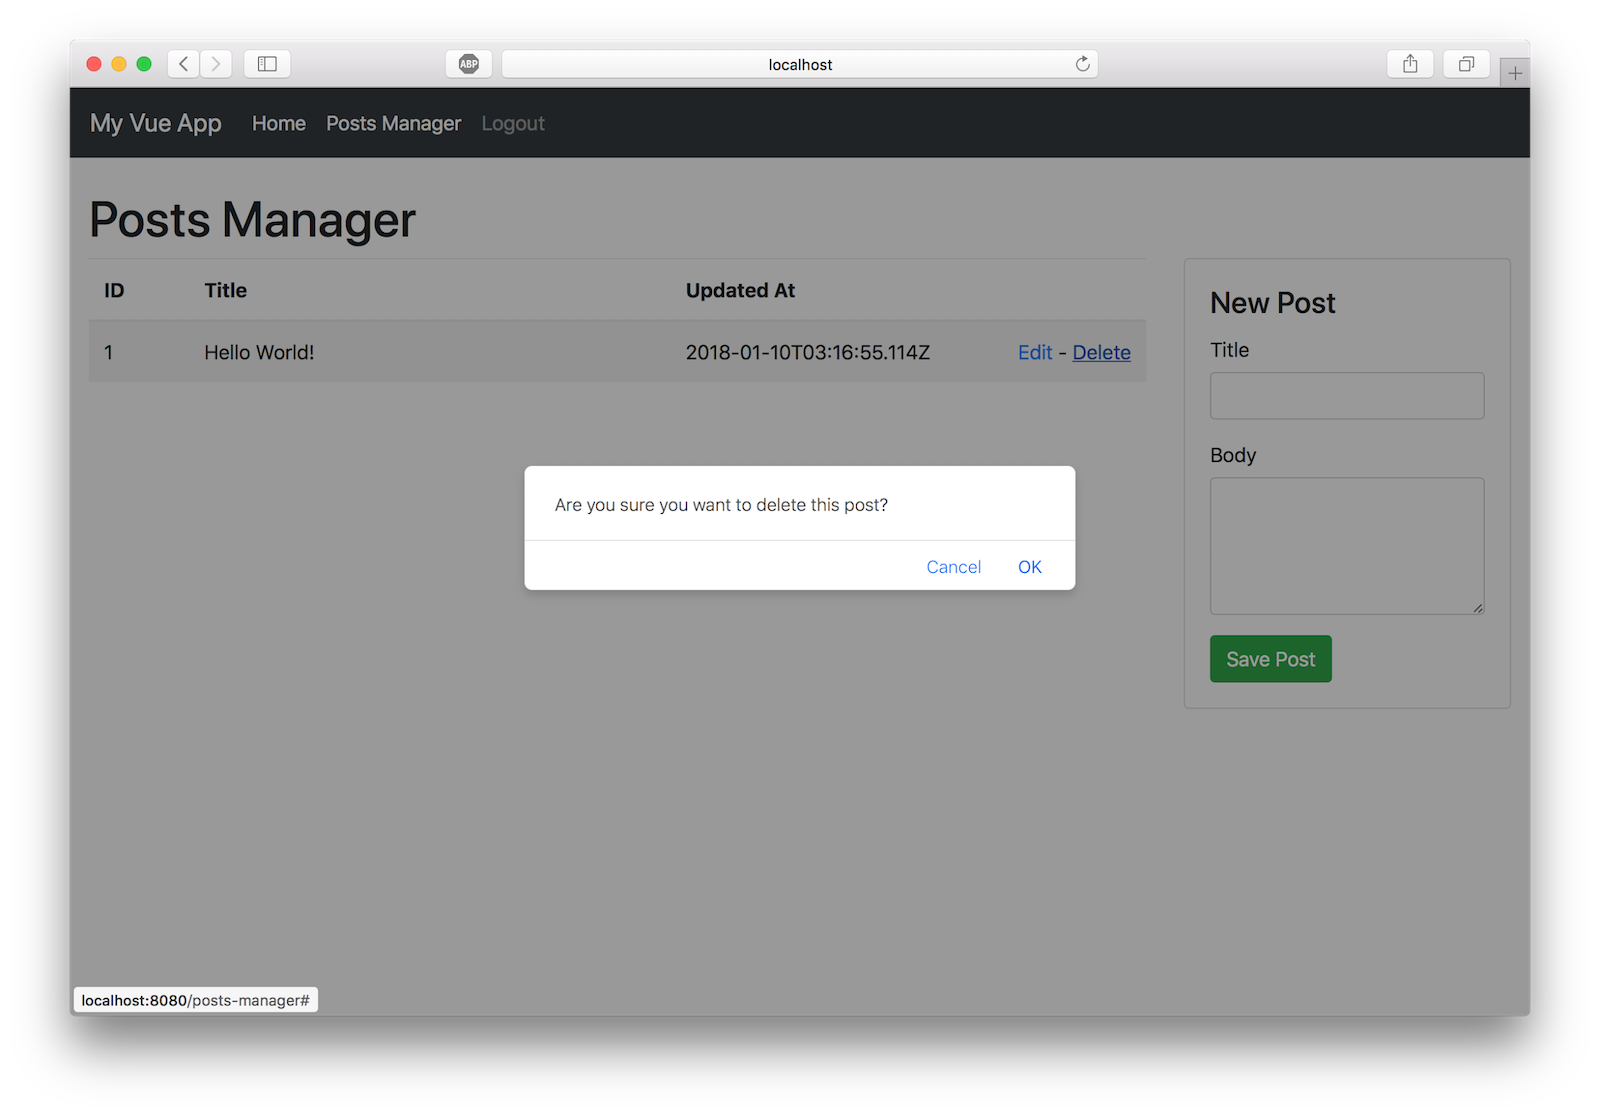
To delete a post simply call api.deletePost(id). It’s always good to confirm before delete so let’s throw in a native confirmation alert box to make sure the click was intentional.
async deletePost (id) {
  if (confirm('Are you sure you want to delete this post?')) {
    await api.deletePost(id)
    await this.refreshPosts()
  }
}
Test Your Vue.js + Node CRUD App
Make sure both the server and frontend are running.
Terminal #1
node ./src/server
Terminal #2
npm run dev
Navigate to http://localhost:8080 and give it a whirl.
Do More With Vue!
As I said at the top of this post, I think Vue stands head and shoulders above other frameworks. Here are five quick reasons why:
- Simple component lifecycle
- HTML-based templating and native two-way binding
- Widely agreed upon ways to handle routing, state management, webpack configuration, and isomorphic web apps
- Massive community supported resources, components, libraries, and projects
- Vue feels very similar to React (without the JSX!) which lowers the barrier to entry for those with React experience. Moving between React and Vue isn’t very difficult.
I covered a lot of material in this tutorial but don’t feel bad if you didn’t grasp everything the first time. The more you work with these technologies, the more familiar they will become.
To learn more about Vue.js head over to https://vuejs.org or check out these other great resources from the @oktadev team:
- The Ultimate Guide to Progressive Web Applications
- The Lazy Developer’s Guide to Authentication with Vue.js
- Build a Cryptocurrency Comparison Site with Vue.js
You can find the source code for the application developed in this post at https://github.com/oktadeveloper/okta-vue-node-example.
Hit me up in the comments with any questions, and as always, follow @oktadev on Twitter to see all the cool content our dev team is creating.
- Apr 16, 2018: Updated to use the latest dependencies, including Okta’s Vue SDK 1.0.0. See the code changes in oktadeveloper/okta-vue-node-example-example#2. Changes to this article can be viewed in okta/okta.github.io#1959.
- Mar 12, 2018: Updated to use the latest dependencies, including Bootstrap 4.0.0. See the code changes in oktadeveloper/okta-vue-node-example-example#1. Changes to this article can be viewed in okta/okta.github.io#1837.
“I love writing authentication and authorization code.” ~ No Web Developer Ever. Tired of building the same login screens over and over? Try the Okta API for hosted authentication, authorization, and multi-factor auth.
Build a Basic CRUD App with Vue.js and Node was originally published on the Okta developer blog on February 15, 2018.
