In this article, we will learn how to build Restful API’s from scratch using node and NoSQL databases like MongoDB. For starters let’s understand our development stack before we start building our application.
Node.js is an open source javascript runtime designed to build scalable applications and uses an event-driven and non-blocking I/O. Node.js is designed keeping low latency and streaming a priority which makes it well suited for a web library foundation.
MongoDB is an open source NoSQL DB flavor designed to use document data models like JSON data structure. According to the MongoDB website: “MongoDB is a document database with the scalability and flexibility that you want with the querying and indexing that you need”. To learn more about MongoDB has very good documentation that is worth a read
1. Prerequisites
- Download and install Node
- MongoDB installation
- Install Express Server
- Download Postman client to test our API’s
- Your favorite text editor or IDE’s like Atom, sublime or JetBrains
- Terminal installed
1.1 Download and install Node
Node.js can be downloaded and installed in multiple flavors and operation systems. Follow the node documentation link and pick the right install that works best. If you were to use Mac follow the instructions provided below
- Click on macOS installer and open the downloaded .pkg file, in our case node-v10.15.1.pkg is the file name
- Click on continue to proceed with the installer
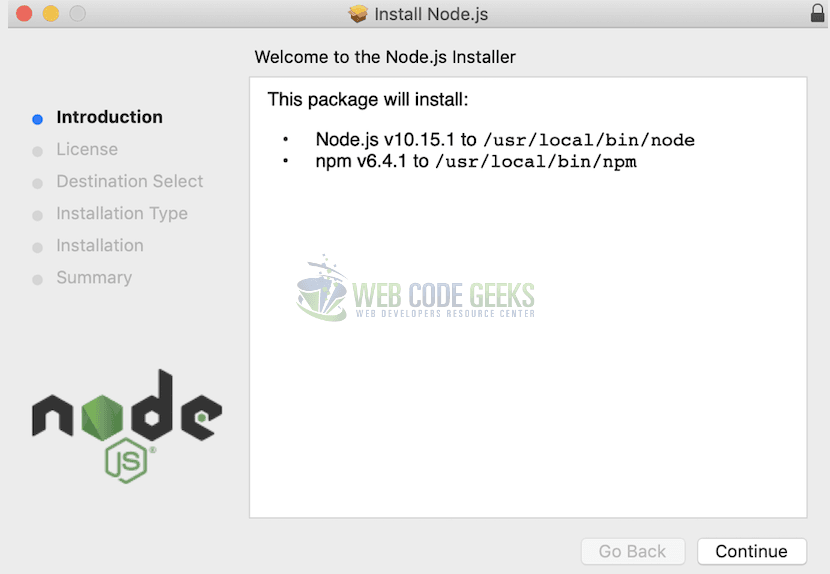
- Follow instructions on the screen to complete the installation successfully
- Confirm node is installed successfully by checking the version installed
$ node -v
v10.15.1
Congrats, you have node installed successfully and let’s start with MongoDB installation
1.2 MongoDB Installation
MongoDB can be installed manually by downloading the install or Homebrew.
- Navigate to MongoDB community Server page if you would like to install manually – https://www.mongodb.com/download-center/community
- Install using homebrew install
 $ brew install mongodb
Updating Homebrew...
==> Installing dependencies for mongodb: openssl, readline, sqlite and python@2
==> Installing mongodb
==> mongodb
To have launchd start mongodb now and restart at login:
brew services start mongodb
Or, if you don't want/need a background service you can just run:
  mongod --config /usr/local/etc/mongod.conf
To check if mongo is installed successfully
Mongo install success$ which mongo /usr/local/bin/mongo
To start the MongoDB server:
Start Mongo server$ brew services start mongodb ==> Successfully started mongodb
Test your connection to mongodb:
Check Mongo connection$ mongo MongoDB shell version v4.0.3 connecting to: mongodb://127.0.0.1:27017
Now we have MongoDB installed let’s quickly install postman so we can start building our API’s.
1.3 Download Postman client
Postman is a Graphical User Interface (GUI) HTTP client used for testing API services by constructing API request with a readable API response. Postman client can be downloaded from https://www.getpostman.com/downloads/ and follow on-screen installations for a successful installation.
Now we have our development stack installed and we are ready to start building API’s. Let’s build an app that stores product information and let’s call it Product Catalog. To start creating the app we will open terminal and create a folder with name product-catalog-api and from the root directory create package.json file following steps below:
Creating product directory structure$ mkdir product-catalog-api $ cd product-catalog-api $ npm init
Make any changes to the package.json from the terminal or you can always make changes later, here’s my copy with some details added
Modify package file with updates {
"name": "product-catalog-api",
"version": "1.0.0",
"description": "Sample Product Catalog app using node and mongodb",
"main": "index.js",
"scripts": {
"test": "echo \"Error: no test specified\" && exit 1"
},
"author": "RM",
"license":"ISC"
Now we created package file which is the starting file for node server to recognize steps to start the server, let’s create a folder api and create controller, model and routes folder respectively
create MVC structure$ mkdir api $ cd api $ mkdir contollers $ mkdir models $ mkdir routes $ cd ../ && touch server.js
Here’s the folder structure after the files are created:
Structure should include a folder api and controllers, models and routes as subfolders in it. Make sure package.json and server.js files are part of the api folder.
We are ready to create our first model, controller files along with routes.
Create controller, model and routes$ touch api/controllers/productCatalogController.js $ touch api/models/productCatalogModel.js $ touch api/routes/productCatalogRoutes.js
It’s time to create our server using express and npm commands
1.4 Express Server Installation
According to the expressjs.com site:
“Express is a minimal and flexible Node.js web application framework that provides a robust set of features for web and mobile applications.”
Express.js is designed to build hybrid web applications both single and multi-page apps. Express.js is the most popularly used framework for node.js applications providing a thin layer for web applications without hindering the node.js features
Install express and nodemon$ npm install express --save $ npm install --save-dev nodemon
On successful installation, additional folder with name node_modules will be created with all express dependencies installed and saved. We will use nodemon server.js to start the application server. Add the line inside the package.json file to automatically start the server.
1.5 Install Mongoose library
Mongoose library is widely used as an Object Data Modeling (ODM) for MongoDB and node applications. Mongoose takes care of relationships between data and schema validations, check how.
Let’s start by installing mongoose using npm package
Install mongoose using npm package$ npm install mongoose --save
If you noticed changes in the codebase, package.json, and package-lock.json are updated from the npm install command along with mongoose folder inside a node-module folder.
2. Create a Product Schema
Let’s start defining our Product catalog model by adding a schema that would identify product like:
- Name → Identifies the name of the Product
- Description → Identifies the description of the Product
- Price → Identifies the price of the Product
- Currency → Identifies the currency of the Product
- Created at → Identifies product creation timestamp
- Updated at → Identifies product timestamp last updated timestamp
Let’s define the schema into mongoose and nodejs nomenclature by adding the code below into the productCatalogModel.js file and save. The code below is self-explanatory with Model and schema defined with the collections mentioned above.
Schema Definition for Product Model'use strict'; varmongoose= require('mongoose'); varSchema= mongoose.Schema; varProductSchema= new Schema({ name: { type: String, required: 'Enter Product Name' }, description: { type: String, required: 'Enter Product Description' }, price: { type: Number, required: 'Enter Product Price' }, currency: { type: String, required: 'Enter Product Currency' }, Created_date: { type: Date, default: Date.now }, Updated_date: { type: Date, default: Date.now } }); module.exports = mongoose.model('Products',ProductSchema);
Let’s create our controller with actions to list, create, read, update and delete a product from the product catalog. Thanks to Mongoose methods and node.js exported functions. Modify the controller file productCatalogController.js file as mentioned below
CRUD Operations using mongoose'use strict'; varmongoose= require('mongoose'),Product= mongoose.model('Products'); exports.list_all_products = function(req, res) {Product.find({}, function(err, product) { if (err) res.send(err); res.json(product); }); }; exports.create_a_product = function(req, res) { var new_product = new Product(req.body); new_product.save(function(err, product) { if (err) res.send(err); res.json(product); }); }; exports.read_a_product = function(req, res) { Product.findById(req.params.productId, function(err, product) { if (err) res.send(err); res.json(product); }); }; exports.update_a_product = function(req, res) {Product.findOneAndUpdate({_id: req.params.productId}, req.body, {new: true}, function(err, product) { if (err) res.send(err); res.json(product); }); }; exports.delete_a_product = function(req, res) { Product.remove({ _id: req.params.productId }, function(err, product) { if (err) res.send(err); res.json({ message: 'Product successfully deleted' }); }); };
Let’s put this all together by modifying the routes file productCatalogRoutes.js file to let our app know the routes when a particular action is called
Modify routes to match the controllers 'use strict';
module.exports = function(app) {
var productList = require('../controllers/productCatalogController');
// todoList Routes
app.route('/products')
.get(productList.list_all_products)
.post(productList.create_a_product);
app.route('/products/:productId')
.get(productList.read_a_product)
.put(productList.update_a_product)
.delete(productList.delete_a_product);
};
Finally let’s add our Model and Mongoose connection details in our server.js file we created at the start of the project.
Update DB connection details to connect to mongoose on server file var express = require('express'),
app = express(),
port = process.env.PORT || 3000
mongoose = require('mongoose'),
Product = require('./api/models/productCatalogModel'),
bodyParser = require('body-parser');
// mongoose instance connection url connection
mongoose.Promise = global.Promise;
mongoose.connect('mongodb://localhost/ProductCatalogdb');
app.use(bodyParser.urlencoded({ extended: true }));
app.use(bodyParser.json());
var routes = require('./api/routes/productCatalogRoutes'); //importing route
routes(app);
app.listen(port);
console.log('Product Catalog RESTful API server started on: ' + port);
The final step is to start your MongoDB server, node servers to connect to MongoDB instance.
start mongo server$ mongod
API’s built should function with all actions mentioned in the controller and use postman to test your API’s by sending a request, for e.g use the URL below to list all products successfully from your local instance.
http://localhost:3000/products
3. References
- CRUD Operation reference from MongoDB site: http://mongodb.github.io/node-mongodb-native/3.1/tutorials/crud/
- Mongoose DB Schema definitions: https://mongoosejs.com/docs/guide.html
- How to use MongoDB with node.js: https://flaviocopes.com/node-mongodb/

Hey Man, When i try to post data using Postman, I get validation Errors for name, description, price and currency yet I submit a Json