“I love writing authentication and authorization code.” ~ No Web Developer Ever. Tired of building the same login screens over and over? Try the Okta API for hosted authentication, authorization, and multi-factor auth.
User authentication in Node can be confusing. It’s confusing for lots of people, including really talented Node developers, so you’re not alone. Authentication practices change frequently and can be hard to keep up with. In this tutorial, I’m going to show you how to use OpenID Connect to build an extremely simple Node.js website (using Express.js) that allows you to manage your users, log them in, and log them out.
Back in the day, all websites would require users to register with a username/password and log in with those same credentials. This was simple, but caused a lot of security problems because developers would need to write the code to authenticate the user directly, store their credentials, manage their data, etc. It also required developers to build custom authorization schemes so that they could track what permissions their users had to perform certain operations.
A while later, OAuth came into fashion with a new idea: let a user have one account with a large OAuth provider (Google, Facebook, etc.), and let users log into your service via their OAuth account with that provider. This had some nice benefits: developers no longer had to worry about storing passwords and managing credentials. The downside was that OAuth is a flexible protocol, and doesn’t lay out rules around authorization, data management, etc. This means that developers using pure OAuth are required to write a lot of custom security code themselves, which causes problems.
Just recently, however, OpenID Connect (OIDC) has come onto the scene. It’s a protocol built on top of OAuth that provides everything you could ever want: simplified user authentication, simplified authorization, and lots of nice management to tie them all together. OIDC has been gaining popularity in the development community.
The only problem with OIDC is that there still aren’t a ton of great tools and integrations to make using it easy.
One of my amazing Okta colleagues, Robert, has been working on a new Node.js library, oidc-middleware, that attempts to make adding user authentication and authorization to your Node apps simple.
So, without further ado, let’s build something together! I’ll show you how to use the new oidc-middleware package to build a simple website.
Create an Okta Account
The first thing you’ll need to do before we build our simple Node.js website is to create a free Okta developer account.
If you haven’t heard of Okta before, we’re an API service that allows you to easily store your user accounts, manage them from a simple web UI, handle user login and registration, password reset functionality, social login, single sign-on, and lots more.
NOTE: If you’d like to skip the following sections and get straight into the code, you can visit the Github repo for this application directly.
Create an Application
Now that you’ve got an Okta account, you need to create an Application. Using Okta, you can create as many Applications as you’d like. Each Application represents an actual application you might be building.
Since you’re going to be building a simple Node website right now, you only need to create a single Application.
To get started, go log into your new Okta dashboard. Once you’re in, click the “Applications” tab. You’ll see something like this:
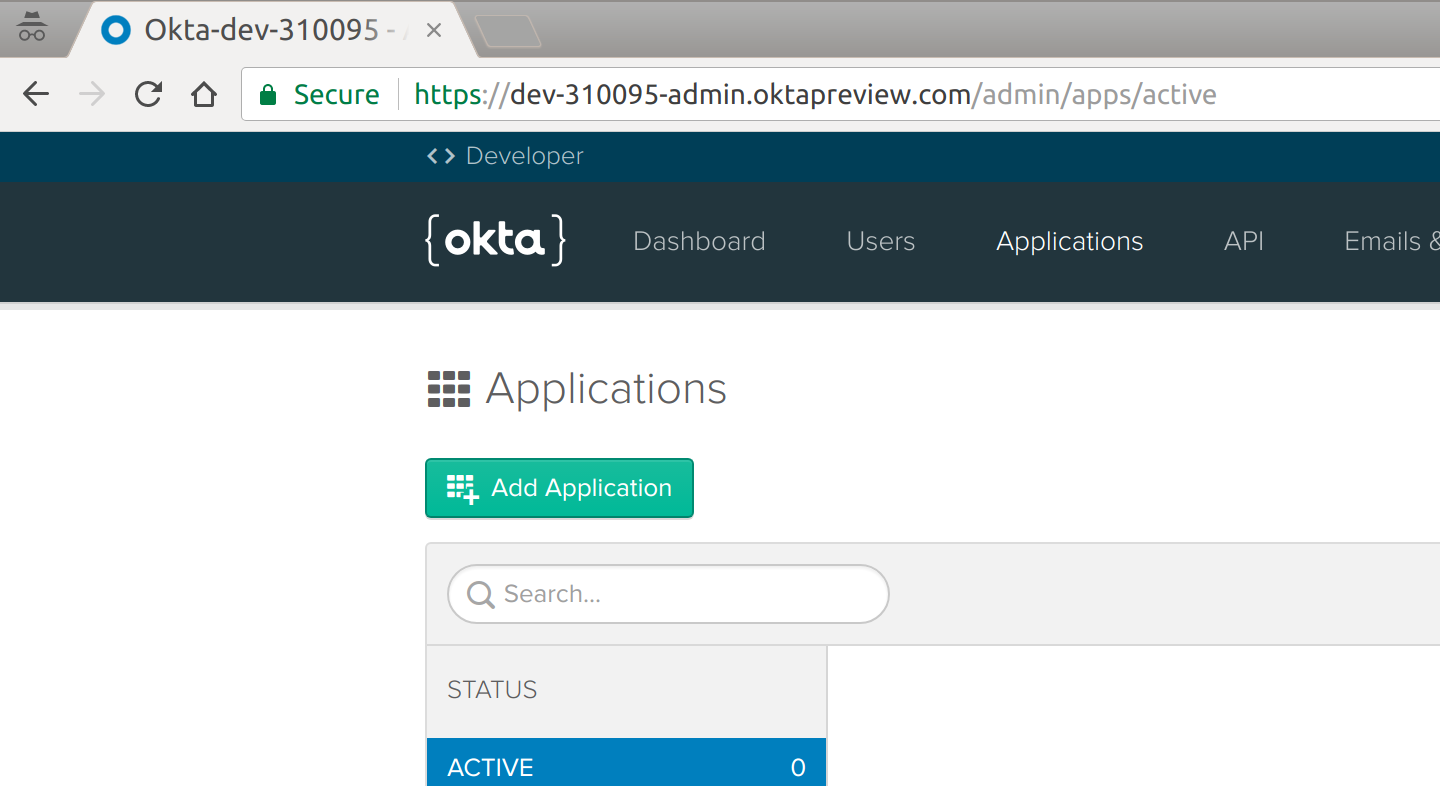
This is where you can view all of your Okta applications, and manage them.
Since we don’t have an Application created yet, let’s do that now. Click the big green “Add Application” button and then click the “Web” box (because you’re going to build a web app):
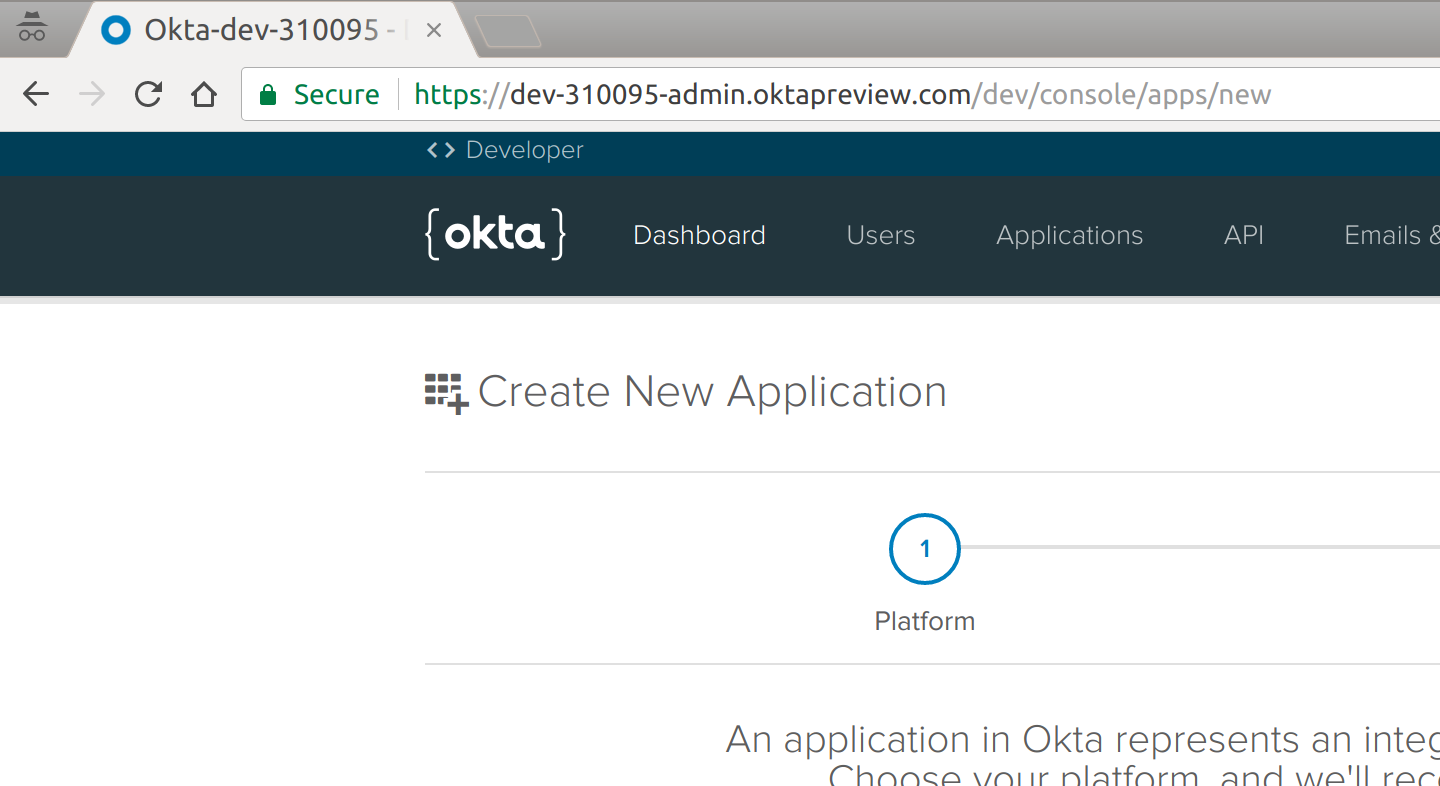
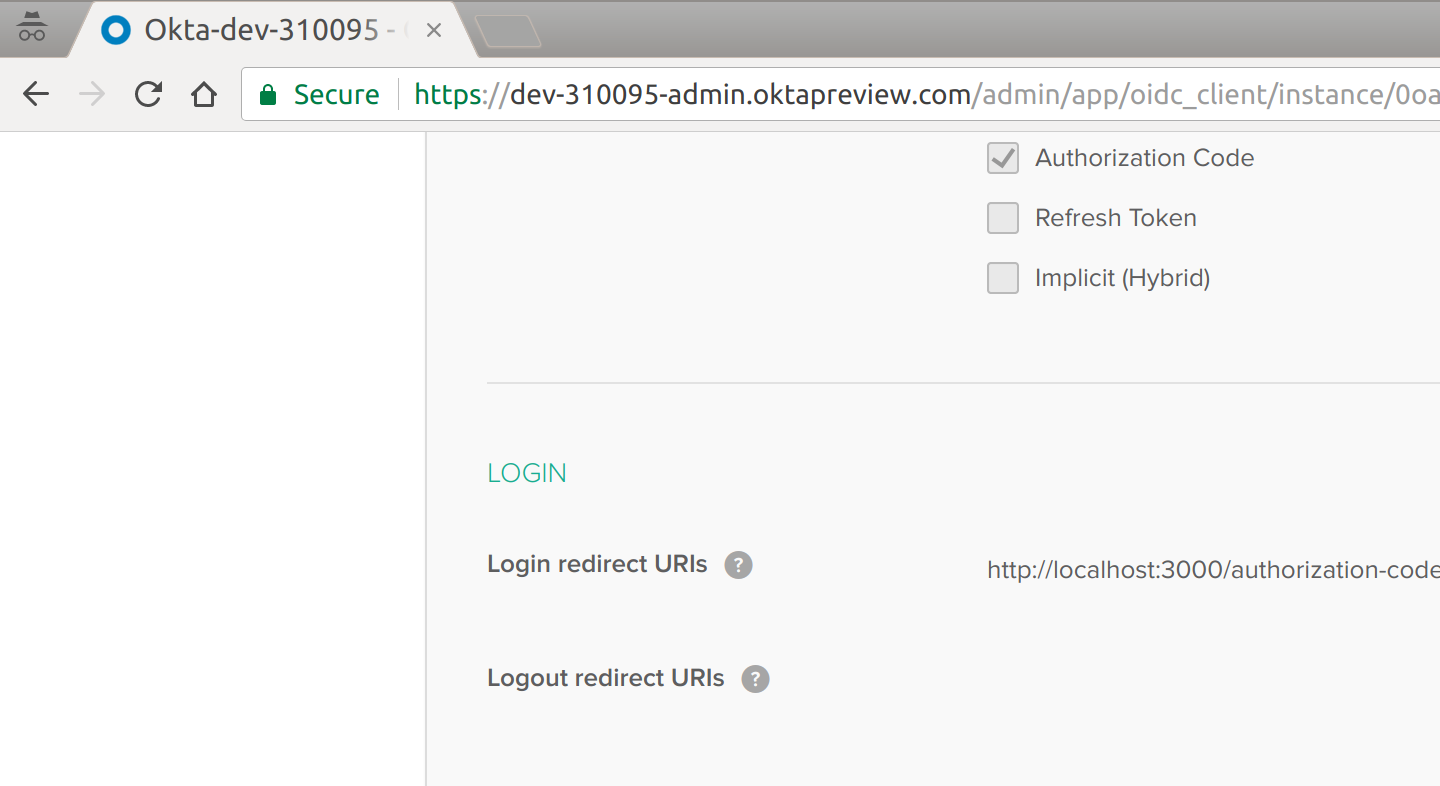
Once you move to the next screen, you’ll be able to configure your app settings. There’s a lot of things you can do here (feel free to play around with it sometime!), but for now: leave all the defaults as-is.

Next, you’ll want to copy down a few settings that we’ll need later on.
To start, you’ll need the Client ID and Client Secret of your newly created Application. You’ll find this on the page you land one once you’ve created your new Application:
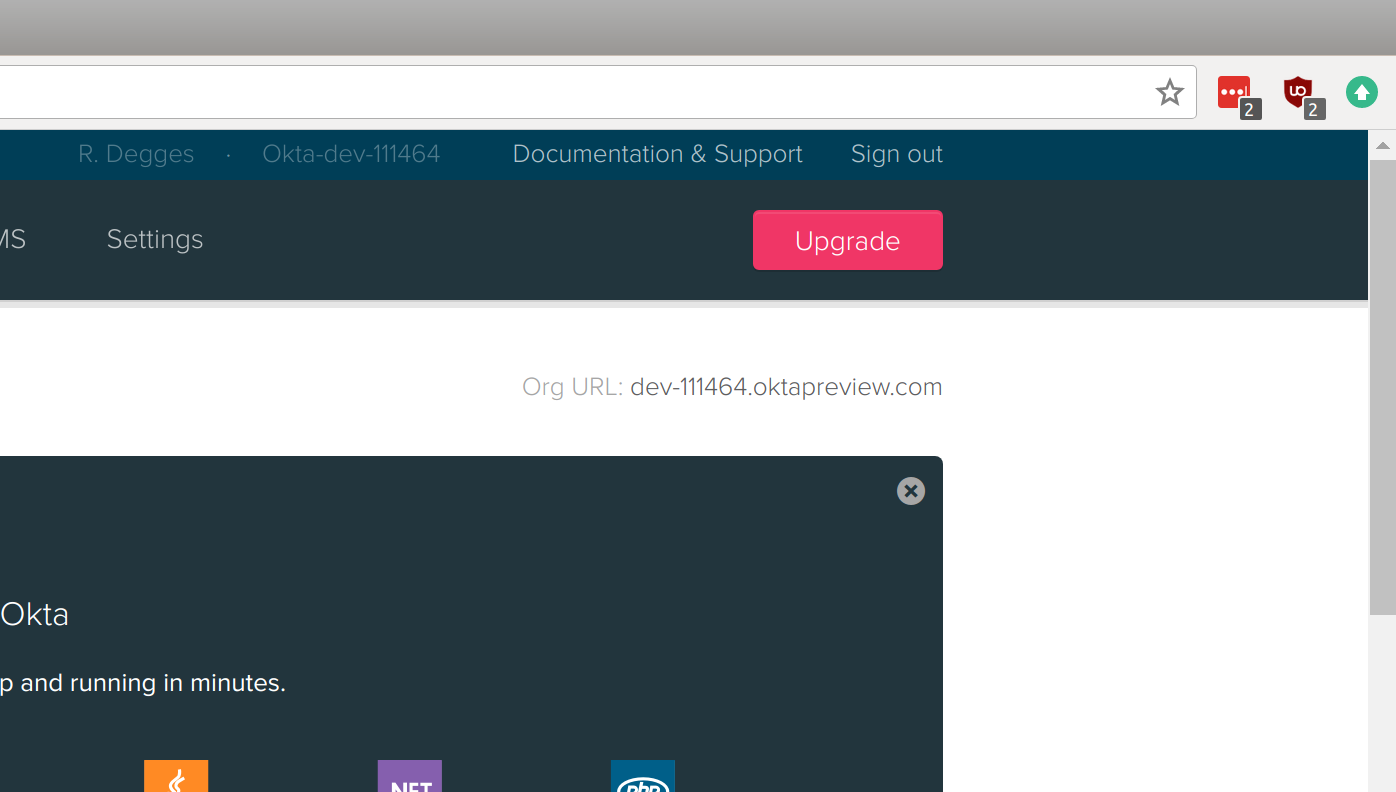
Next, you’ll need your Okta Organization URL. If you go to the “Dashboard” page, you should see it at the top-right hand corner of the page. It’s the setting called “Org URL”. Here’s what mine looks like, for example: dev-310095.oktapreview.com
Now that you have those settings, keep them someplace safe and we’ll use them soon.
Build the Express.js App
The next thing you’ll do is build a simple Express.js app without any sort of login capabilities. It will be very simple (but that’s the point!).
Create the Application Skeleton
To get started, create a new folder somewhere on your computer, and enter it. Then create a server.js file and insert the following code:
"use strict";

const express = require("express");

let app = express();

// App settings
app.set("view engine", "pug");

// App middleware
app.use("/static", express.static("static"));

// App routes
app.get("/", (req, res) => {
  res.render("index");
});

app.get("/dashboard", (req, res) => {
  res.render("dashboard");
});

app.get("/logout", (req, res) => {
  res.redirect("/");
});

app.listen(3000);
This is a basic Express.js application:
- It creates an Express application
- It configures Express to serve static files (css, images, etc.)
- It contains three routes: a home page route, a dashboard route, and a logout route. The home page route simply shows an HTML template (that we’ll create in a moment). The dashboard route shows a dashboard template. And the logout route redirects the user back to the home page. Simple!
- On the very last line of the file, Express will start up a local web server on port 3000 so you can view the website locally.
Next, you’ll need to create a new directory called views, and inside it, create a base.pug template with the following contents:
doctype html
html(lang="en")
  head
    meta(charset="utf-8")
    meta(name="viewport", content="width=device-width, initial-scale=1, shrink-to-fit=no")

    link(rel="stylesheet", href="https://maxcdn.bootstrapcdn.com/bootstrap/4.0.0-beta/css/bootstrap.min.css", integrity="sha384-/Y6pD6FV/Vv2HJnA6t+vslU6fwYXjCFtcEpHbNJ0lyAFsXTsjBbfaDjzALeQsN6M", crossorigin="anonymous")
    link(rel="stylesheet", href="/static/css/style.css")

  body
    .container
      block body

    script(src="https://code.jquery.com/jquery-3.2.1.slim.min.js", integrity="sha384-KJ3o2DKtIkvYIK3UENzmM7KCkRr/rE9/Qpg6aAZGJwFDMVNA/GpGFF93hXpG5KkN", crossorigin="anonymous")
    script(src="https://cdnjs.cloudflare.com/ajax/libs/popper.js/1.11.0/umd/popper.min.js", integrity="sha384-b/U6ypiBEHpOf/4+1nzFpr53nxSS+GLCkfwBdFNTxtclqqenISfwAzpKaMNFNmj4", crossorigin="anonymous")
    script(src="https://maxcdn.bootstrapcdn.com/bootstrap/4.0.0-beta/js/bootstrap.min.js", integrity="sha384-h0AbiXch4ZDo7tp9hKZ4TsHbi047NrKGLO3SEJAg45jXxnGIfYzk4Si90RDIqNm1", crossorigin="anonymous")
This is a simple pug template that contains nothing more than some very basic HTML formatting, and Bootstrap. If you aren’t already familiar with pug, you may want to read through this excellent beginner’s tutorial.
NOTE: pug used to be named jade, this is useful to know if you’re looking for resources online.
Next, you’ll want to create the HTML template that renders the home page of the site. Create the file views/index.pug and include the following code:
extends base.pug

block body
  h1.text-center Welcome to the Example App!

  .jumbotron
    p.
      Thanks for checking out this super simple Okta sample app.  If you login
      below, you'll be taken to an admin panel that is only accessible for
      authenticated users.

    p.
      Please #[a(href="/login") login] to continue.
This is your simple home page template.
Now, let’s create a dashboard page. This page will be what the user sees after logging into the website. Create the file views/dashboard.pug and include the following:
extends base.pug

block body
  h1.text-center User Dashboard

  .jumbotron
    ul
      li Your Email Address is: #{user.preferred_username}
      li Your First Name is: #{user.given_name}
      li Your Last Name is: #{user.family_name}

    p.
      If you'd like to logout, please #[a(href="/logout") click here].
Next, let’s add a bit of CSS to make things look nice. Create a new folder to store your static assets (css, images, etc.):
$ mkdir -p static/css
Now create the file static/css/style.css and include the following:
h1 {
  margin-top: 2em;
}

.jumbotron {
  margin-top: 2em;
}
Now, if you want to run this simple website, you can do so by installing the required dependencies, then starting up your Node server on the command line:
$ npm install express pug     # install dependencies
$ node server.js              # run the server
Once the server is running, you can view the site by visiting http://localhost:3000 in your browser.
Remember how I said this would be a simple website? I wasn’t lying! Here’s what your new website homepage will look like:
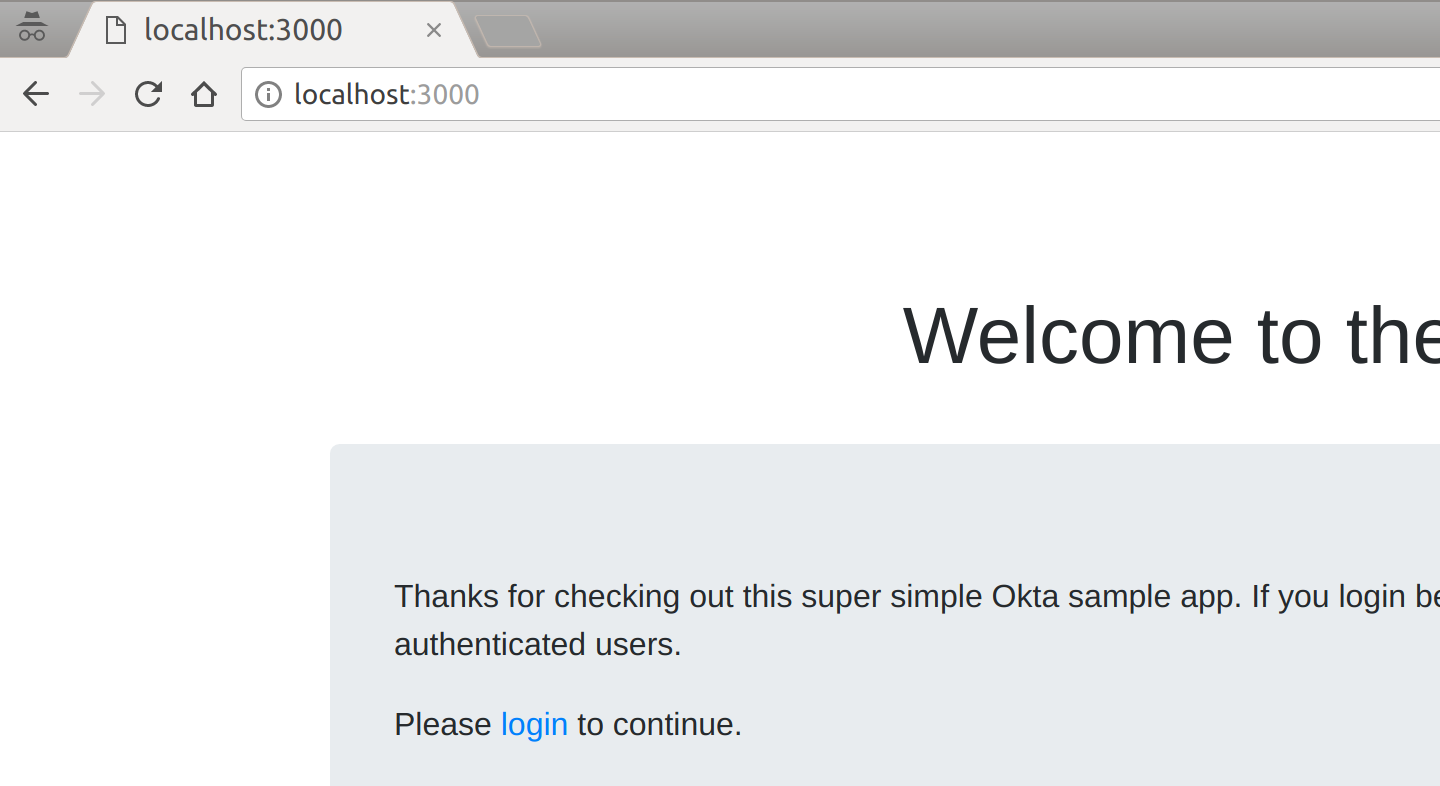
By now, you should have a working website with no authentication. So let’s take it one step further in the next section and add OIDC.
Add OpenID Connect to Your Website
To get started, you’ll need to install two new Node.js libraries:
express-session, which will manage user sessions for your website, and oidc-middleware, which will handle all of the OIDC implementation details for your website
To install these libraries, run the following command:
$ npm install express-session @okta/oidc-middleware
Next, you’ll need to import these libraries in your server.js from before:
const express = require("express");
const session = require("express-session");
const ExpressOIDC = require("@okta/oidc-middleware").ExpressOIDC;
Now that the libraries are imported properly, you can initialize the session middleware and the OIDC middleware:
// App middleware
app.use("/static", express.static("static"));

app.use(session({
  cookie: { httpOnly: true },
  secret: "long random string"
}));

let oidc = new ExpressOIDC({
  issuer: "https://dev-111464.oktapreview.com/oauth2/default",
  client_id: "your-client-id-here",
  client_secret: "your-client-secret-here",
  redirect_uri: "http://localhost:3000/authorization-code/callback",
  routes: {
    callback: { defaultRedirect: "/dashboard" }
  },
  scope: 'openid profile'
});
The session middleware contains a number of options, but the only ones we’ll need for now are the following two:
cookie.httponly: this option tells the browser that JavaScript code should not be allowed to access the session data. JavaScript on clients is a dangerous thing, ensuring your cookies that contain identity information are safe is always of top importance.secret: this option should be a long random string that you create. It should be the same across all your webservers, but never shared publicly or stored in a public place. This value is used to ensure your user’s identity information is protected cryptographically inside of cookies.
The OIDC middleware also contains a number of options. I’ll walk you through them briefly:
issuer: this should be your Org URL value (that you wrote down earlier) with/oauth2/defaultappended. This is the OAuth2 endpoint that’s used for handling authorization.client_id/client_secret: these values are what you wrote down earlier after creating your Okta Application. They can be found in your Application settings in Okta.redirect_uri: this setting tells Okta where to redirect the user after they’ve signed in. This value should stay the same as it is listed above, as this library will handle that route for you automatically.routes.callback.default_redirect: this option tells Okta where to redirect a user once they’ve been signed into your website. In this case, you’ll want to redirect them to the dashboard page.scope: the OpenID Connect protocol has a lot of standard scopes that determine what data about your user is returned to you once the user has been signed in. The values here provide basic user information for your website. To view a complete list of available scopes, check out this page.
Now that you’ve configured OIDC for your website, it’s time to hook up the routes:
// App routes
app.use(oidc.router);

app.get("/", (req, res) => {
  res.render("index");
});

app.get("/dashboard", oidc.ensureAuthenticated(), (req, res) => {
  console.log(req.userinfo);
  res.render("dashboard", { user: req.userinfo });
});

app.get("/logout", (req, res) => {
  req.logout();
  res.redirect("/");
});
The first thing that’s happening above is that you’re using the built-in OIDC routes that ship with the oidc-middleware library. This library provides routes to handle authenticating the user properly (behind the scenes), and a number of other things. I’ll show you how these work soon.
You’ll also notice that your dashboard route is now using a new Node.js middleware: oidc.ensureAuthenticated(). This middleware will do the following:
- If a user tries to visit
/dashboardand is not logged in, they will be redirected to Okta to log in, before being allowed to visit the page - If a user tries to visit
/dashboardand they are logged in, they will be allowed to view the page with no problems
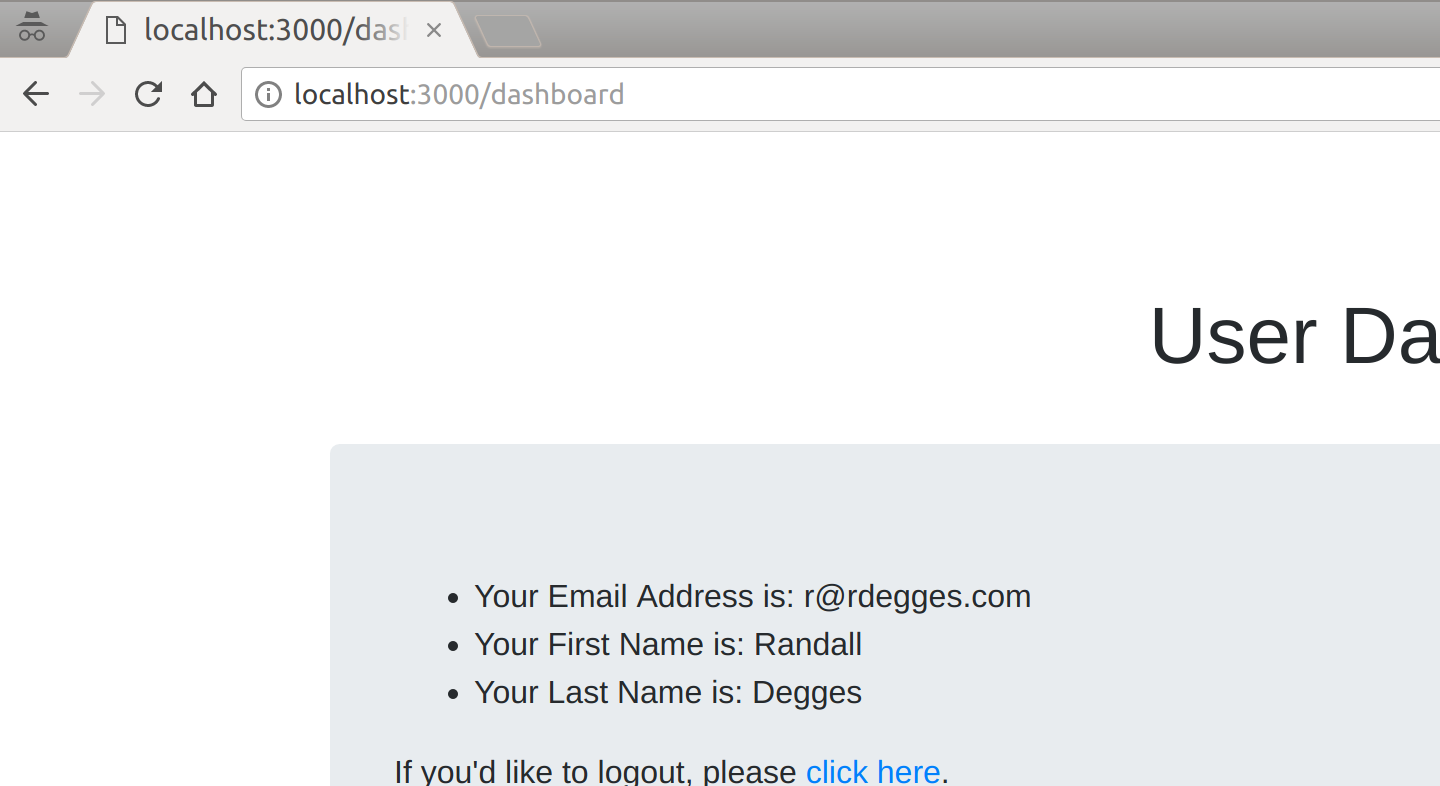
You’ll also notice that inside the dashboard route, you’re now able to access the logged-in user’s personal information via req.userinfo. The oidc-middleware library makes this object available to you whenever a user is logged in. You’ll notice that that this object shows the following information:
{ sub: '00uc5nynm5RZivEun0h7',
  name: 'Randall Degges',
  locale: 'en-US',
  preferred_username: 'r@rdegges.com',
  given_name: 'Randall',
  family_name: 'Degges',
  zoneinfo: 'America/Los_Angeles',
  updated_at: 1507772025 }
The data that’s returned about each logged-in user can be modified by including more (or fewer) scopes (as mentioned previously).
In the code above, you’ll also notice that there is a real logout implementation. The oidc-middleware library includes a new method: req.logout(), which wipes all session data and logs the user out of your application.
Modify the Server Start
Now that you’ve got your code in place, there’s only one tiny piece of code left to change: the code that starts your web server.
Normally when your Node application starts running, via the app.listen() method, the web site is immediately online. Now that you’re using OIDC, however, you don’t actually want that behavior.
In order to set up the OIDC rules and policies, the oidc-middleware library performs its setup routines asynchronously. If your site was to immediately go online, it could cause errors when users try to view protected pages, etc.
To get around this, you’ll want to modify your server start code like so:
oidc.on("ready", () => {
  app.listen(3000);
});

oidc.on("error", err => {
  console.error(err);
});
By listening for the events that the oidc-middleware library provides, you can safely start your Node server as soon as the OIDC setup has finished, thereby solving any timing problems you might have run into otherwise.
Test It Out
Now that your application has been built, why not try it out? If you visit http://localhost:3000 and click through the prompts, you’ll see how everything fits together:
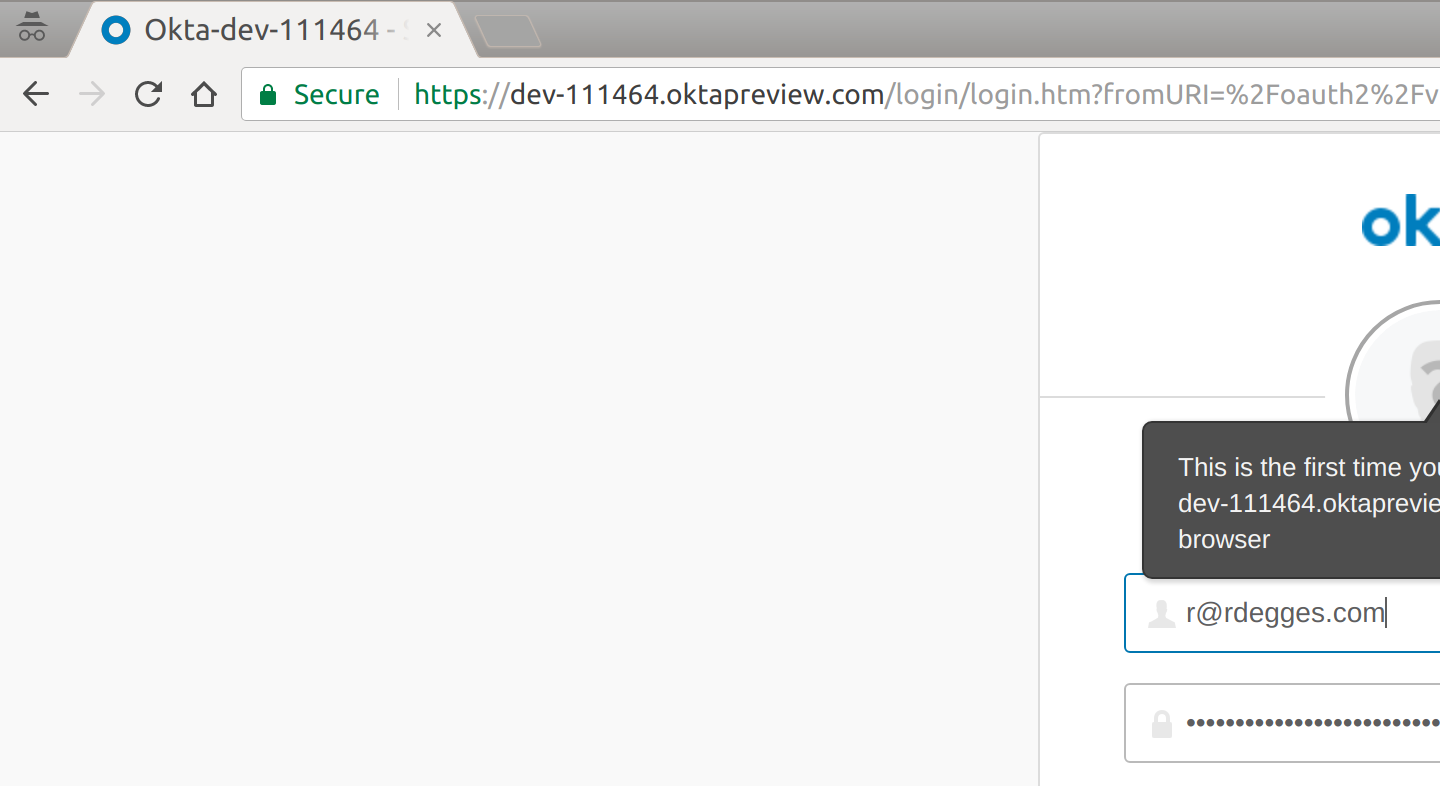
Once you click login, you’ll be redirected to /login The oidc-middleware will intercept that /login request, and redirect the user to Okta’s hosted sign-in page where they’ll be prompted for their email address and password The user will then enter their credentials, and log in They will then be redirected back to your local website, where the oidc-middleware library will again intercept the request, create a session for the user, and log them in Finally, they will be redirected to the dashboard page (/dashboard), where your route code will run and echo their basic information back to them
Here’s what each of the pages looks like in the flow:

Then, once you click “login”, you’ll be taken to the login page:
Finally, once you’ve logged in, you’ll be taken to the dashboard page where you can view your user information:
Resources
Now that you’ve built your first Node.js site using OIDC to handle authentication using our new oidc-middleware library, you might want to learn more about OIDC.
One of my good friends and co-workers Micah Silverman recently published a three part primer to OIDC which I strongly recommend you read if you’re interested in learning more about OIDC. You can check it out here.
You can also follow myself and Okta on Twitter to see more of what I’m working on, and ask any auth-related questions you might have.
“I love writing authentication and authorization code.” ~ No Web Developer Ever. Tired of building the same login screens over and over? Try the Okta API for hosted authentication, authorization, and multi-factor auth.
Use OpenID Connect to Build a Simple Node.js Website was originally published on the Okta developer blog on October 19, 2017.
