The aim of this example is to get you through the process of creating a functional photo gallery using HTML5 and CSS3.
Photo galleries will be needed in almost every website, whether to present products, staff members, or personal images when on a personal blogs.
Before we begin, know the following technologies that will be used:
– The photo viewer has been implemented using the famous jQuery library, it uses screen resolution detection to sit the image popup in the center of the screen, a soft fade effect and also chevron icons for navigation.
We’ll refer to a class called fancybox which will be our ‘photo wizard’.
– FancyBox is a tool for displaying images, html content and multi-media in a Mac-style “lightbox” that floats on page,
Also, you’ll notice jquery-migrate file linked as a script right after the body tag.
– jQuery Migrate is used to migrate older jQuery code to jQuery 1.9+.
It offers a migration technique to restore deprecated and removed functionality using jQuery Migrate plugin so the older code could work. The plugin can be included with versions of jQuery as old as 1.6.4.

Follow the steps below to achieve the same results:
1. Basic Setup
Go ahead and create a new html file inside your project folder with its basic syntax:
<!DOCTYPE html>
<html>
<head>
	<title>HTML5 Photo Gallery</title>
</head>
<body>


<!-- STYLE SECTION -->

<style type="text/css">

</style>


<!-- HTML SECTION -->

</body>
</html>
Inside the head tag, add the following link:
<link rel="stylesheet" type="text/css" media="screen" href="http://cdnjs.cloudflare.com/ajax/libs/fancybox/1.3.4/jquery.fancybox-1.3.4.css"/>
Also, add the following scripts after the body tag of your html file:
<script type="text/javascript" src="js/jquery-1.11.0.min.js"></script>
<script type="text/javascript" src="js/jquery-migrate-1.2.1.min.js"></script>
<script type="text/javascript" src="js/jquery.fancybox-1.3.4.pack.min.js"></script>
<script type="text/javascript">
    $(function($){
        var addToAll = false;
        var gallery = true;
        var titlePosition = 'inside';
        $(addToAll ? 'img' : 'img.fancybox').each(function(){
   var $this = $(this);
   var title = $this.attr('title');
   var src = $this.attr('data-big') || $this.attr('src');
   var a = $('<a href="#" class="fancybox"></a>').attr('href', src).attr('title', title);
            $this.wrap(a);
        });
        if (gallery)
            $('a.fancybox').attr('rel', 'fancyboxgallery');
        $('a.fancybox').fancybox({
            titlePosition: titlePosition
        });
    });
    $.noConflict();
</script>
Download this zipped folder which contains the necessary folders with images and javascript files that are needed:
You might wonder what all these linked files are.
Don’t worry, all of them are needed just for the photo viewer in our gallery.
2. Creating the Photo Gallery
This is the longest section where we add the html elements and style them on css.
2.1 HTML Elements
Lets first see what the html structure is going to be like:
<div class="gallery-wrapper">	   <!--everything will be inside this div -->
<h1>Photo Gallery</h1>			 <!--this is the gallery title -->
	<ul>					  	   <!--one ul is going to wrap all li's -->
		<li>					   <!--each figure will be inside a li element-->
			<figure></figure>	 <!--figure tags will contain image attributes -->
		</li>
Now what are the attributes given to each of these tags:
<li>
	<figure class="img-wrapper fade"><a class="fancybox" href="images/img2.jpg">
        <img src="thumbnails/img2.jpg"><h4>Second Image</h4></a></figure>
</li>
.img-wrapper – this is the box which will contain the thumbnail of the image and its title.
.fade – this class will provide a nice opacity fade to each box element.
.fancybox – using jquery and css, this class will make the view of the popup window when clicking on an image.
a href is going to contain the full size image, that’s why the popup class fancybox is given to the a tag.
img src is going to contain the thumbnail image shown when opening the page at first.
The h4 tag is going to contain the title of the image, and will show right below the image.
Now lets add 9 li elements for 9 images that we are going to put on the page:
<div class="gallery-wrapper">
<h1>Photo Gallery</h1>
	<ul>
		<li>
			<figure class="img-wrapper fade"><a class="fancybox" href="images/img1.jpg"><img  src="thumbnails/img1.jpg"><h4>City at Night</h4></a></figure>
		</li>

		<li>
			<figure class="img-wrapper fade"><a class="fancybox" href="images/img2.jpg"><img src="thumbnails/img2.jpg"><h4>Snow Crystal</h4></a></figure>
		</li>

		<li>
			<figure class="img-wrapper fade"><a class="fancybox" href="images/img3.jpg"><img src="thumbnails/img3.jpg"><h4>Motorcycle Boy</h4></a></figure>
		</li>
			<br>
		<li>
			<figure class="img-wrapper fade"><a class="fancybox" href="images/img4.jpg"><img src="thumbnails/img4.jpg"><h4>Horse Ride</h4></a></figure>
		</li>

		<li>
			<figure class="img-wrapper fade"><a class="fancybox" href="images/img5.jpg"><img src="thumbnails/img5.jpg"><h4>Colorful Ballons</h4></a></figure>
		</li>

		<li>
			<figure class="img-wrapper fade"><a class="fancybox" href="images/img6.jpg"><img src="thumbnails/img6.jpg"><h4>Masterpiece</h4></a></figure>
		</li>
			<br>
		<li>
			<figure class="img-wrapper fade"><a class="fancybox" href="images/img7.jpg"><img src="thumbnails/img7.jpg"><h4>Tiger Action</h4></a></figure>
		</li>

		<li>
			<figure class="img-wrapper fade"><a class="fancybox" href="images/img8.jpg"><img src="thumbnails/img8.jpg"><h4>Waterfall</h4></a></figure>
		</li>

		<li>
			<figure class="img-wrapper fade"><a class="fancybox" href="images/img9.jpg"><img src="thumbnails/img9.jpg"><h4>Red Flowers</h4></a></figure>
		</li>
	</ul>
</div>
For now, because no styling has been done yet, the view would be pretty creepy:
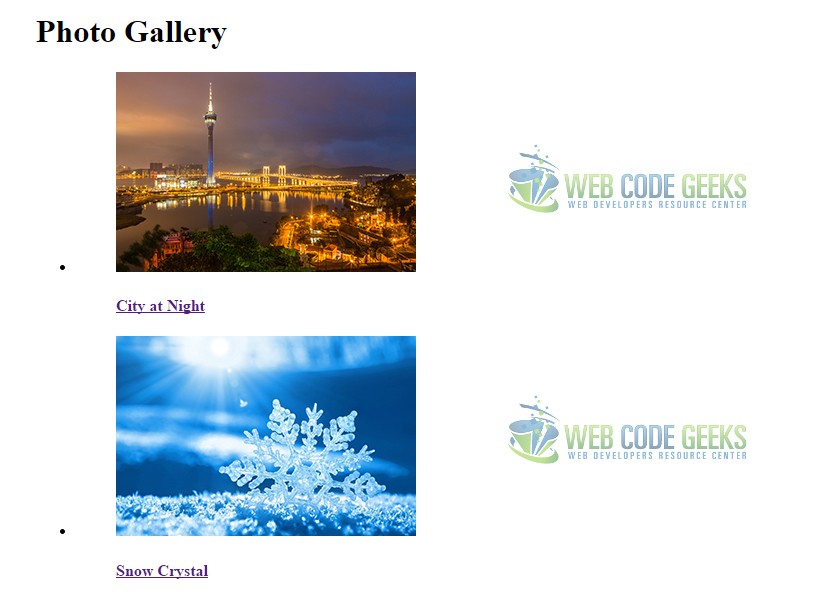
You see only two images here, but in fact there are 9 on the page.
From now on, for practical reasons I will include only two photos in the screeshots.
2.2 CSS Styling
First, give body, ul and a‘s some universal properties:
body {
	font-family: "Aller", "sans-serif";  /* just a custom font */
}

ul
{
	list-style-type: none;	/* hiding the bullets from ul */
}

a:-webkit-any-link {
  	text-decoration: none;	/* ignoring default link settings */
}
Also, lets define the fade class we are going to use.
.fade {
   opacity: 0.8;		/* sets default view to a 80% opacity */
   transition: opacity .25s ease-in-out;
   -moz-transition: opacity .25s ease-in-out;
   -webkit-transition: opacity .25s ease-in-out;
}

.fade:hover {
      opacity: 1;	/* sets default view to a 100% opacity when on hover state */
}
Make these boxes sit next to each other in the same row:
.gallery-wrapper ul li{
	display: inline-block;		/* sit wrappers in rows, not column block */
}
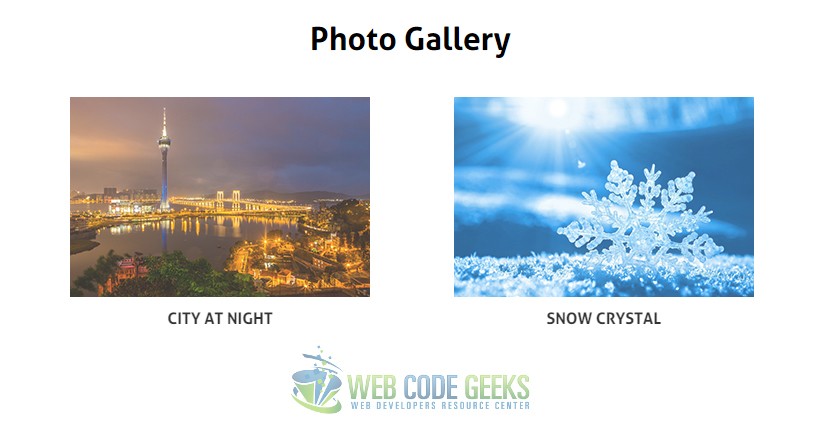
The photo gallery until now would look like this:

Now give the title a better look by centering it and making few touch-ups:
h4 {							/* style the photos titles */
	text-align: center;
	font-size: 1em;
	margin: 0;
	padding: 0.5em 2em;
	text-transform: uppercase;
	font-weight: bold;
	color: black;
}

h1 {                                   /* just a main title alignment */
	padding-left: 10em;
}
Browser view would be:
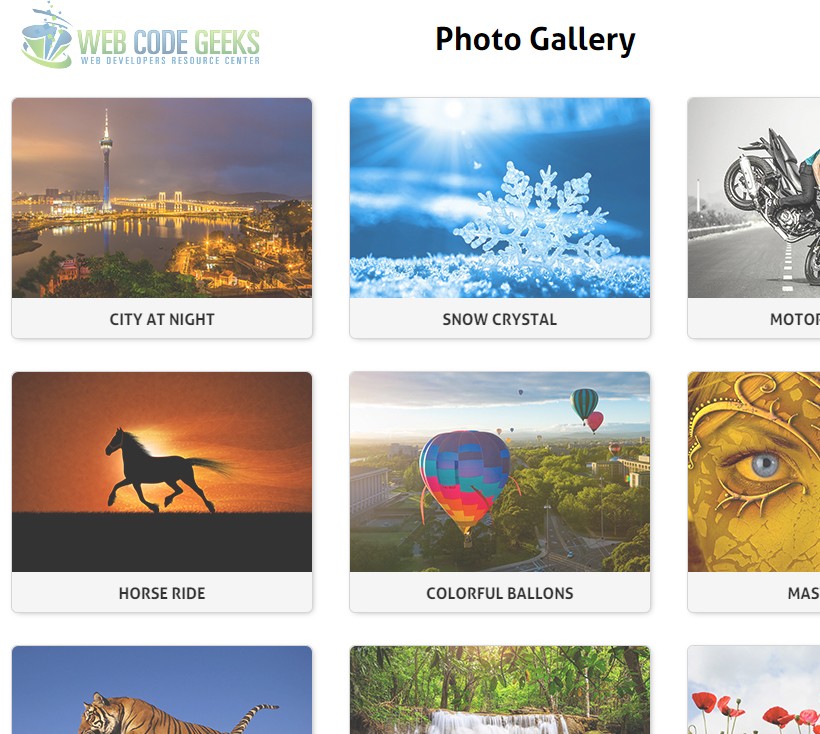
The last part, accommodate the image and the title inside a box content:
.img-wrapper {                                 /* this will be the wrapping box */
	width: 300px;
	height: 240px;
	border: 0.1em solid #ccc;
	border-radius: 0.4em;
	background-color: #f3f3f3;
	box-shadow: 0.1em 0.1em 0.5em -0.2em #777;
	margin: 1em 1em;
}

img {
	border-radius: 0.4em 0.4em 0em 0em;    /* radius should be the same as the wrapper */
}
Looks like we’re almost done. This is the new view of the images.

Now look at this nice view of the photo gallery when capturing most images on the page:
2.3 Try the photo viewer
Because we’ve added all necessary links to this html, the photo viewer is already functional.
This is how it looks like when opening a photo:

2.4 Try the fading hover states
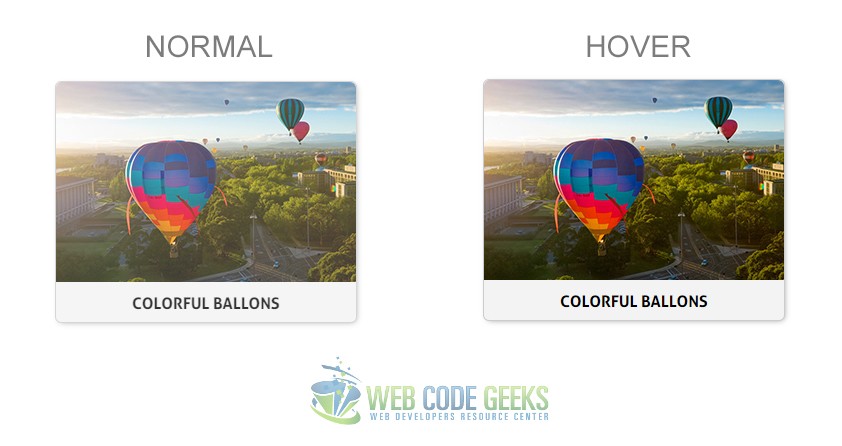
You noticed we added a .fade class to every figure. That has made our boxes fade in and out with certain opacity.
3. Conclusion
To sum up, we can state that creating a photo gallery requires more attention on design than on the html part.
However be careful to organise your code in a way that is easy to understand and not cluttered with no reason.
Photo galleries vary on contents, like image slider, slideshow, or 3D like transitions, but they require knowledge
on other languages like javascript except from HTML and CSS, that’s why we took into consideration only this case.
Feel free to experiment on new layouts and animations.
4. Download
You can download the full source code of this example here: HTML5 Photo Gallery Example

I like very much, its really good. Now im trying to take out the title inside box and put a border on the thumbnails but always stay a line on the bottom between the border and the thumb. Can you help me?
I embedded the solution into my website and it works partly, as the image viewer does not show the picture in the center. I have tried different work around without luck. any advice?
Is there any issue in using this link inside my website code? Or, should I copy the .css to my own webspace to use it?