In this example we will present you how to use the HTML5 Audio Player.
First, we’ll present the <audio /> tag and its attributes, for a quick audio integration in your HTML documents.
And, then we will continue with more advanced usage using JavaScript to interact with the HTMLMediaElement.

1. The minimal example
In order to allow your users to play music directly from the browser you simply have to add the following syntax (Assuming your audio file is located in the files folder).
<audio src="./files/audio.ogg">
    <p>Your browser does not support the audio element.</p>
</audio>
This will only enable audio in your document, but this will not show any player …
Note : The paragraph inside the audio tag, will be displayed on old browsers that not support the audio tag. You can see the compatibility matrix on the CanIUse Web Site
2. Show the controls
The previous example did not diplay the player on the web page. To view the player, simply add the controls attribute in the audio tag:
<audio src="./files/audio.ogg" controls>
    <p>Your browser does not support the audio element.</p>
</audio>
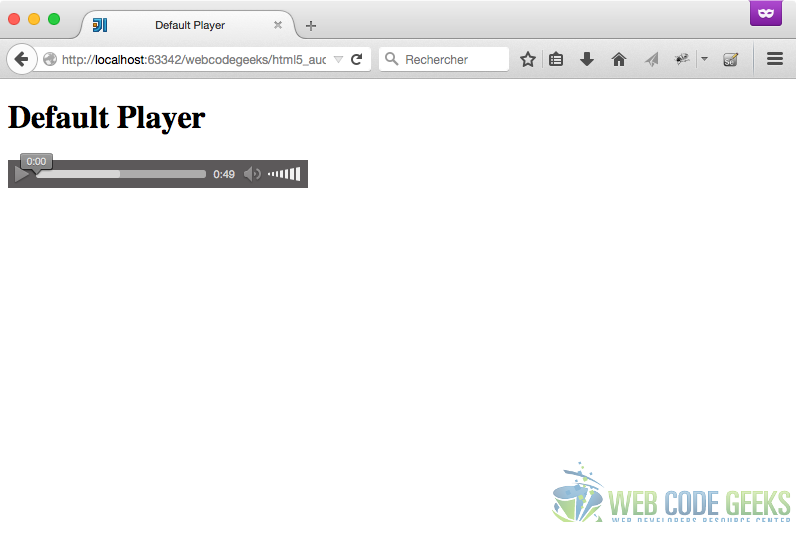
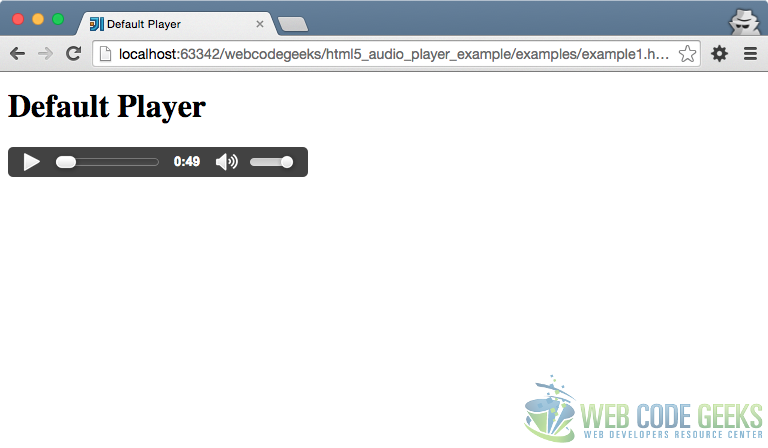
This will display the browser’s default player with the default controls.
Here is another way to define the media source:
<audio controls>
    <p>Your browser does not support the audio element.</p>
    <source src="./files/audio.ogg" />
</audio>
Note : All the audio format are not supported by all the browser, you can find a compatibility matrix on the Dedicated Wikipedia Web Page
3. Tag Attributes
The <audio /> Tag accept attributes that will help you to manage the behaviour of the media on your page.
3.1 Controls
This attribute will display the default browser player on the page, with the default controls, those controls are : Play and Pause buttons, Volume control, and the track duration.
This attribute is used to display the player (as we’ve seen in the previous section).
You can use it by simply adding the controls or controls="controls". It does not matter.
<audio controls="controls">
    <p>Your browser does not support the audio element.</p>
    <source src="./files/audio.ogg" />
</audio>
3.2 Autoplay
This attribute will start playback once it’s ready.
So, if you want to start playback on your page without displaying the player, you can do something like that:
<audio autoplay="autoplay" >
    <p>Your browser does not support the audio element.</p>
    <source src="./files/audio.ogg" />
</audio>
3.3 Loop
With this attribute, the audio will play again once it’s finished.
<audio loop="loop" autoplay >
    <p>Your browser does not support the audio element.</p>
    <source src="./files/audio.ogg" />
</audio>
This will start playback automatically, and loop at the end of the media, it will start again.
3.4 Preload
This attributes will give a hint to the browser on how to treat the media file.
This attribute accept the following values:
- auto : The browser can download the whole file if it’s needed by the user’s needs.
- metadata : The user may not need the whole media, so the browser can only check for the metadatas (length) of the file.
- none : The browser won’t download the file if the user does not need it. This can be use to minimize server trafic.
Note : The default value is auto
<audio preload="none" >
    <p>Your browser does not support the audio element.</p>
    <source src="./files/audio.ogg" />
</audio>
In this example the browser will request the server only when the user click on the play button.
4. Control the audio with Javascript
We used the <audio /> Tag to display the player on the page, and to play the audio file.
Now we’ll see how to manipulate audio with JavaScript.
4.1 Basic Play / Pause example
For the beginning, we will simply add an audio file in a page and manage the Play / Pause buttons in JavaScript.
Here is the HTML code:
<audio id="audio1">
    <source src="../files/2081-Coin_Drop-Willem_Hunt-569197907/mp3/Coin_Drop-Willem_Hunt-569197907.mp3" />
</audio>
<button id="play">Play</button> <button id="stop">Stop</button>
The goal is to start play the sound when the user click on the play button, and pause the button when the user click on the Stop button.
Here is the JavaScript Code:
var audioElement = document.getElementById('audio1');

document.getElementById('play').addEventListener('click', function(){
audioElement.play();
}, false);

document.getElementById('stop').addEventListener('click', function(){
audioElement.pause();
}, false);
Quite simple, no ?
We get the audioElement by its ID in the document, and then, we add listener for clicks on the buttons. The audioElement variable is global in the scope so it can be accessed in the event callbacks functions.
4.2 The HTMLMediaElement
Properties
The type of the audioElement variable is HTMLMediaElement which has many properties, for example:
autoplay :Reflects the value of the attributes (seen in previous section).currentTime :Contains the current playback time, in seconds. Setting this property will set the playback time at the value defined.duration :(Read-Only) The length, in seconds.paused :(Read-Only) Indicates if the playback is paused or not.volume :will get or set the volume of the media element : 0.0 is silent, and 1.0 is the loudest
You’ll find the full properties list here : HTMLMediaElement.
Methods
The element has also some methods, we’ve seen play() and pause() in the basic example, here are the others:
canPlayType(mimetype): Determine if the browser can play the mimetype passed in argument. This function can return :
nothing(empty string) if the browser is not able to play the type,
propablyif the browser seems to be able to play the type,
maybeif it’s impossible to tell if the type is playable or not.fastSeek(time): this will seek directly to the given time.load(): This method will begin loading the media from the server
When actions are made with the <audio /> tag, some events are fired, let see the events before using all together with a full example.
5. Use Media Events
Here are some of the events we can use with audio element.
progress :The user agent is fetching media data.error :An error occurs while fetching the media data.play :Playback has begun. Fired after theplay()method has returned, or when the autoplay attribute has caused playback to begin.pause :Playback has been paused. Fired after the pause() method has returned.loadeddata :The user agent can render the media data at the current playback position for the first time.waiting :Playback has stopped because the next frame is not available, but the user agent expects that frame to become available in due course.playing :Playback has started.canplay :The user agent can resume playback of the media data, but estimates that if playback were to be started now, the media resource could not be rendered at the current playback rate up to its end without having to stop for further buffering of content.seeking :The seeking IDL attribute changed to true and the seek operation is taking long enough that the user agent has time to fire the event.seeked :The seeking IDL attribute changed to false.timeupdate :The current playback position changed as part of normal playback or in an especially interesting way, for example discontinuously.
Note : This event will be fired every second !ended :Playback has stopped because the end of the media resource was reached.volumechange :Either the volume attribute or the muted attribute has changed. Fired after the relevant attribute’s setter has returned.
The full event list can be find here : http://www.w3.org/wiki/HTML/Elements/audio#Media_Events
5.1 Example
Let see an example on how to use those events.
In this example we will display information in the browser console …
The HTML code …
<audio id="audio2" controls>
    <source src="../files/2081-Coin_Drop-Willem_Hunt-569197907/mp3/Coin_Drop-Willem_Hunt-569197907.mp3" />
</audio>
…and the JavaScript.
var audioElement = document.getElementById('audio2');

audioElement.addEventListener('playing', function(e){
  console.log('Audio playback has started ...');
  console.log('Playback started at : '+ e.target.currentTime +" seconds");
}, false);

audioElement.addEventListener('pause', function(e){
  console.log('Audio playback has been paused ...');
  console.log('Playback paused at : '+ e.target.currentTime +" seconds");
}, false);

audioElement.addEventListener('ended', function(e){
  console.log('Playback has ended');
}, false);

audioElement.addEventListener('volumechange', function(e){
  console.log("Volume has changed ...");
  console.log("Volume is now "+ e.target.volume);
}, false);
First, we get the audio element by its ID and store it in a variable: audioElement, then we add listeners on the audio element for the following events :
playing, callback will log the string : Audio playback has started …, and an info about the currentTime of the element, when the user click on the play button.
Try to start, pause, then start again to see the currentTime info updated.playing, this is fired when the media has been paused … When the user pause the playback, callback will be called.ended, this is fired when the media has ended.volumechange, this is fired the volume (of the element, not your computer) has changed, callback will log volume value.
For all the events we used the event target to get information about the audio element, we did not used the audioElement variable, but for this example we could do it … I prefer to use the event target because it rely on the event, not the global scope.
6. Playlist Example
Let see an example on how to use the <audio /> element in a real world …
6.1 The Specifications
Imagine you are designing a web page for a Lounge Bar, you can add some smooth audio in background to improve user experience.
So we will create a little component that will play multiple files, it means that at the end of a file, the player will start the next audio file. We will also allow the user to stop the music, and to change the volume.
6.2 The code …
Here is the HTML code i decided to use for the component:
<div id="playlist">
    <!-- This will only display the player, and enable the audio on the document-->
    <audio controls autoplay></audio>
</div>
The <div> encapsulation, will allow us to position the element more easily.
For example to position the player in the bottom left corner…:
#playlist {
    display: inline;
    position: fixed;
    bottom:5px;
    left:5px;
}
Then the JavaScript code:
// Playlist array
var files = [
"./files/2081-Coin_Drop-Willem_Hunt-569197907/mp3/Coin_Drop-Willem_Hunt-569197907.mp3",
"./files/2082-Hammering_Soung_6-Lisa_Redfern-411383436/mp3/Hammering_Soung_6-Lisa_Redfern-411383436.mp3",
"./files/2083-Night_Sounds_-_Crickets-Lisa_Redfern-591005346/mp3/Night_Sounds_-_Crickets-Lisa_Redfern-591005346.mp3"
];

// Current index of the files array
var current = 0;

// Get the audio element
var playlistPlayer = document.querySelector("#playlist audio");

// function that will be call at the end of the previous
function next() {
    // Check for last media in the playlist
    if (current === files.length - 1) {
        current = 0;
    } else {
        current++;
    }

    // Change the audio element source
    playlistPlayer.src = files[current];
}

// Check if the player is in the DOM
if (playlistPlayer === null) {
    throw "Playlist Player does not exists ...";
} else {
    // Start the player
    playlistPlayer.src = files[current];

    // Listen for the playback ended event, to play the next media
    playlistPlayer.addEventListener('ended', next, false)
}
This was very simple to do, and it will improve user experience.
Of course we could imagine many improvements such as getting the list of audio files from an Ajax Request, or even designing our own player, but the requirements are satisfied.
7. Conclusion
The HTML5 <audio /> offers the ability to easily embed sound into your documents.
You can download the full source code of this example here : HTML5 Audio Player Example

My download has been blocked http://webcodegeeks.javacodegeeks.netdna-cdn.com/wp-content/uploads/2015/01/html5_audio_player_example.zip Chrome automatically blocks harmful downloads that try to cause problems on your computer,such as: Giving you viruses Leaking your private data Changing your browser and computer settings Adding unwanted extensions or toolbars to your browser Why the download was blocked Your file download may have been blocked for one of two reasons: We think it might be a malicious, unwanted or uncommon file. Malicious: You tried downloading malware. Unwanted: You tried downloading a deceptive piece of software. This program, disguised as a helpful download, may actually make unexpected changes to your computer. Uncommon: You… Read more »
This was very helpful. Highly appreciated, saved me a lot of headache
how do i get the tracklist or title show’ed on my player?
Thanks for the awesome stuff! this helped me very much.
Small oversight…
Up in Section 5.1 where you’re listing the listeners you’ve got set up, you’ve actually listed “playing” twice.
Just FYI.