In this article I will show you how to create a Color Picker using HTML5 Canvas API.
I’ll first present you the API we’ll use. Then we’ll create a “color picker” you can reuse in your applications.
This article will not present the use of the new <input type="color" />.
1. Introduction
The way to create a color picker is relatively easy.
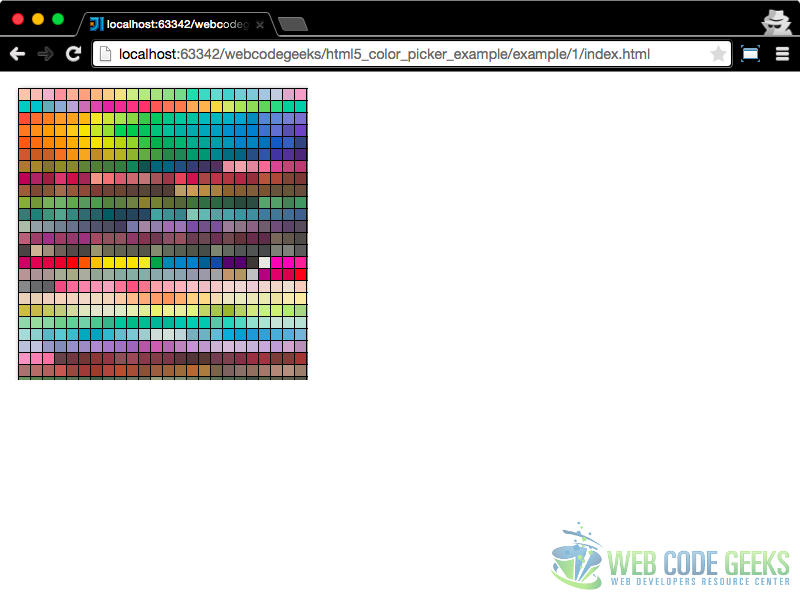
It consist in displaying an image, and retrieve the pixel color the user clicked on.
The Canvas API, allow us to get some data from images with the getImageData method.

2. The Skeleton
2.1 HTML Document
<!DOCTYPE html>
<html>
<head lang="en">
    <meta charset="UTF-8">
    <title></title>
    <link rel="stylesheet" href="style.css" />
</head>
<body>
<div id="colorpicker">
    <canvas width="300" height="300"></canvas>
</div>
<script src="script.js"></script>
</body>
</html>
Then we need to find an image to create the color palette, this image will we displayed in the canvas element so it may have the dimensions of the canvas element (or vice versa).
NOTE You can chose any image you want.
2.2 Javascript File
So we will create the script.js file to add the image in the canvas element.
// first retrieve the canvas element
var canvasElement = document.querySelector('#colorpicker canvas');
// Then get the 2D context of the Canvas
var canvasImage = canvasElement.getContext('2d');

// Now create an image element
var image = new Image();
image.src = 'palette.png';

// Just after the browser has finished to load the image we can add it in the canvas
image.addEventListener('load', function () {
   canvasImage.drawImage(image, 0, 0);
});
The script will just create the palette, now we need to handle the click :
// first retrieve the canvas element
var canvasElement = document.querySelector('#colorpicker canvas');
// Then get the 2D context of the Canvas
var canvasImage = canvasElement.getContext('2d');

// Now create an image element
var image = new Image();
image.src = 'palette.png';

// Just after the browser has finished to load the image we can add it in the canvas
image.addEventListener('load', function () {
    canvasImage.drawImage(image, 0, 0);

    // Handle the click on the palette
    canvasElement.addEventListener('click', function (event) {
        // Get the position of the mouse in the Canvas
        var x = event.pageX - this.offsetLeft;
        var y = event.pageY - this.offsetTop;

        // Get the Image Data
        var imageData = canvasImage.getImageData(x, y, 1, 1).data;

        // Convert into readable variable
        var Red = imageData[0];
        var Green = imageData[1];
        var Blue = imageData[2];
        var rgb = Red + ',' + Green + ',' + Blue;

        // Display the result in the console
        console.log(rgb);
    });
});
This is It !
The main usage is here, maybe a little styling, at least to change the cursor over the canvas.
2.3 Style with CSS
We will simply change the mouse cursor when it’s over the Canvas :
canvas{
    cursor:crosshair;
}
The script is now finished …
3. Make it reusable
But the color picker is not very usable, so I will now present you how to create a color picker to set the color in an input element.
3.1 Create a wrapper function
As we want the color picker to be reusable, we need to create a function to manage picker :
function colorPicker(){

    // first retrieve the canvas element
    var canvasElement = document.querySelector('#colorpicker canvas');

    // Then get the 2D context of the Canvas
    var canvasImage = canvasElement.getContext('2d');

    // Now create an image element
    var image = new Image();
    image.src = 'palette.png';

    // Just after the browser has finished to load the image we can add it in the canvas
    image.addEventListener('load', function () {
        canvasImage.drawImage(image, 0, 0);

        // Handle the click on the palette
        canvasElement.addEventListener('click', function (event) {
            // Get the position of the mouse in the Canvas
            var x = event.pageX - this.offsetLeft;
            var y = event.pageY - this.offsetTop;

            // Get the Image Data
            var imageData = canvasImage.getImageData(x, y, 1, 1).data;

            // Convert into readable variable
            var Red = imageData[0];
            var Green = imageData[1];
            var Blue = imageData[2];
            var rgb = Red + ',' + Green + ',' + Blue;

            // Display the result in the console
            console.log(rgb);
        });
    });
}
And call the function to make things still working …
colorPicker();
3.2 Create the canvas picker on click
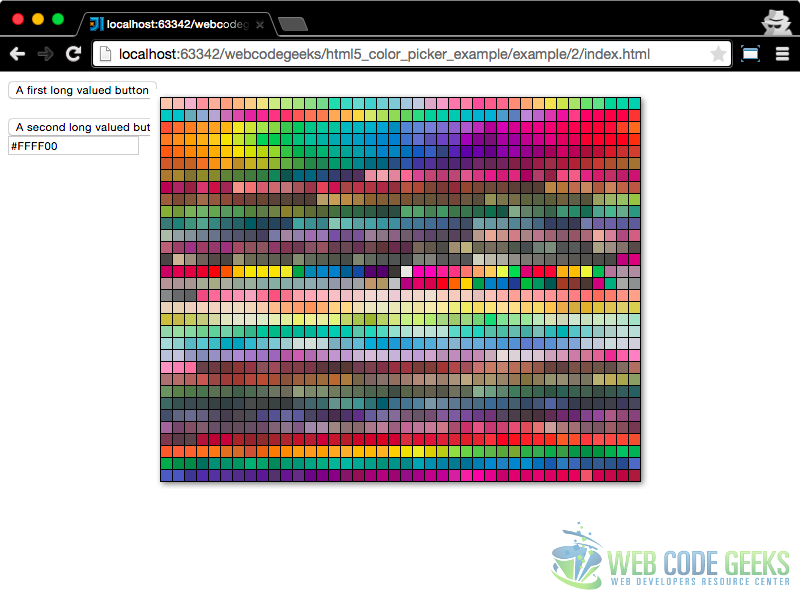
For sure you may want to use the picker when clicking on a button for example, so we will create the color picker in a floating div next to the mouse click.
First we need to create the show() function and add it in the colorPicker function:
function colorPicker(){

    // Now create an image element
    var image = new Image();
    image.src = 'palette.png';

    // Create a div element
    // Create a canvas element in the div
    var divElement = document.createElement('div'),
        canvasElement = document.createElement('canvas'),
        canvasImage;

    // Get the mouse position
    var event = window.event,
        mouseX = event.pageX,
        mouseY = event.pageY;

    function show() {

        divElement.style.width = image.width + 'px'; // The element width is the palette image width
        divElement.style.height = image.height + 'px'; // The element height is the palette image height
        divElement.className += 'colorpicker'; // Add the class colorpicker to the div element

        divElement.style.position = 'absolute'; // The div position is absolute
        divElement.style.top = mouseY + 'px'; // Top position is the mouse Y position
        divElement.style.left = mouseX + 'px'; // Left position is the mouse X position

        canvasElement.width = image.width; // Canvas Width
        canvasElement.height = image.height; // Canvas Height
        canvasImage = canvasElement.getContext('2d');
        canvasImage.drawImage(image, 0, 0); // Drow image in canvas

        divElement.appendChild(canvasElement);

        // Display element by append it to the body
        document.querySelector('body').appendChild(divElement);
    }

    // Just after the browser has finished to load the image we can add it in the canvas
    image.addEventListener('load', function () {

        // Display the palette
        show();

        // Handle the click on the palette
        canvasElement.addEventListener('click', function (event) {
            // Get the position of the mouse in the Canvas
            var x = event.pageX - this.offsetLeft;
            var y = event.pageY - this.offsetTop;

            // Get the Image Data
            var imageData = canvasImage.getImageData(x, y, 1, 1).data;

            // Convert into readable variable
            var Red = imageData[0];
            var Green = imageData[1];
            var Blue = imageData[2];
            var rgb = Red + ',' + Green + ',' + Blue;

            // Display the result in the console
            console.log(rgb);
        });
    });
}
The variables : image, divElement, canvasElement and canvasImage are only visible in the colorPicker function so i can manipulate them in all functions declared in the colorPicker closure.
Now you can create the picker next to a button clicked :
var btn = document.getElementById('btn1');
btn.addEventListener('click', function(){
    colorPicker();
});
3.3 Remove picker on click
Ok, the color picker is displayed “on demand” … but we have to remove it, when the user has clicked on a color, or when the user click else where in the document.
As we created a function show we will create a remove function :
function remove(){
    divElement.remove()
}
And in the click on canvas event callback (at the end of the function), simply add a call to the remove function :
// ---
// Just after the browser has finished to load the image we can add it in the canvas
image.addEventListener('load', function () {

    // Display the palette
    show();

    // Handle the click on the palette
    canvasElement.addEventListener('click', function (event) {
        // Get the position of the mouse in the Canvas
        var x = event.pageX - this.offsetLeft;
        var y = event.pageY - this.offsetTop;

        // Get the Image Data
        var imageData = canvasImage.getImageData(x, y, 1, 1).data;

        // Convert into readable variable
        var Red = imageData[0];
        var Green = imageData[1];
        var Blue = imageData[2];
        var rgb = Red + ',' + Green + ',' + Blue;

        // Display the result in the console
        console.log(rgb);

        // The user has clicked a color, we can remove the picker
        remove();
    });
});
// ---
In order to manage a sort of cancellation event, when the user click on the document but not on the canvas we add a click listener on window. This listener must be removed after element is removed.
So edit the function as this :
// ---

function remove(){
    divElement.remove();
    // remove listener on window click
    window.removeEventListener('click', remove);
}

// Just after the browser has finished to load the image we can add it in the canvas
image.addEventListener('load', function () {

    // Display the palette
    show();

    // Handle the click on the palette
    canvasElement.addEventListener('click', function (event) {
        // Get the position of the mouse in the Canvas
        var x = event.pageX - this.offsetLeft;
        var y = event.pageY - this.offsetTop;

        // Get the Image Data
        var imageData = canvasImage.getImageData(x, y, 1, 1).data;

        // Convert into readable variable
        var Red = imageData[0];
        var Green = imageData[1];
        var Blue = imageData[2];
        var rgb = Red + ',' + Green + ',' + Blue;

        // Display the result in the console
        console.log(rgb);

        // The user has clicked a color, we can remove the picker
        remove();
    });

    // It's a kind of cancellation a click
    window.addEventListener('click', remove);
});
// ---
3.4 Callback function
I think that the goal of a color picker is to retrieve a color, so we will add a call back function to our picker. This callback function will be called when the user choose a color :
So add a parameter to the function signature :
function colorPicker(onChoose){ /* ...*/ }
And in the click on canvas event callback, instead of logging the color simply call the callback, with the color … :
// ---
// Display the result in the console
onChoose(rgb);
// ---
And of course you need to edit the usage as this :
var btn = document.getElementById('btn1');
btn.addEventListener('click', function(){
   colorPicker(function(color){
      console.log(color);
   });
});
3.5 Convert to Hexadecimal
I’m don’t like the color value, I’d rather want to use a color in a hexadecimal value, so let’s create this color …
As I don’t want to re-invent the wheel, I get the function to convert decimal value of the RGB into hexadecimal from this site : http://www.javascripter.net/faq/rgbtohex.htm
function rgbToHex(R,G,B) {return toHex(R)+toHex(G)+toHex(B)}
function toHex(n) {
   n = parseInt(n,10);
   if (isNaN(n)) return "00";
   n = Math.max(0,Math.min(n,255));
   return "0123456789ABCDEF".charAt((n-n%16)/16)  + "0123456789ABCDEF".charAt(n%16);
}
I added this two functions in the color picker and in the click on canvas event callback, I did this :
// ---

// Convert into readable variable
var Red = imageData[0];
var Green = imageData[1];
var Blue = imageData[2];

// Create HEXA Value
var color = rgbToHex(Red, Green, Blue);

// Call the CallBack function with the color
callback('#'+color);
remove();

// ---
NOTE: I add the
#character to make the color usable in HTML document.
Voila ! The color picker is now reusable !
4. Download
You can download the full source code of this example here: HTML5 color picker example
