1. Introduction
In any web page or blog post, it is usually a good practice to identify and divide elements and sections which are logically separate. You could use HTML elements like div for encapsulating multiple page elements, ul and ol for organizing lengthy text into a more readable list-based format, or simply use hr to create a horizontal line.
The hr element, also known as the Horizontal Rule, can be styled using CSS just like other elements. Do make sure to have the Mozilla Firefox and Google Chrome browsers available with you to test the various aspects related to styling this element.
Let’s now discuss the details. Do note that the link to download the complete source code is available at the end of this example.

2. A simple usage example
Let’s quickly refresh our memory and look at a very simple scenario where an hr will come in handy. Create an HTML file and name it example.html. Copy and paste the below contents into it:
example.html
<!DOCTYPE html>
<html lang="en">
<head>
    <meta charset="UTF-8">
    <title>CSS Horizontal Line Styling Example</title>
</head>
<body>
<h2>Topic 1</h2>
<p>This is content for topic 1</p>
<hr>
<h2>Topic 2</h2>
<p>This is content for topic 2</p>
</body>
</html>
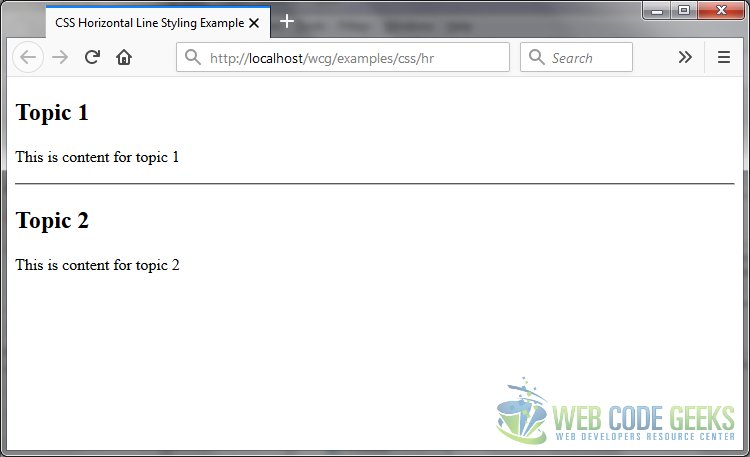
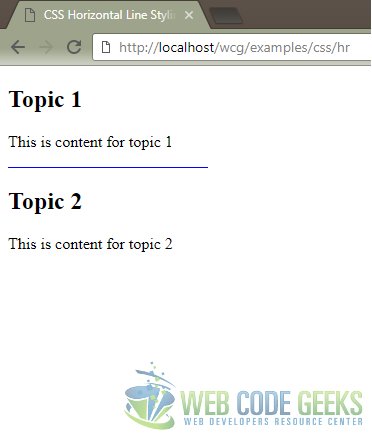
As of now, neither have we attached any stylesheet nor applied any styles. Save the file and open it in your browser. You should see something like this:
Let’s proceed and attach a stylesheet to our page.
3. Style an hr element with CSS
Now that we have created a basic hr, let’s create our stylesheet which will control the look and feel for the element. In the same directory as example.html, create another file called style.css and paste the below code into it:
style.css
hr {
	width: 200px;
	margin-left: 0px;
}
Open example.html and add the below highlighted line of code to attach the stylesheet to the HTML file. Here’s what the full HTML code should look like:
example.html
<!DOCTYPE html>
<html lang="en">
<head>
    <meta charset="UTF-8">
    <title>CSS Horizontal Line Styling Example</title>
    <link rel="stylesheet" type="text/css" href="./style.css">
</head>
<body>
<h2>Topic 1</h2>
<p>This is content for topic 1</p>
<hr>
<h2>Topic 2</h2>
<p>This is content for topic 2</p>
</body>
</html>
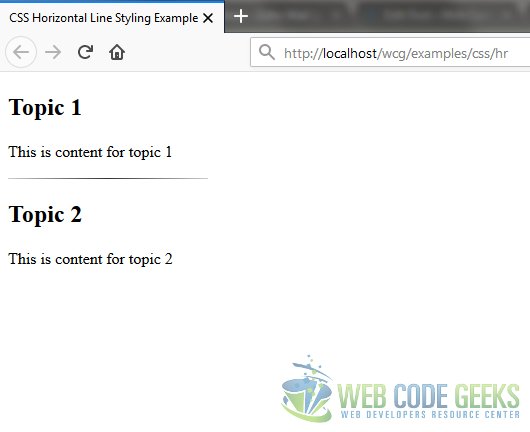
Make sure you have saved both example.html and style.css. Open example.html in your web browser to view the changes. The hr element should resemble the below:
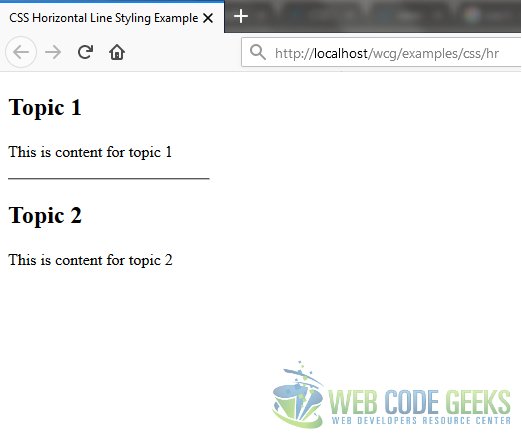
We reduced the width of the hr element to 200px and aligned it the left. Notice that we used the margin-left property to do the alignment. Another way to do the same is by using the align attribute within the hr tag. Since the horizontal rule element look can now be controlled with our stylesheet, let’s go ahead and spice it up a little.
4. Add colors
You can use the CSS color property to change the color of your line. Make the following highlighted changes to your CSS code:
style.css
hr {
	width: 200px;
	margin-left: 0px;
	color: blue;
}
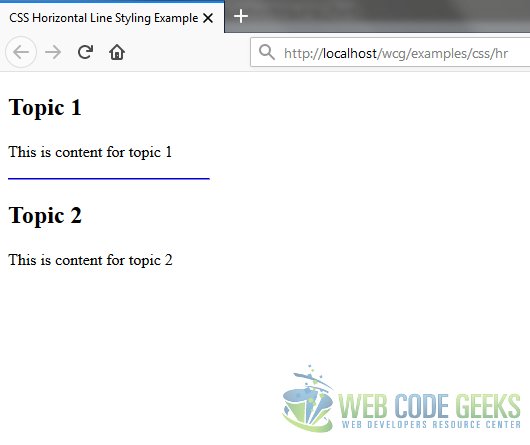
In the Mozilla Firefox browser, you should be able to see the change when you save the CSS file and refresh the example.html page:
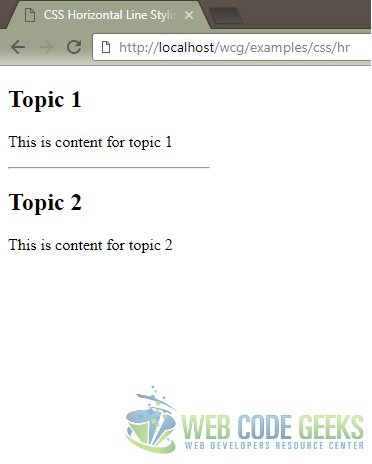
However, if you open the same page in Google Chrome, it still appears as a plain old line:
To overcome this, apply another CSS property background-color, with the same value as the previously applied color property. It should also be noted that some browsers tend to display a default 1px border around hr elements. To ensure a consistent look across browsers, you should explicitly specify the border and height properties together.
Let’s update our stylesheet accordingly:
style.css
hr {
	width: 200px;
	margin-left: 0px;
	color: blue;
	background-color: blue;
	border: 0px;
	height: 1px;
}
Refresh the example.html in both Mozilla Firefox and Google Chrome – the results should now be identical. The element now renders correctly on Google Chrome, as shown below:
Now that we know how to display the styled hr element across browsers in a more consistent way, let’s look at more ways to decorate it.
5. Use a background image
You can even use an image and apply it as a background. For this example, obtain any image and place it in the same directory as your source files – we have named it image.jpg, but you can call it anything as long as you use the correct URL in the CSS. Modify your stylesheet as below:
style.css
hr {
	width: 200px;
	margin-left: 0px;
	color: blue;
	background-color: blue;
	border: 0px;
	height: 1px;
	background: #fff url(image.jpg) scroll center;
}
Here’s what it looks like in a browser:

Of course, the amount of the image that is visible depends on the height and width properties of the hr element – you can play around with it to suit your preferences.
6. Five more creative styles
Here are 5 creative hr styling ideas you can use in your own code. The highlighted lines in the code block for each style represent the change from our original CSS code.
6.1 Style 1
Below you can find the CSS code:
style.css
hr {
	width: 200px;
	margin-left: 0px;
	color: blue;
	background-color: blue;
	border: 0px;
	height: 1px;
	background-image: linear-gradient(to right, #ccc, #333, #ccc);
}
This is the result in the Browser:
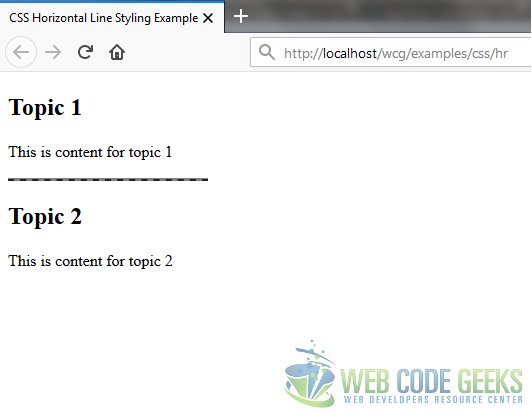
6.2 Style 2
Below you can find the CSS code:
style.css
hr {
	width: 200px;
	margin-left: 0px;
	color: gray;
	background-color: gray;
	border: 0px;
	height: 1px;
	border-bottom: 2px dashed #222;
}
This is the result in the Browser:
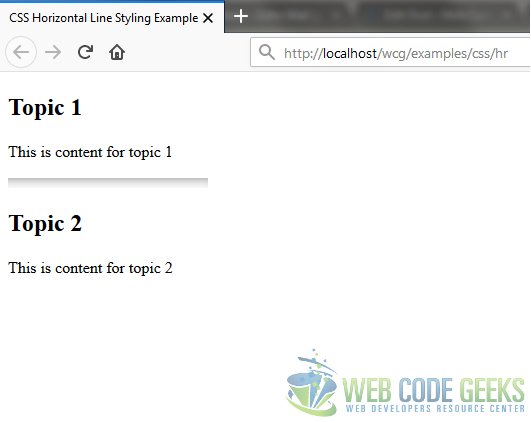
6.3 Style 3
Below you can find the CSS code:
style.css
hr {
	width: 200px;
	margin-left: 0px;
	color: white;
	background-color: white;
	border: 0px;
	height: 10px;
	box-shadow: inset 0 12px 12px -12px rgba(0, 0, 0, 0.5);
}
This is the result in the Browser:
6.4 Style 4
Below you can find the CSS code:
style.css
hr {
    width: 200px;
    margin-left: 0px;
    color: white;
    background-color: white;
    border: 0px;
    height: 0px;
    box-shadow: 0 0 5px 2px gray;
}
hr:after {
    content: "\00a0";  /* prevents margin collapse */
}
This is the result in the Browser:

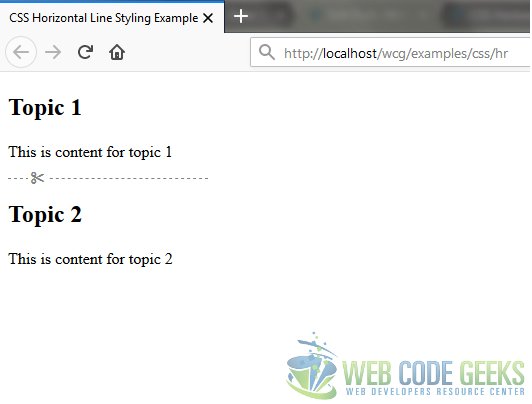
6.5 Style 5
Below you can find the CSS code:
style.css
hr {
    width: 200px;
    margin-left: 0px;
    color: white;
    background-color: white;
    border: 0px;
    height: 0px;
    border-top: 1px dashed gray;
}
hr:after {
    content: '\002702';
    display: inline-block;
    position: relative;
    top: -13px;
    left: 20px;
    padding: 0 2px;
    background: white;
    color: gray;
    font-size: 15px;
}
This is the result in the Browser:
You can use the above CSS styles directly or customize them further to build even more interesting styles.
7. Download the Source Code
This was an example on styling the hr element in an HTML page.
You can download the full source code of this example here: CSSHorizontalLineStylingExample.zip

Point 6 was what we wanted!
Thank you for such nice examples on line styling in CSS.
You’re welcome :)
Hi,
Thanks for the article.
Could you please explain how you get the scissors in the line? Is it a font-awsome icon?
Hi Fred, it is a Unicode character called “black scissors” (code: U+2702). You can find more info about it here: http://graphemica.com/%E2%9C%82
Hi,
Would you mind checking in the code for 6.5 Style 5 with the scissors? I can’t get the code in the article to work on the current production Chrome.
Thanks